Sunday, August 16, 2020

Simplify and Add Lightness

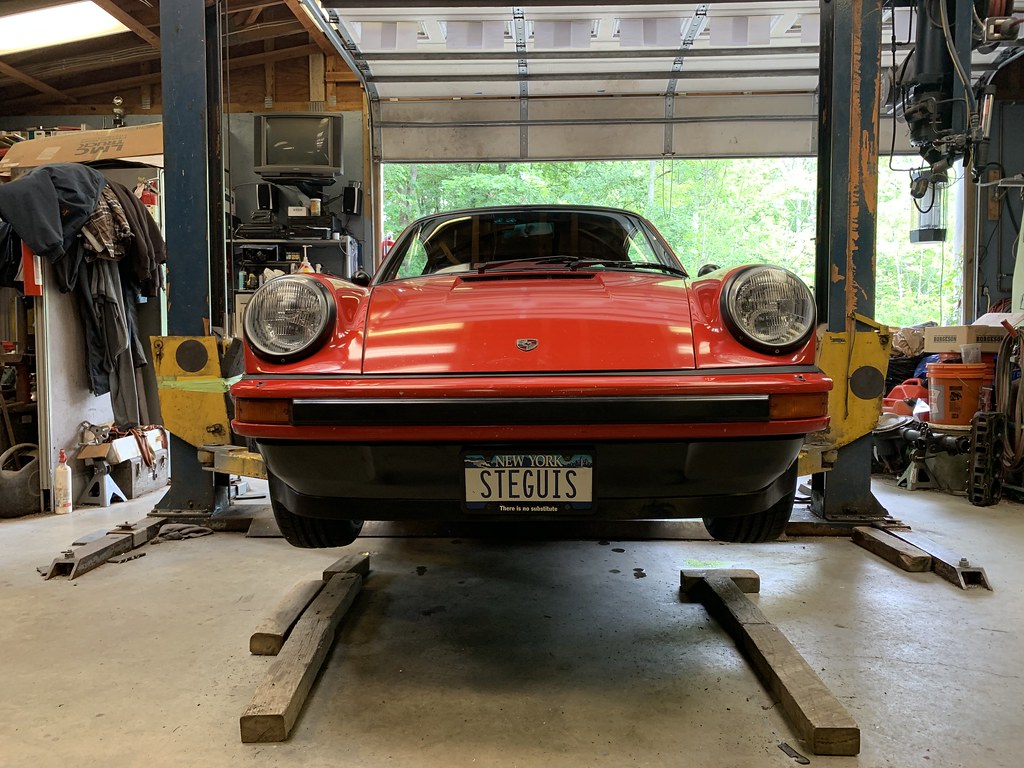
Now that I'm pretty confident that all my mechanical and electrical issues are fully sorted, it was time to tackle some of the exterior modifications before she goes in for paint in the next month or two. It was a pretty good day to be doing this stuff with SJF Performance. Nice and cool with nasty rain outside made it ideal conditions to just spend the whole day in the garage. First up was deleting the pretty useless fog lights and installing the new club sport lower valence that deletes holes for the OEM foglights. There's nothing wrong per se with the stock SC foglights but I got rid of them for a few reasons. The first is that with LED headlights, I have more than enough illumination that the added foglights don't even register with my eyes when I turn them on. Secondly, unlike the 3.2 Carrera that followed, the foglights stick out on stalks that look like they're an afterthought rather than being tightly integrated into the lower valence.

Foglights deleted, new valence and lip installed - 8-16-2020
The first step was to unscrew the sides of the front black bumper bar cover, then you can just pull it out and try not to break any clips. 4 nuts hold the bumper to the front bumper shocks and then there's two nuts you have to get to from inside the frunk. 

Removing the front bumper
Next you have to remove the side bellows. There are 4 nuts that need to be removed, two holding it to the a little bumper trim and two to the front bumper itself. You only really need to remove the two in the rear going to the bumper trim and then the top nut going to the bumper itself which is in an annoying hard to get spot especially if you have big fender intercooler. SJF figured out it was easiest to get to it from the side if you pull the bellows out slightly. 

Removing the front bellows
With the bumper free from attachments you can start to pull on it forward and it should just come right off. Unfortunately the front signal lights are attached to the bumper so you'll need to detach them by undoing the nuts from behind the bumper and then passing them through the hole. Similarly,  we disconnected the headlight washer hose going to the nozzles.
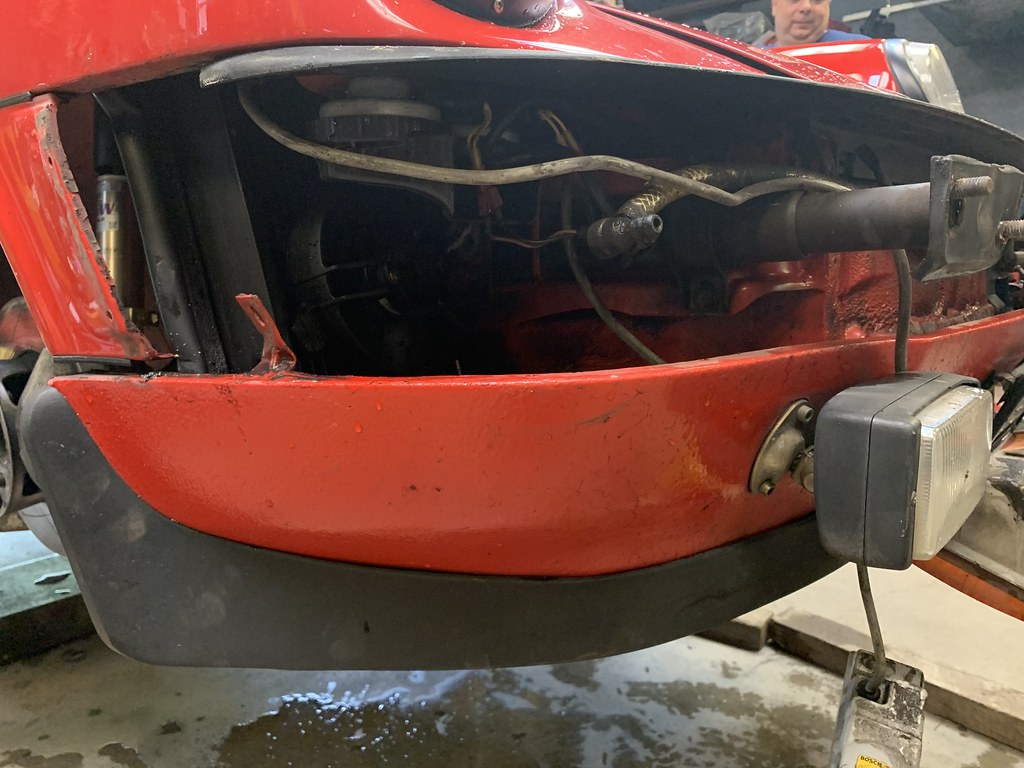
Front bumper removed
Before we could remove the front valence, the front foglights had to be disconnected. Removing the front lenses allowed for the internal assembly to come out and the foglights disconnected. It was then a matter of slipping the wiring through the grommet for removal. We could then tape up the connectors and zip tie them out of the way just in case I ever want to put them back (yea right).

Foglight  housing
Internal foglight assembly removed
Foglight wiring zip tied out of the way
With the wiring cleared up, it was just a matter of removing the nuts and bolts holding the valence in place. The old OEM front splitter was attached to the lower valence so removing the valence also conveniently removes it as well. My original splitter was actually cracked already when I bought it so I was able to pick up another used one that was in better condition and that's what we connected to the new valance. Installation of the new valence was pretty much just the reverse. We did have to drill the holes on the sides that the splitter attaches to and I got new hardware for the splitter since I wasn't sure what the condition of the old hardware was. I also got a new license plate mount since I didn't want the slowly rusting old one to fall apart on me. I think the new valence with the fresher splitter and no foglights really tidies up the front quite nicely and removes some weight up there even though it's pretty negligible. 

Side profile of new valence
It looks pretty nice, even in black
After that was sorted and stuffing our face for lunch, we moved onto the rear. I had initially planned on replacing the original bumperettes with euro, slimmer style, bumperettes but after some contemplation I decided that removing them altogether would actually look best. We had to drop the muffler in order to get the 3 nuts holding each bumperette in place and because they'd been in place for 37 years, they needed some persuasion with a rubber mallet from the back to come off. 

Say good-bye to the "in your face" bumperettes
You also have to remove the license plate lights so the wiring can be disconnected before actually pulling the bumperettes off. The bumperettes weight in at a hefty 7 lbs each and considering they stick out all the way back there, they're adding weight in the wrong spot. They also add about 6 inches to length of the car unnecessarily. 

Bumperettes removed
I was pleased to see that the paint underneath was quite good but of course over the years some dirt and grime had found its way in there. We pulled the wire through and taped and zip tied them out of the way. After some cleaning, they looked half-way decent but with the obvious holes still in place. These holes are going to be welded shut before the car gets painted over so they'll be nice and smooth in the end.

Rear bumper cleaned a bit
SJF had the bright idea of using some red vinyl he had for decals that was surprisingly a good match for Guards Red and Jenna cut some small pieces to cover the holes. You can see them in real life but as you can see, they're almost invisible in photos or from a distance.

Red vinyl covering the holes
Finally, it was time to remove the stock plastic deck lid grille and install the perforated aluminum one from X-Faktory. This should be a simple job but since the car has AC, the condenser is in the way of all the nuts that needed to be removed. Still, after some patience and the three of us doing our part, we got the grille in and transferred the Luftgekuhlt emblem I had on the factory grille over. I think this grille is a simple detail that adds a touch of low key aggression and actually weighs less than the factory pieces (about half the weight). 

Factory plastic grille
New black X-Faktory perforated aluminum grille installed
This pretty much completes the external mods to the car. I have to think about how I'm going to do the rear license plate lights but frankly I don't really drive the car at night so it's really not that big of a deal. I'm super excited to get the car off to get painted later this year. I'm still waiting on replacement front and rear bellows since a few of the studs in my original ones are a bit screwed up and don't allow the nut to come on or off properly. I might also get new front and rear bumper strips since it probably makes sense to put in some fresh ones after the car gets painted. Overall, I'm really happy with how she's turned out. It's just the right amount of restomod without going full on outlaw and while I'm certainly going to get snubbed by purists, I think real Porsche enthusiasts can appreciate what's been done to breath new and exciting life back into this 83 SC. 

Sunday, August 9, 2020

Achtung Kraft Aluminum Bullet Style Side Mirrors

A lot of people don't like the big "flag mirrors" used by Porsche throughout the entire 80s. I don't really mind them. They're functional, they're powered and they kind of fit into the general shape of the car. While I don't mind them, I do think a small car like the 911SC looks great with smaller and more aerdynamic mirrors so when I found out that Achtung Kraft was making aluminum bullet style side mirrors with "flag" bases so they mount just like factory, I was sold.

Achtung Kraft Aluminum Bullet Style Side Mirrors - 8-9-2020
The first order of business was to remove the factory mirrors. This is surprisingly easy with the right tools but I'm documenting the steps here to help others in the future. First, I adjusted the mirror so they aim up as much as possible. I then just used a long flat screwdriver to pop the glass off. I was most worried about this step but surprisingly didn't get too much resistance. It's basically just held in place by 4 clips, no other glue. Next there are three 8mm bolts holding the motor housing to the mirror cover. Remove those gently, supporting the mirror assembly so it doesn't just fall out.

Remove the 3 x 8mm bolts
Once you pull it away you can see the connector for the motor. Simply disconnect. I suggest you disconnect the battery before you do the next steps by the way.

Disconnect that connector
This leaves you with the connector end that goes into the harness that snakes into the door. Unfortunately, this connector is too big to get through the hole where the wiring goes through. You have two choices here. One is to simply cut the wires which is not ideal if you want to reverse this later. The other is to use the right tool to de-pin the plug so you can pull the individual wires out.

Connector end we need to de-pin
Tool you need to remove the pins -
Delphi Packard Weatherpack Terminal Release Tool
Push tool into each slot then simply pull the wire out
The tool you'll need is a Delphi Packard Weatherpack Terminal release tool and they're only a few bucks from Amazon. When you slide them into each hole, they simply fold the little "wings" on each of the pins that secure them in place allowing you to simply yank them out. Once all the pins are free, turn the mirror forward and use a 4mm hex socket or allen key to loosen the top bolt which in turn loosens a "foot" that will eventually allow you to simply pull the mirror assembly away from the door. Again, be careful here and hold onto the mirror so it doesn't just drop onto the door.

Use 4mm hex to loosen upper base foot
Once you get the mirror off, gently pull the wires out through the hole until the mirror is completely free of the car.

Mirror removed with wiring remaining
The next thing I did was to electrical tape all the pins so nothing shorts and cleaned off the old grime between the mirror and door as best I could. Then, I fed all but one wire (the longest one) back into the door to get out of the way but looped that final one into the top mount hole then zip tied it into place. This way, the entire wiring harness won't fall into the door making it difficult to fish out again later.

Door cleaned as best I could and wiring tucked away
The new mirror has an integrated gasket and mounts the same was as the factory mirrors. Although the base matches that of the flag mirrors, it is a bit smaller so if you have imperfections in your paint where the old base was then that'll be visible. I'm not concerned since the car's getting repainted anyway soon. The mirror is not powered and you simply loosen the 3mm hex bolt on the back so you can move the mirror around as needed to adjust for vision. The mount itself has two positions for where the top foot sits in this new mirror and for me, they arrived reversed so I just switched the spots and that aligned things nicely. Also the upper aluminum foot fits but is a bit wider than stock so I recommend getting the top foot in first then get the two bottom feet in. That'll make things align more quickly then it's just a matter of tightening everything down.

Driver side mirror installed
The passenger side was a little tricky. The passenger base is actually angled a bit more acutely than the driver side (even the factory ones are this way) making tightening down that bolt really hard. I could only get one click of my ratches at a time. If you only have an allen key that is simply not going to work. I'd recommend a fine tooth 1/4" ratchet with an appropriate 3mm hex socket to make your life easy.

Tight space on passenger side to tighten
It's totally worth all the effort though. It looks so snazzy. The mirror is convex so you have quite a lot of visibility including more of the road if you're trying to parallel park and want more visibility on how close the curb is. Obviously, as with all convex mirrors, you have to remember objects are very much closer than they appear but it's not that hard to get used to (plus you should be looking over your shoulder anyway when changing lanes).

Passenger side mirror installed
Convex mirror
And just in case you forgot what the factor flags look like. Here it is:

Factory flag mirrors
The bullet style mirrors just look so good and I think they have better visibility that the popular Vitaloni Sebring small mirrors you see often retrofitted on to this car using the factory flag mirror bases.

Lighter and better looking
I really love how the black aluminum works with all the other little black accents on the car too. Kudos to Achtung Kraft for some of the cool products they're working on. I have another piece pre-ordered from them that I think will look super cool once installed but that'll have to wait until another post.

Little holder for a 3mm allen for adjusting the mirror.


Saturday, August 8, 2020

Brake Maintenance and Plaid Rear Seat Cushions

After the brake fluid debacle I had at Watkins Glen in the Cayman last month, I didn't want another repeat of that with Bumblestook. I'll be at NJMP Lightning later this month with S2K Takeover and I really don't want any issues so I went to see SJF today so we could flush the brakes and give the car a once over.

Time for Brake Maintenance - SJF Performance - 8-8-2020
One thing we immediately noticed was that the front passenger side brake duct hose had torn. I hadn't planned on this but thankfully I had a spare so that was a quick swap in. I may have to find some better hoses since I really don't like how brittle these ones get with age.

Torn brake duct hose
Replaced with new hose
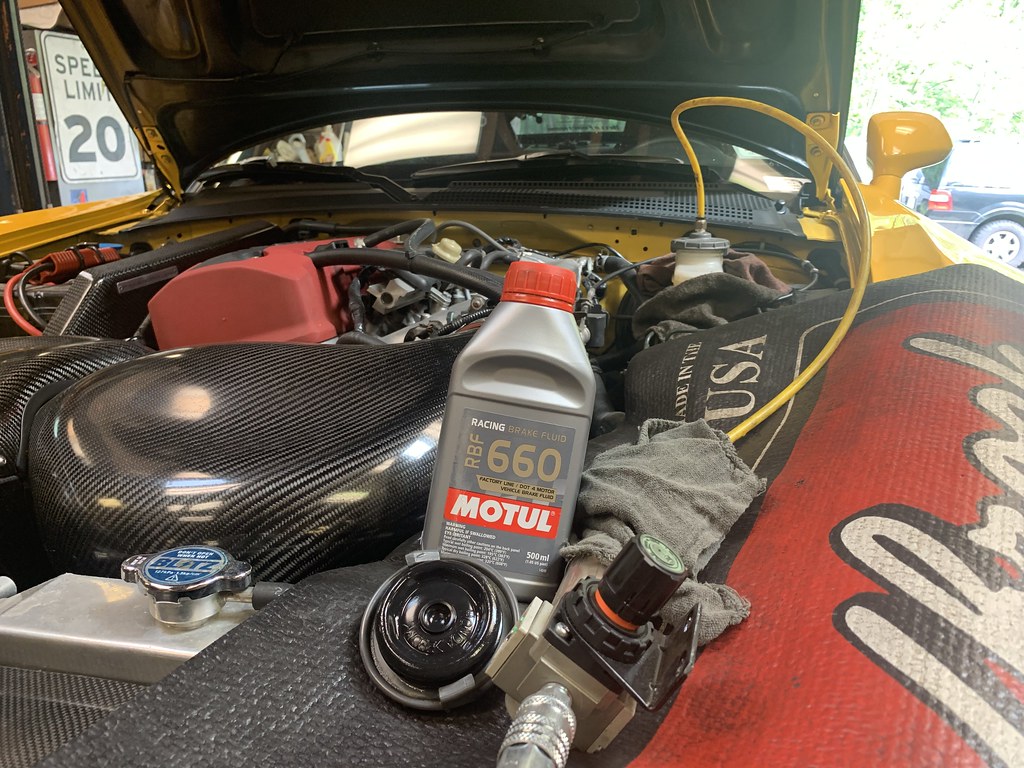
For the brake flush, I switched from ATE to Motul RBF660 after having good experience with it now in the Cayman in very hot temperatures. Thankfully, SJF still had the modified S2000 brake reservoir cap he put together for this car a few years ago so we could pressure bleed the system easily.

Ready for pressure bleed/flush
The color of the Motul RBF660 is a bit darker than the ATE fluid in the car which, despite its age, still looked really clean. This made it easy to tell that all the old fluid had cycled out.

Old fluid out
That worked out quite nicely and the brakes feel super nice and tight again so we're all ready to let it rip in a few weeks.

Plaid Rear Seat Cushions by GTS Classic
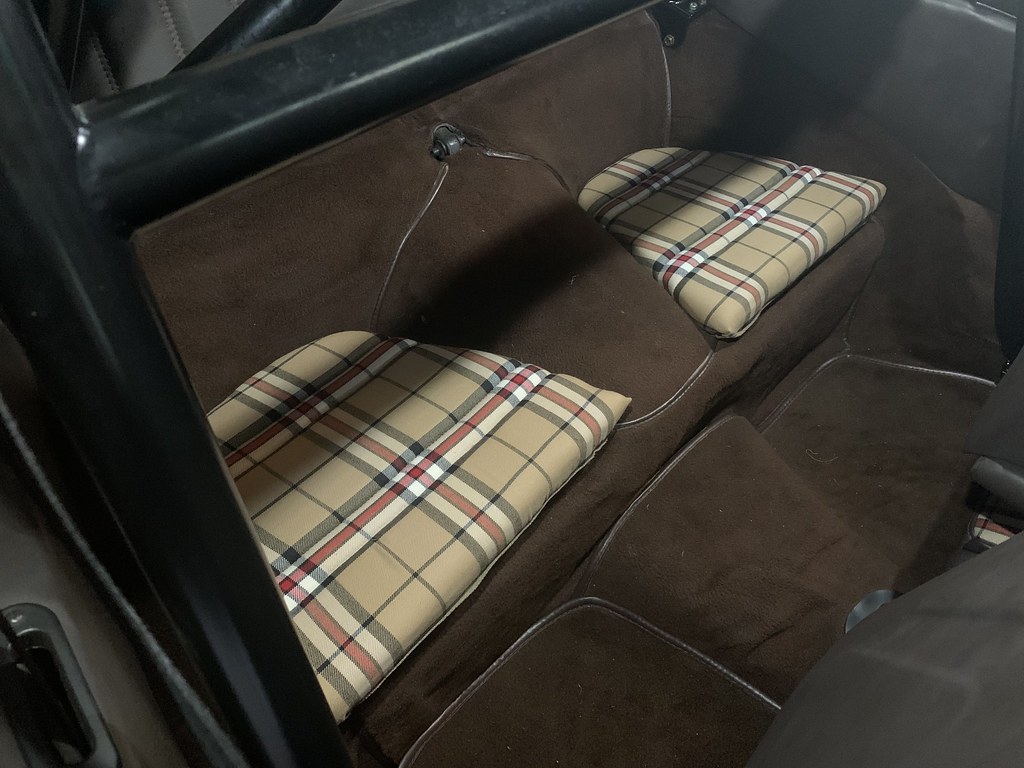
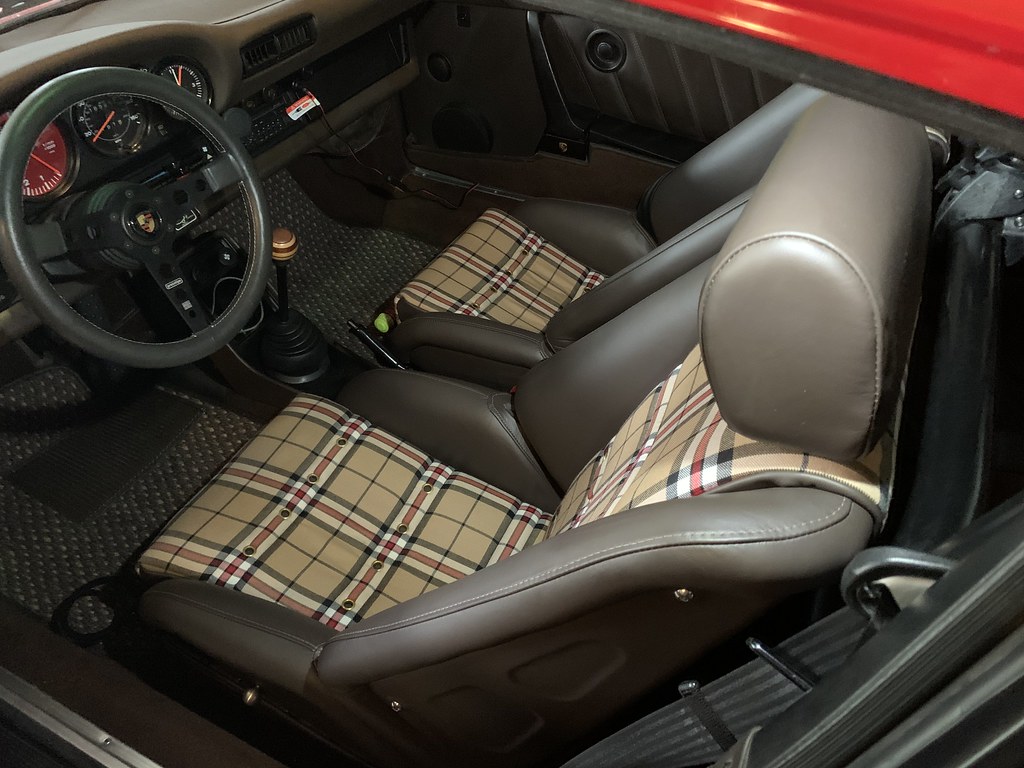
I also got in touch with Stefan at GTS Classic a few weeks ago asking him if he could make up some rear seat cushions in the same material he used for the front seats he made for Scarlett. Thankfully he still had some fabric left and made these fabulous pieces. No one's going to be sitting back there due to the rollbar but I think it adds a nice complete touch to the interior.

Love it when things just match perfectly
Subtle but important detail

Sunday, August 2, 2020

More LEDs and Upgraded Battery

Next to Titanium wheel bolts/nuts, the other thing I've standardized on all my cars is LED bulbs everywhere I can. They offer better illumination, generate little to no heat while in operation and don't draw as much current which for an old 911 is always a plus. 

LED interior dome lights

Replaced the glove box light too

I picked up some nice bright festoon bulbs from Superbrighleds.com and it was a nice easy swap. Visibility is night and day so using my iPhone flashlight to find things inside the car at night is now a thing of the past. 

New festoon LEDs 
Original bulb vs LED

When I changed out the headlight rings a few weeks ago, I noticed that the old gasket was broken for both headlights. This is no good as I don't want water getting behind the headlight. Picked up some new gaskets and swapped that in as well.

Fresh headlight gasket

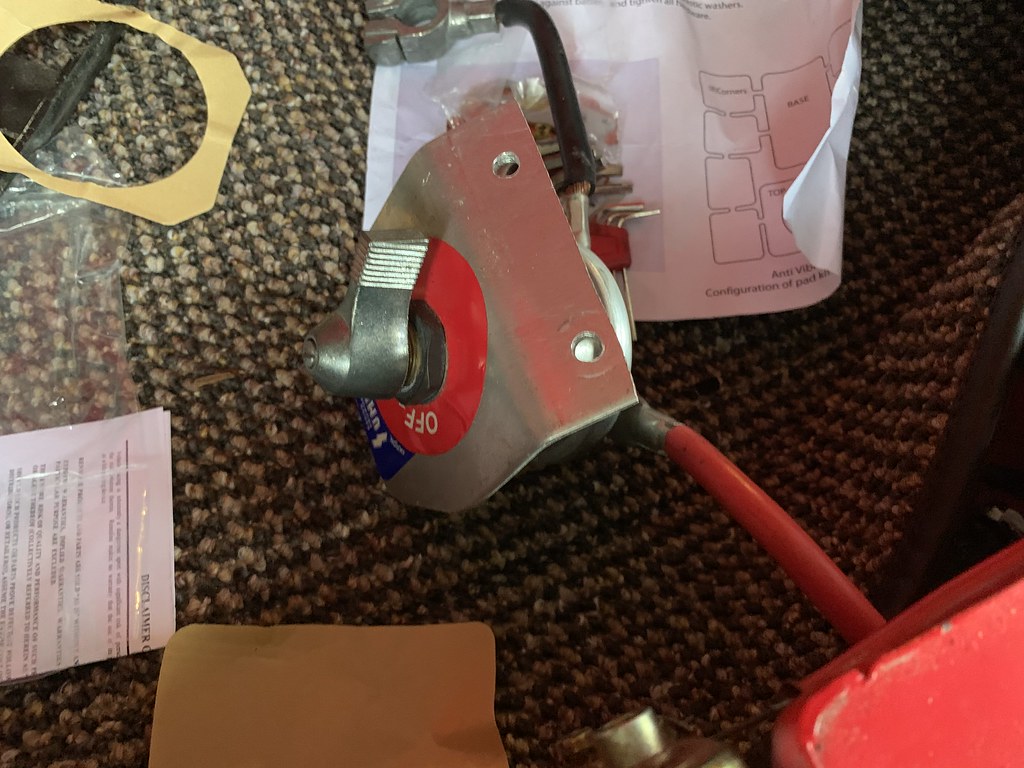
One other thing I picked up earlier in the build but didn't get to install yet was the new lightweight battery. I wanted to wait until all the electrical weak points were taken care off before putting in a new battery just in case it got damaged from things like a malfunctioning alternator. My biggest reason for getting rid of the battery in the car now is because it's a standard flooded battery.  I'm always worried about those getting acid leaks and corroding the metal underneath it. I was a bit worried what I'd see under the battery today to be honest as I saw quite a bit of white powder around the base of the battery and even on the bolt for the battery hold down. First I had completely disconnect this old Summit Racing killswitch that the previous owner installed. I don't know why you'd install a kill switch in such a way that it actually blocks a battery from being changed easily but I was glad to see it go since it also prevented my frunk mat from laying down properly.

Old Summit Kill Switch

After taking off the crazy 50lb Group 49 Interstate battery, I was pleasantly surprised to see no real issues on the metal underneath it. I just had to clean off the white dust from the battery sulfation but no rust or corrosion was detection so at the very least, a battery had never exploded in this compartment before.

Old Group 49 battery

Nice empty spot for the new battery

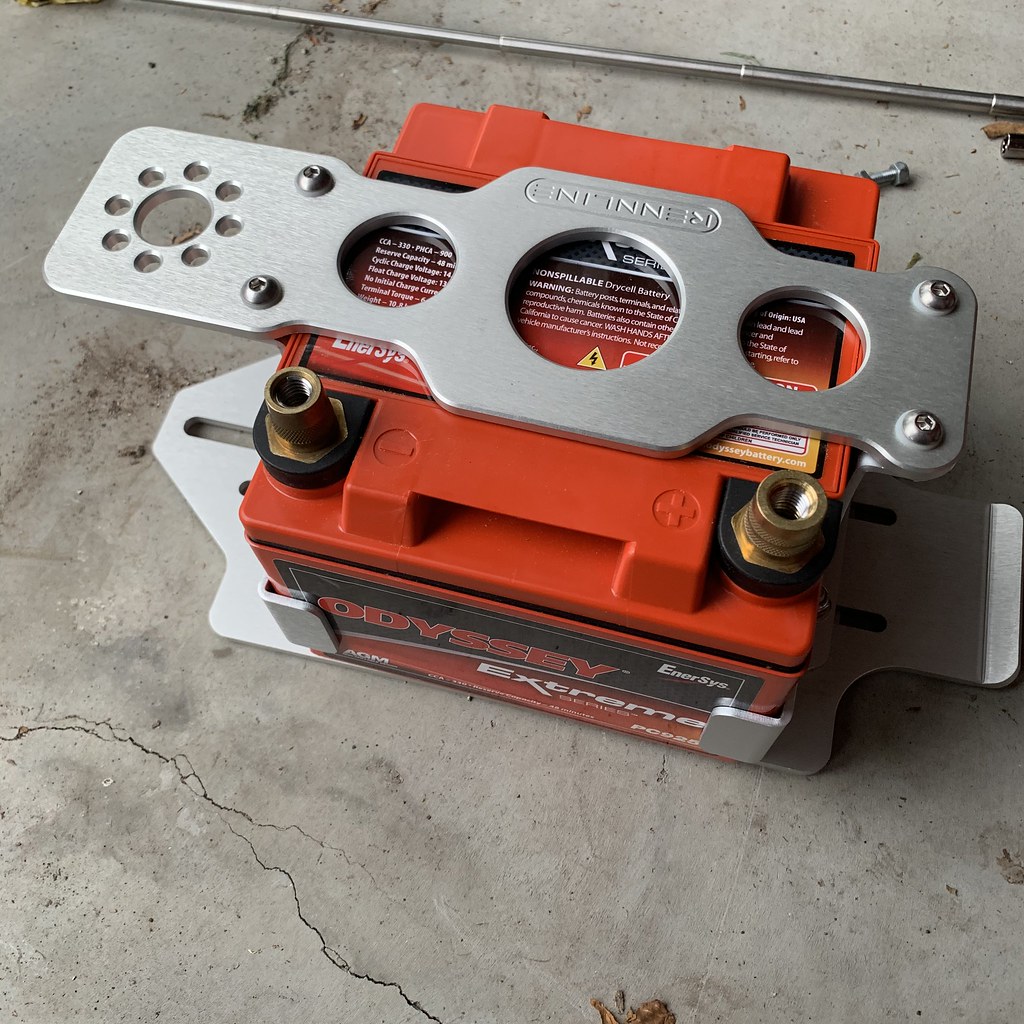
For the replacement I was sure I wanted an AGM battery to avoid any issues in the future. I didn't want to go Lithium as I'm not sure if these old charging systems will do the right thing with more modern batteries. I also didn't want to go extreme light since this isn't a race car and I still wanted good reliability. I settled with the Odyssey PC925MJT (metal jacket) and bought the Rennline battery mount with killswitch. This battery is still around 25lbs so while it cut the battery weight in half, it's still got some heft to it. Not an issue on a car that's super light in the front to begin with. 

Odyssey PC925MJT

I really love how nice this mount is. The battery is held very securely and I can mount the battery kill switch right next to it.

PC925MJT in Rennline battery mount
New battery, mount and kill switch installed - 8-2-2020

I still have to replace all the external bulbs with LEDs and change the flasher relay so it'll all operate normally but this concludes the electrical updates to the car.