Saturday, June 29, 2019

Tech Day at 234

It's been over 6 years since I've taken Bumblestook to Tony's house (a.k.a. 234) for a Tech Day mostly because for most of that time she was stored outside of NY and trailered only. When Tony told me he was going to do a tech day so we could work on his dad's S2000, I couldn't pass up the opportunity to head out there, hang out and take care of few issues I've been noticing with Bumblestook the past few weeks.

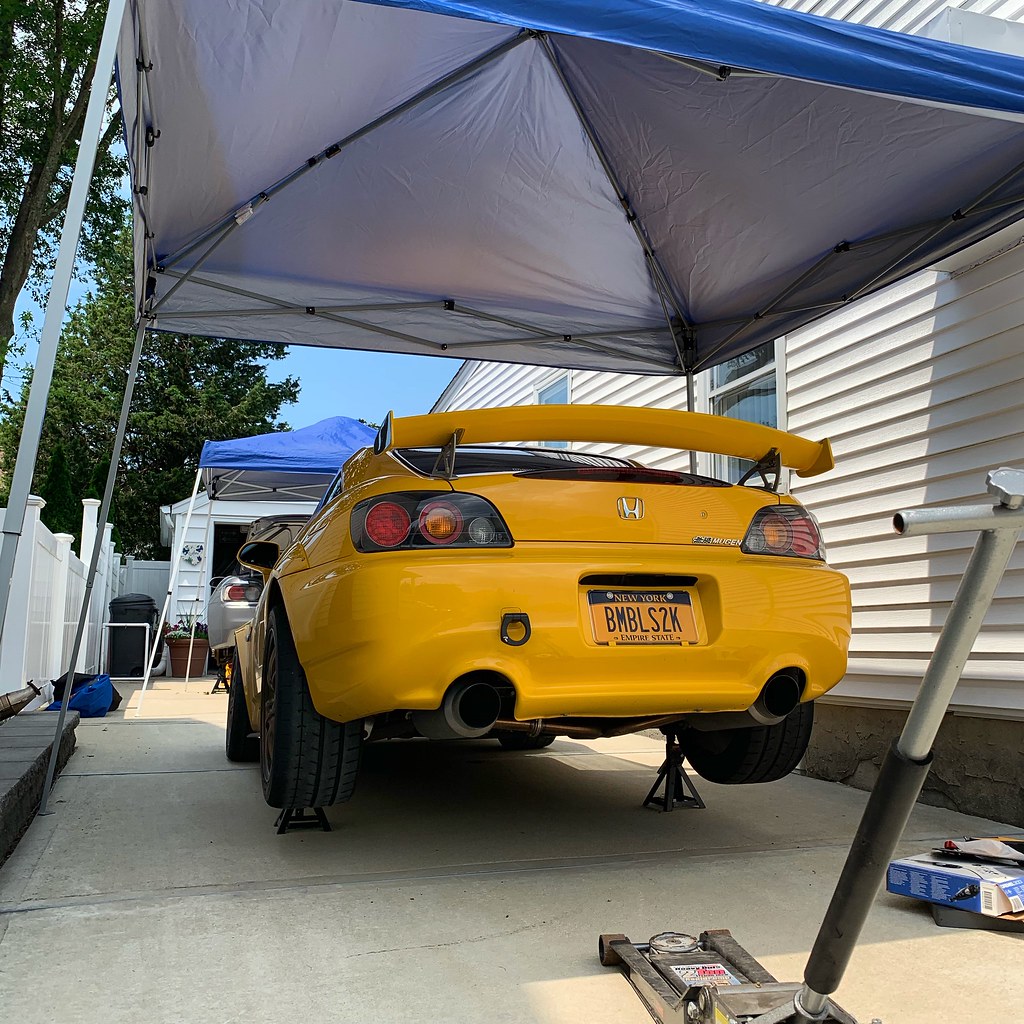
Tech Day at 234 - 6-29-2019
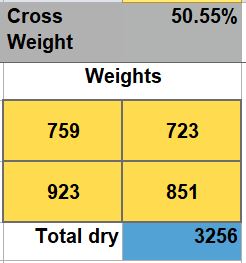
Today was particularly hot, certainly the hottest day we've had this year and I got stuck in pretty heavy traffic so it took me almost 2 hours to get there. As soon as I pulled in and shut the car off, I realized I lost all power. I couldn't unlock my trunk and the dash wouldn't light up when I turned the key. We measured the voltage across the battery and it was over 14V but it was hot and there was slight deformation on the side facing the header. I suspected that perhaps the battery had gone into thermal shutdown and sure enough after letting it cool in the shade for 20 minutes, I was able to start the car again. This is unacceptable. A battery designed to be used in automotive applications should be able to handle the heat from an engine bay (and mine isn't even that hot since I have vents). I could've been stranded if I had stopped somewhere midway like a gas station. I ended up going to Autozone and picking up a Deka EXT14 battery which I've used several times in the past on both Bumblestook and Lupa and popped that in for now while I contact Antigravity about this issue. I didn't want to get stranded getting home and the last thing I need is a Lithium battery catching fire in the engine bay. I'm glad this issue surfaced where it did though.

Failed Antigravity ATX-30 Battery - 6-29-2019
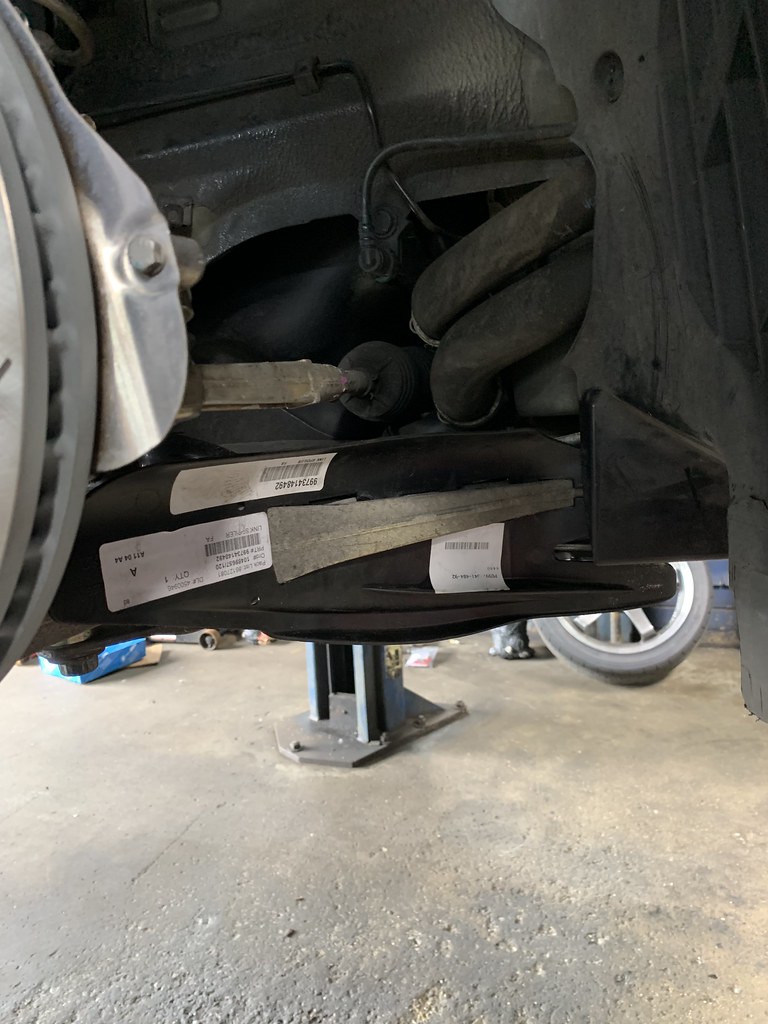
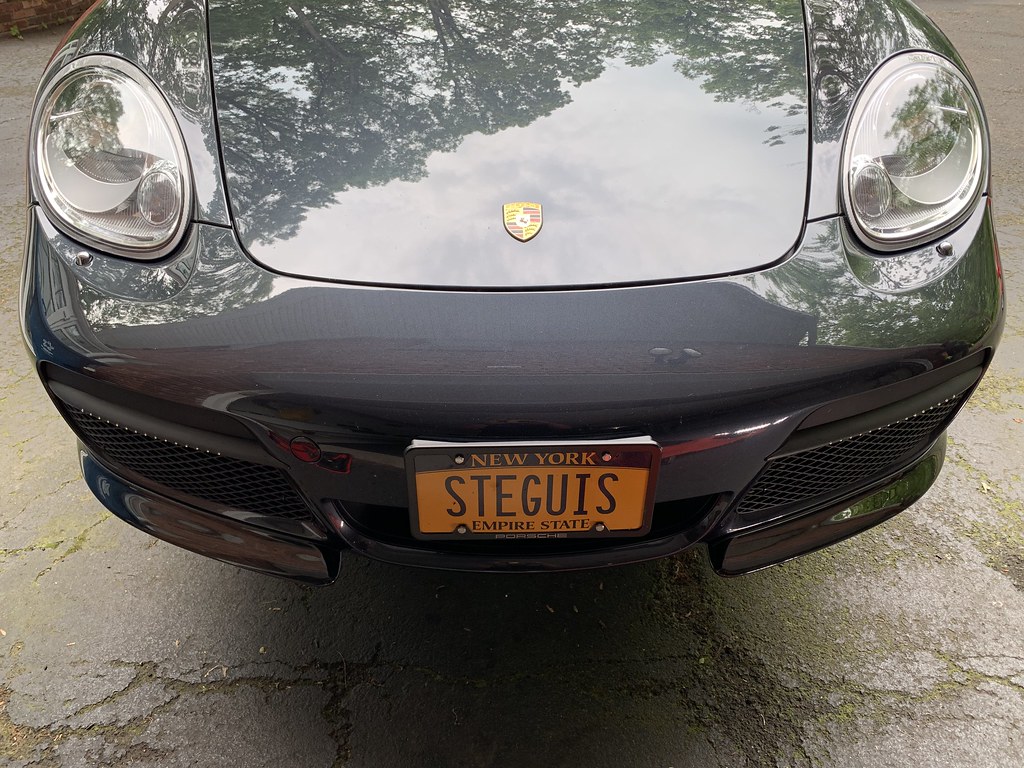
Next I got under the car to try and figure out a weird rattle I was getting from the back of the car and got the shock of my life. The bottom bolt holding my driver side rear damper had almost fully backed out with the lock nut just barely clinging on.That could've ended up in a really bad situation if that bolt decided to eject itself at the wrong time so I'm glad I caught it. There's still a slight knocking sound I hear when I reverse slowly which I think is play in the diff. I might have to put in my backup diff soon but for now I'll just keep an eye on it since the car is generally driving just fine. 

Source of the rattle - 6-29-2019
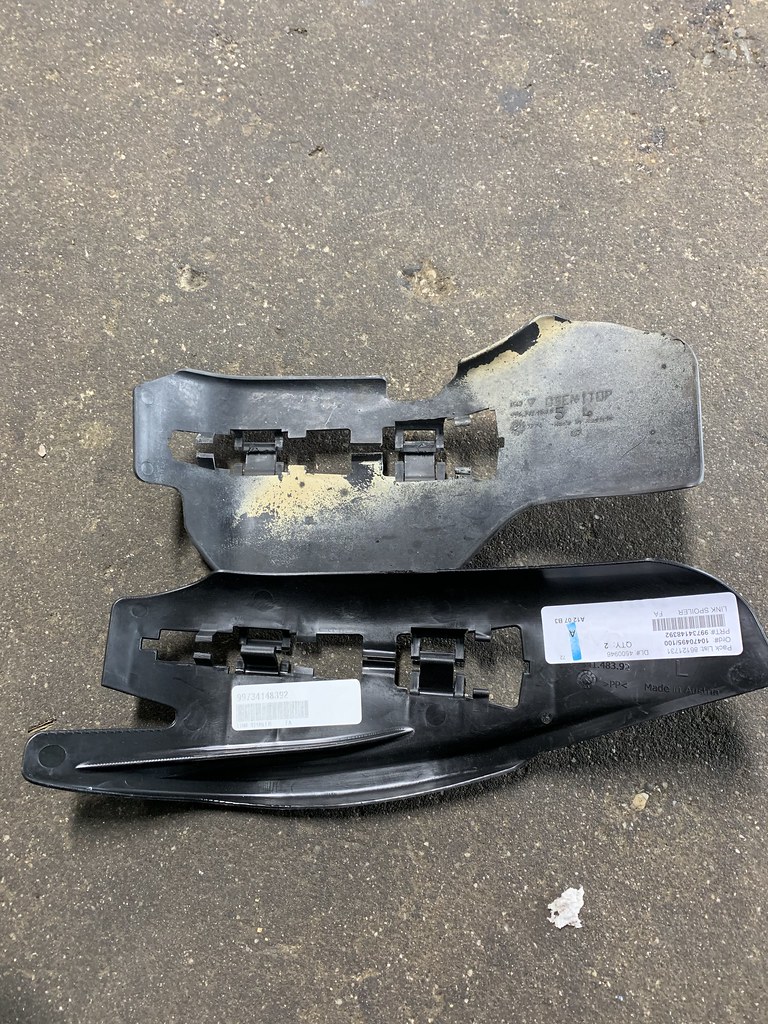
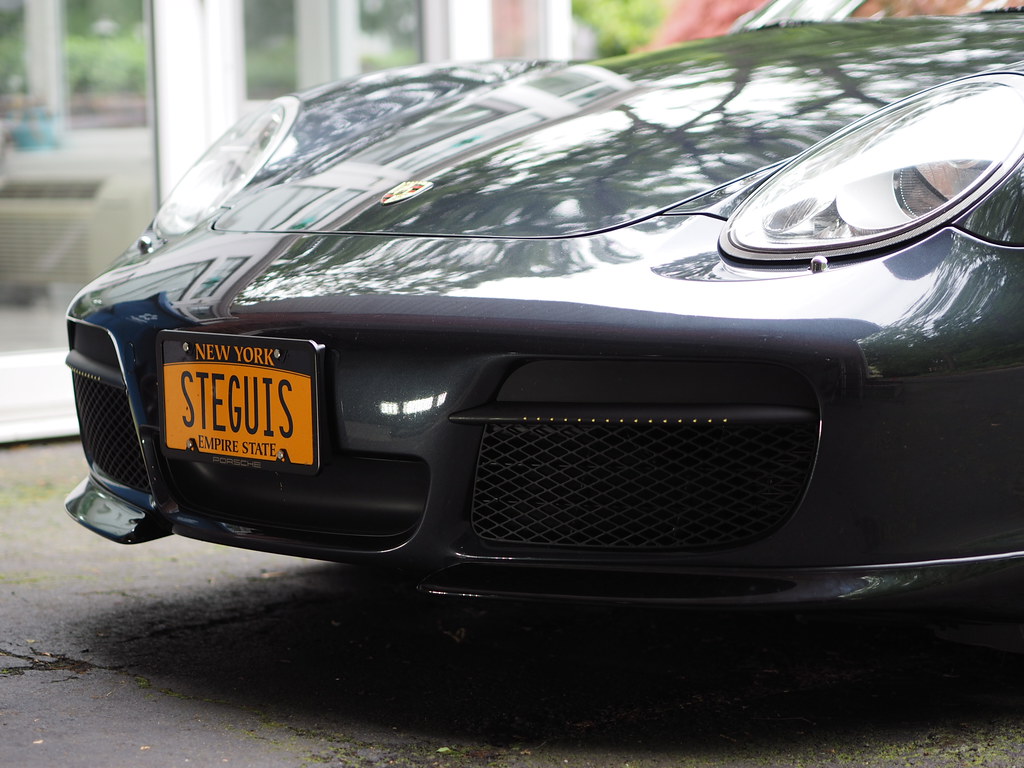
Next, I wanted to address the slight tire rubbing in the rear after I switched to the wider 255 Advan A052. A dremmel and some quick work to take off about 1/4" from the overfender and bumper tab and she was good to go. 

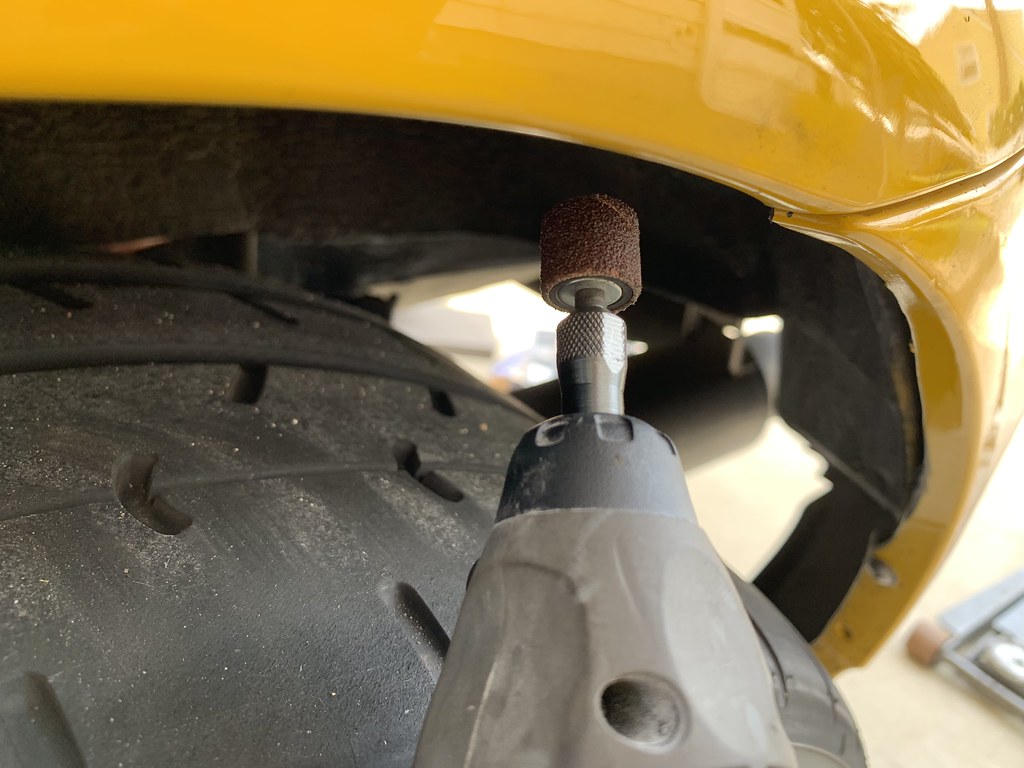
Creating clearance for rear tires - 6-29-2019
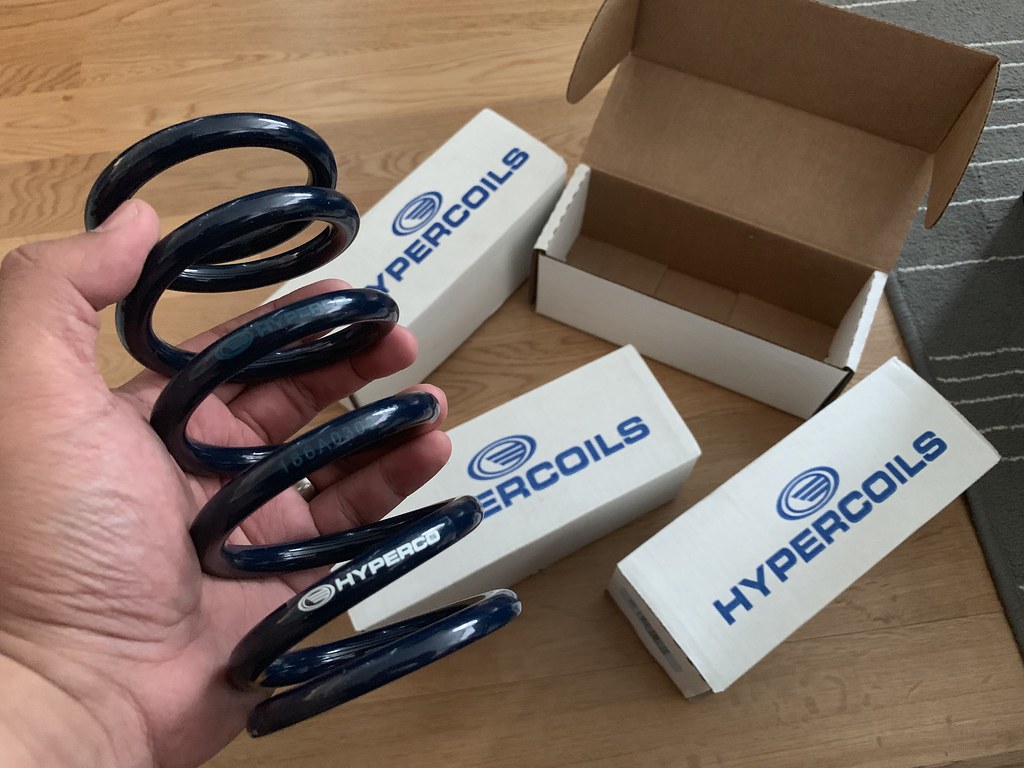
I also started chasing around random rattles inside the cabin wrapping a lot of stuff in foam tape. I got most of the annoying noises out but I still have a few left to find. We finished up installing Eibach prokit springs on Tony's dad's car, put in a test pipe and fixed the stumbling idle caused by a sticky IACV, something I experienced myself early last year. It now looks great and drives like a champ. Of course, it wouldn't be a proper 234 tech day without Tony feeding us so much meat was consumed.


It was definitely good to see everyone again. Probably the best thing about S2000 ownership is the friends I've made throughout the years because of it. Big thanks to Tony and Jose for helping me out. Knowing that Bumblestook is back to normal and uncovering a fatal flaw in the Antigravity battery that could've bitten me hard at NJMP next month is icing on the cake. 

Monday, June 24, 2019

Poconos with NNJR PCA/SCCA - Codriving with James

What's better than one weekend autocrossing at Poconos Raceway? Two weekends back to back! I thought last weekend's weather was good. This weekend was even better. Softened up the front a bit to get it to work a bit better and it was feeling pretty good. We did 4 heats so we got both a morning and afternoon session.

NNJR PCA/SCCA Autocross - 6-23-2019
Photo Cred: Perry Aidelbaum
In the afternoon, I had James (2018 STX National Champion) co-drive with me after his BRZ had some issues with the clutch. It was a good opportunity to get some feedback and also push the tire temps on the Advans to see how they behave at the limits. After some back to back runs the Advans eventually did get way too hot and we had to spray them down. That took about 5 runs and with very little breaks in between so that gives me confidence that these tires will be just fine single driver at Nationals.

James popping the Porsche Mid-Engine Cherry - 6-23-19
We discussed what was going on with the front end and increase front rebound more to get the front to stay down. This definitely helped quite a bit. The front was gripping much better and made transitions easier. The final settings were:

Front:
compression: 5
rebound: 11

Rear:
compression: 9
rebound: 9

It'll be interesting to see how these new settings translate at the Meadowlands. The grip here is significantly higher and there aren't any real bumps to speak of other the curbing. We had four runs each in the afternoon and were split by only 0.1 seconds. It's really interesting seeing our base and top speeds as we played some cat and mouse in different sections.

NNJR PCA/SCCA - 6-23-2019

There was also that one run where I accidentally left my helmet on the passenger seat giving James an interesting surprise at the end of the straight. I still have a chuckle at this video.

Outtake...when helmets attack


Saturday, June 15, 2019

New Suspension Setup Works...What a Relief!

Finally got a chance to test out the new suspension setup and brakes at the NEPA SCCA autocross at Poconos Raceway. It took about 2 runs to get the new brakes fully bedded in but they feel exactly like what I've been looking for. The slightly more aggressive Cayman R front pads has great pedal feel and didn't over slow the car while feeling really well controlled and easy to modulate.

NEPA SCCA Autocross - Poconos Raceway -  6-15-2019
From the first run, I knew right away that the new spring setup was working quite well. The course included a section that pretty much forced you to get up on the curbing and onto the rumble strips and if I still had my old springs, that would've been a disaster. Instead, with the new setup, I was able to get right over it with no drama. The balance was off quite a bit though. Although I could tell the front was already working better, I felt it was pushy under power and I spent the rest of my runs trying to dial it out.

NEPA SCCA Autocross
Poconos Raceway -  6-15-2019
Ultimately I settled with slightly softer settings up front and a click higher in the rear:

Front:
compression: 6
rebound: 8

Rear:
compression: 9
rebound: 9

Tire pressures I've kept at 30/32 hot. Speaking of tires, the Advans feel superb. I did get one rerun where I basically hot lapped and I discovered that while the Advans like the heat you can cook them.  If they get too hot then you do start sliding around quite a bit. I didn't have to spray them though. Just letting them rest between runs was enough. This is perfect for a single driver car. I'm guessing two-driver cars may opt to spray a little bit. I think they do like a little bit of heat so trying to ice them down or something like that would be counter productive though. Overall the tires remained consistent and predictable through all my runs and I was able to have enough confidence to really push her hard in my final run (video at the end).

Although I was pretty much dirty for all my runs including my last run which was still good enough for the win even with the cone, I don't think she's at full national pace yet. We're much closer now for sure and it's a massive improvement from her old setup. I think with a few more tweaks she can put down proper times assuming the nut behind the wheel can stop hitting cones and drive more aggressively. I think the front bar needs to be softened up one hole and maybe a slight increase in rebound to keep the nose more planted after I load it up. The balance is better now but she's still a bit "too stable". I think if I dialed in a bit of power on oversteer she'd be much faster.

STU Results - NEPA SCCA - 6-15-2019
I've been really focused on trying to be really tight everywhere and making sure my head is moving around looking far enough ahead. I think the video shows it's been paying off. Sure I've been dirty but considering the number of corners and the number of times I seemed to be on top of the cones, I'm surprised I only hit one cone on that entire final run (see video). I think that's progress. I just need to keep it clean  for the big events but I'm starting to figure out where the corners are of this car are and how early I have to turn in. A bit less braking, carrying more speed through the corners and more thought towards my game plan for car placement during course walks and then maybe I'll finally get back into some respectable pace in this car.

NEPA SCCA Autocross
Poconos Raceway -  6-15-2019


Friday, June 14, 2019

Fresh Brakes

I certainly don't expect stock Cayman brakes to stop like track pads do, nor do I want an overly aggressive pad for autocross since it'll be harder to modulate at lower speeds and I'll likely bleed too much speed coming into corners. However, I've found Kay's brakes to be a bit wanting. Braking zones are where time can be gained or lost so being able to have more effective control over braking is a must.

New Brakes - 6-14-2019
Considering that the stock brake pads and rotors have been on the car for over 12 years now I don't think that's helping. During my last trip to Speedsport Tuning, I was told that my front pads were starting to get low (though not low enough to trigger the wear sensor yet) and I just took that as a signal to finally freshen things up. I don't know why Porsche uses drilled rotors other than they look cool but for any performance application, it simply opens up more opportunities for cracking. To avoid this, I went with Sebro (OEM supplier) slotted rotors front and rear from FCP Euro.

Fresh front slotted rotors - 6-14-2019
Fresh rear slotted rotors - 6-14-2019
For brake pads, I chose the OEM rear pads but for the front, I opted to try the OEM Cayman R front pad kit from Suncoast Parts. These are a slightly more aggressive compound and should give better initial bite.

New front and rear pads - 6-14-2019
Cayman R front pads - 6-14-2019
Stock Cayman S rear pads - 6-14-2019
The Cayman R front pad kit also came with a new brake spring kit and wear sensors. I don't think I technically needed to replace mine at this mileage but since they already came with the kit why not.

New brake spring kit - 6-14-2019
New front wear indicators - 6-14-2019
Finally, while I was ordering stuff anyway, a nice brake upgrade for 987 Caymans are the 997 GT3 brake ducts. These simply replace the OEM air deflectors on the lower control arms to help cool the brakes better and are direct plug 'n play. These aren't needed for autocross at all but they're a surprisingly cheap upgrade that'll come in useful for future non-autocross activities.

Stock brake duct (top)
GT3 front brake ducts (bottom)
GT3 front brake ducts installed - 6-14-2019
Since we have an event with NEPA SCCA tomorrow at the Poconos, I dropped Kay off with Lee at Hybrid Motors today to get everything done. I did buy new Motul RBF600 Fluid but since we just bled the breaks when the new stainless brake lines were installed earlier this year, we didn't re-bleed the brakes again today so I'll hang onto the new fluid for next time.

Maintenance Updates:

Mileage: 35,610
- New Sebro slotted front and rear rotors
- New Cayman R front brake pads
- New stock Cayman S rear brake pads

Thursday, June 6, 2019

Suspension 2.0 - Mr Softy

There's such a thing as going too stiff and I definitely went in that direction with Kay. I've been complaining all year about how it's been difficult to control her and get power down because she's felt too "nervous". This was caused by the overly stiff 600/700lb springs I decided to start off with on the MCS 2WNR.

Hypercoil 300/450lb 2.25"ID 6" Springs
After doing more research on different setups, I realized that these spring rates are great...for dedicated track use. For a mix of street driving and autocross in potentially wavy lots, it's too much. It makes the car slower simply because you lose mechanical grip as it skips around. I looked at what the KWV3 coilovers came with and those are around 250/400lb springs so I settled with something just a bit stiffer at 300/450lb. Reminder: The stock PASM springs are 174/297lb so this is a decent bump without going crazy.

Hypercoil 300/450lb 2.25"ID 6" Springs
I dropped the car off with Speedsport Tuning again so they could work on it this week. They were able to slot me in and I picked her up this morning. I had them install the new springs, set the ride height to about what they were previously and corner balance and realign back to our starting point when the suspension was first installed.

Picking up Kay at SpeedSport Tuning - 6-5-2019
I had been softening my dampers to try and make the car softer before but now that it's back on softer springs I was able to crank the dampers back up a little bit. I'm starting off with these settings:

Front:
Compression: 8
Rebound: 8

Rear:
Compression: 8
Rebound: 9

I'm obviously going to tweak it at the next event once I get a better feel for the new balance. This is also the first time she's been on scales in full STU trim. It's interesting comparing the two weights. Both images below were done with a 175lb ballast. The main changes were the new wheels, lightweight battery and less fuel.

Corner weights on 2-9-2019

Corner weights on 6-6-2019
The car improvement is night and day! I no longer have to cringe before every bump or dip in the road. She feels planted yet compliant like a proper German sports car should feel like. I'm able to stay on the throttle with ease in spots where I'd normally lift to avoid any sketchiness and my confidence in her handling has been boosted significantly. I can't wait to see how she does at the next event. 

The shop also told me my front brakes are getting pretty worn. I've been waiting for that. Now I can finally put some good pads on and switch from drilled to slotted rotors...but that's for another post.

Saturday, June 1, 2019

Spoiler Alert

One thing I've always loved on Porsches are ducktail rear spoilers. I know it's not for everyone and that a low spoiler like this has no added performance advantage but I've always loved how they change the shape of the rear of the car. I ordered one from Dave Sodergren of Precision Design Plastics in Washington. He doesn't have a website and only sells through the forums. He makes them in small batches so I was on the wait list for a few months but it finally came. I dropped it off with Eric at K2 Auto Body to get it painted and as always did a fantastic job with the color match.

Ducktail Rear Spoiler - 6/1/2019
It's a pretty simple install. You just remove the seven Torx T20 bolts holding the OEM spoiler on and bolt on the new spoiler. It uses a different thread pitch so you need to use new bolts they supply and they recommended using Loctite blue to make sure the bolts don't vibrate off.

OEM spoiler removed

Ducktail Rear Spoiler - 6/1/2019
Ducktail Rear Spoiler - 6/1/2019
Yes, I'm fully aware the spoiler isn't STU "legal" so for Nationals this year I'm going to be putting the OEM spoiler back on. The rest of the time I'm leaving this on because I think it looks great.

Ducktail Rear Spoiler - 6/1/2019
I also think the front of the Cayman looks too mild. I really like the OEM aerokit front lip but it's just too pricey for something that's effectively a cone bumper for me. Precision Design Plastics also makes a OEM aerokit style front lip that is STU legal so I ordered a set as well. It's a subtle change but makes the front a bit more aggressive.

OEM stock front lip
Aerokit-style front lip - 6-1-2019
I had it shipped gel coated black and didn't paint it since I think it already blends nicely black. Plus it's going to probably hit a lot of cones so I'd rather just paint it in the future once it's had enough battle damage. The OEM lip is only held on by three plastic rivets underneath and the new lip attaches the same way with new plastic rivets plus a self tapping screw by the wheel well.

Aerokit-style front lip - 6-1-2019
Big thanks to Alex for helping me with the front lip install. I think that's it for "external mods" for a while. I'm finally happy with how she looks now and it's always a good sign when you need to look back once or twice after you park the car.