Monday, June 25, 2018

The Final Chapter

A little over four years ago, after surrendering Bumblestook's plates and turning her into a dedicated race car and trailer queen, I realized how much I missed driving an S2000 around on the street and I ended buying Lupa and chronicled her journey in this blog.

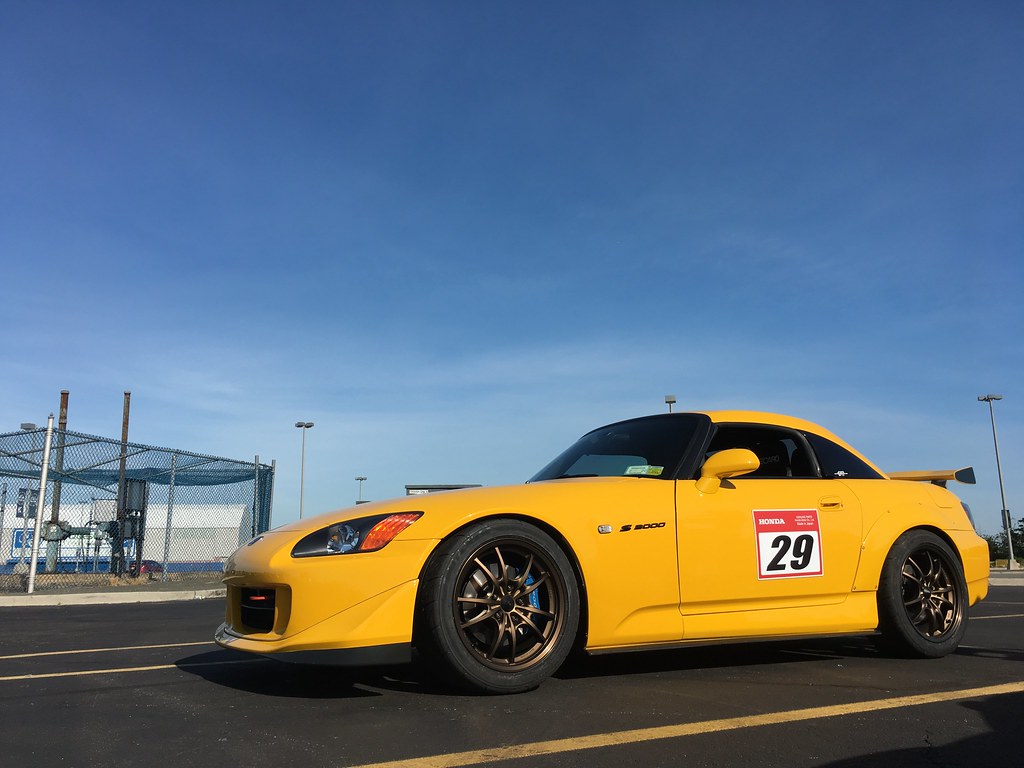
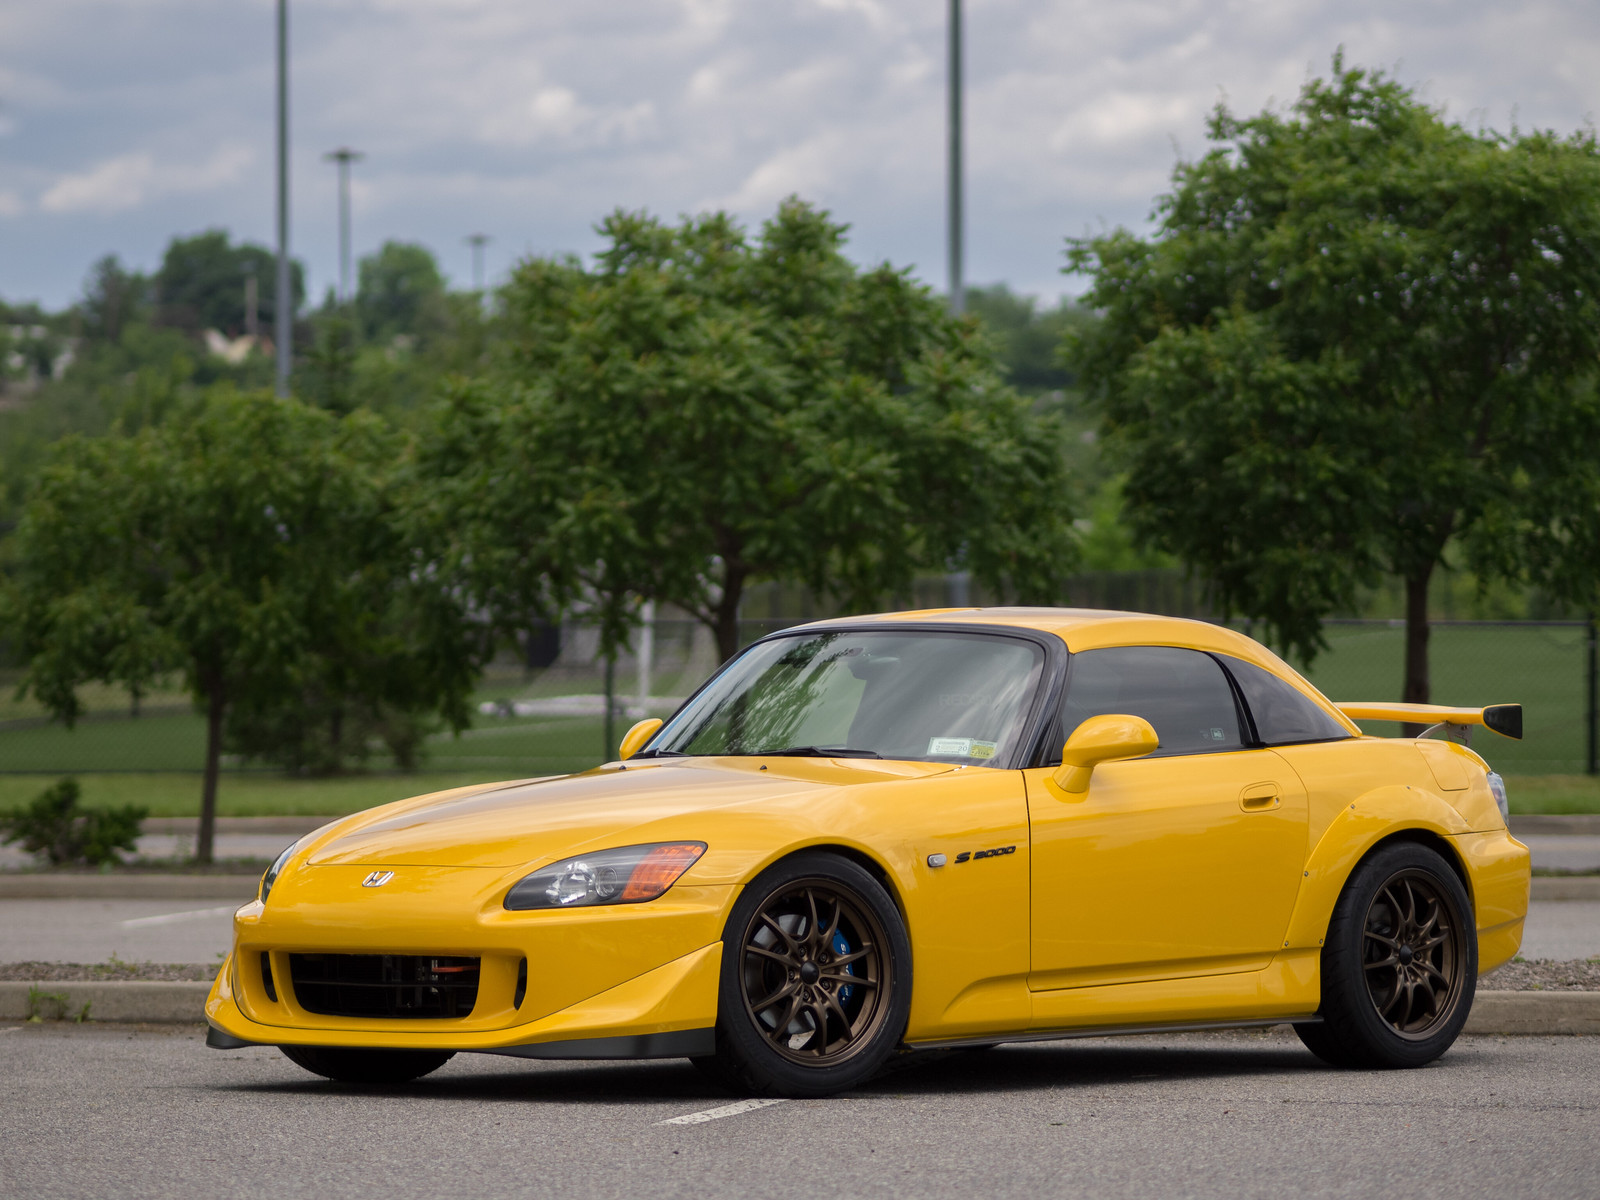
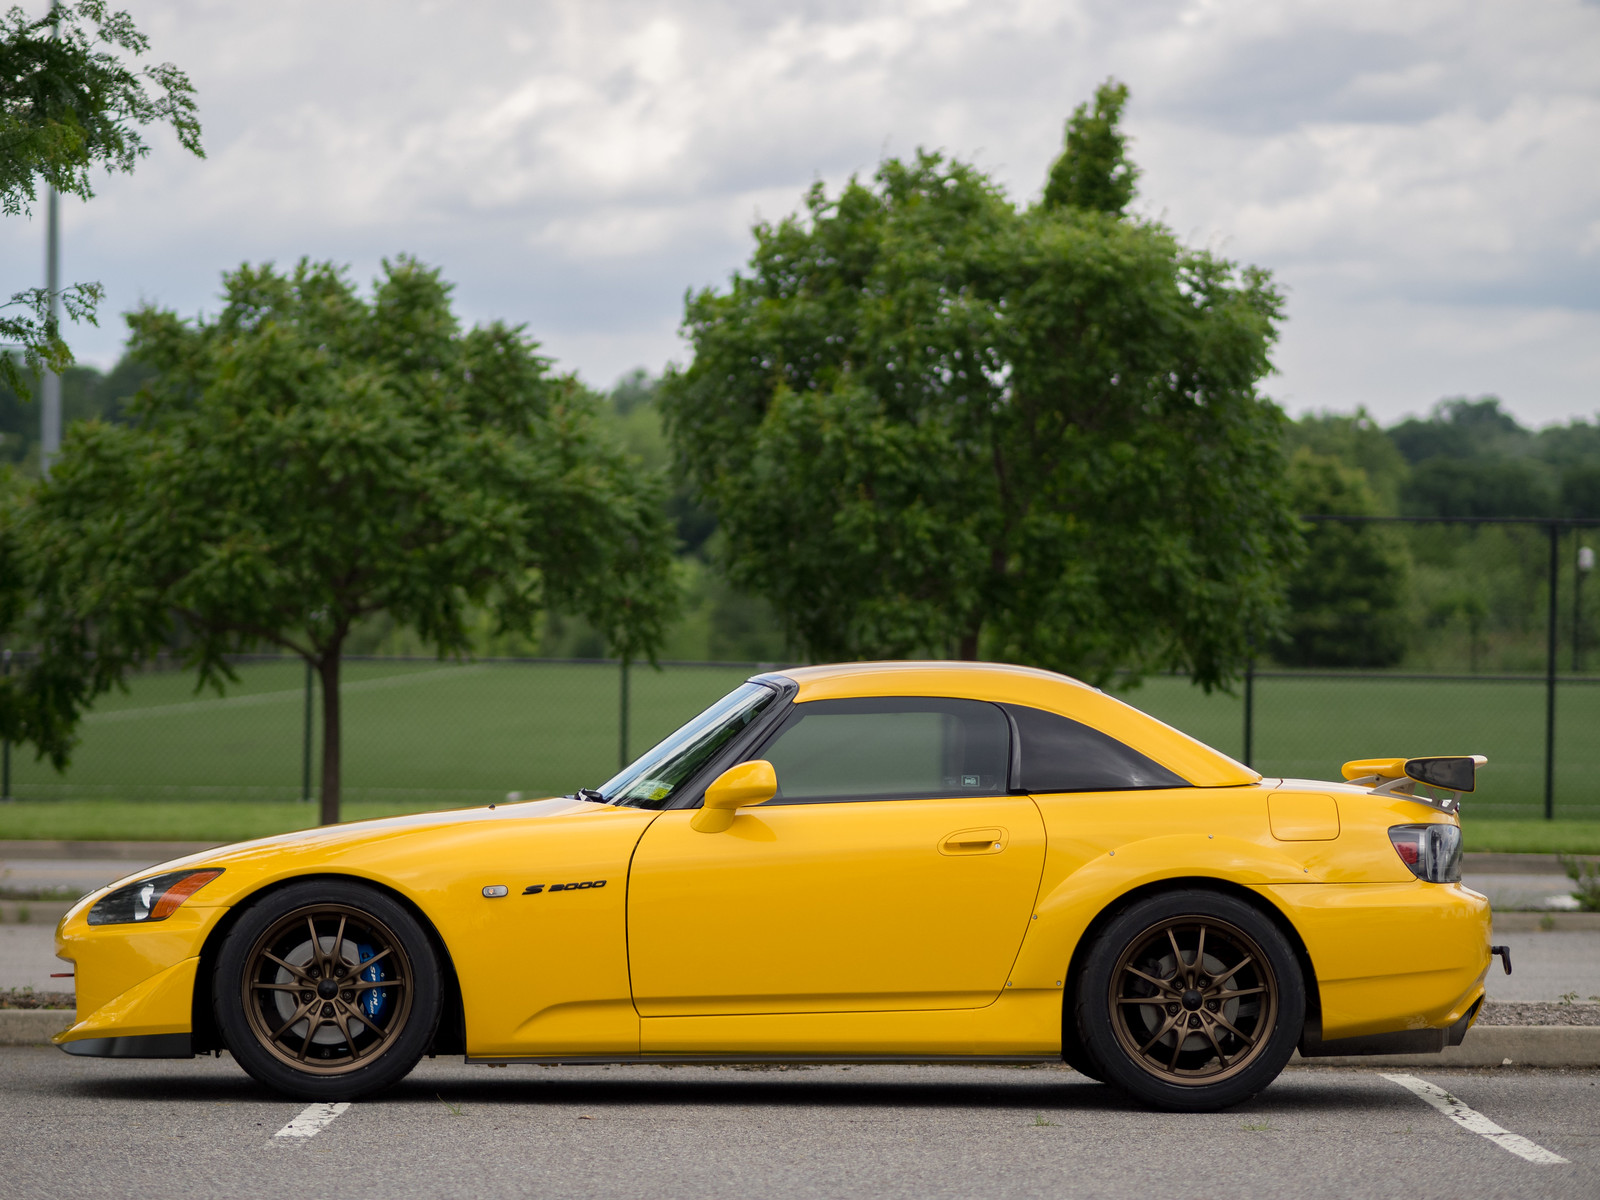
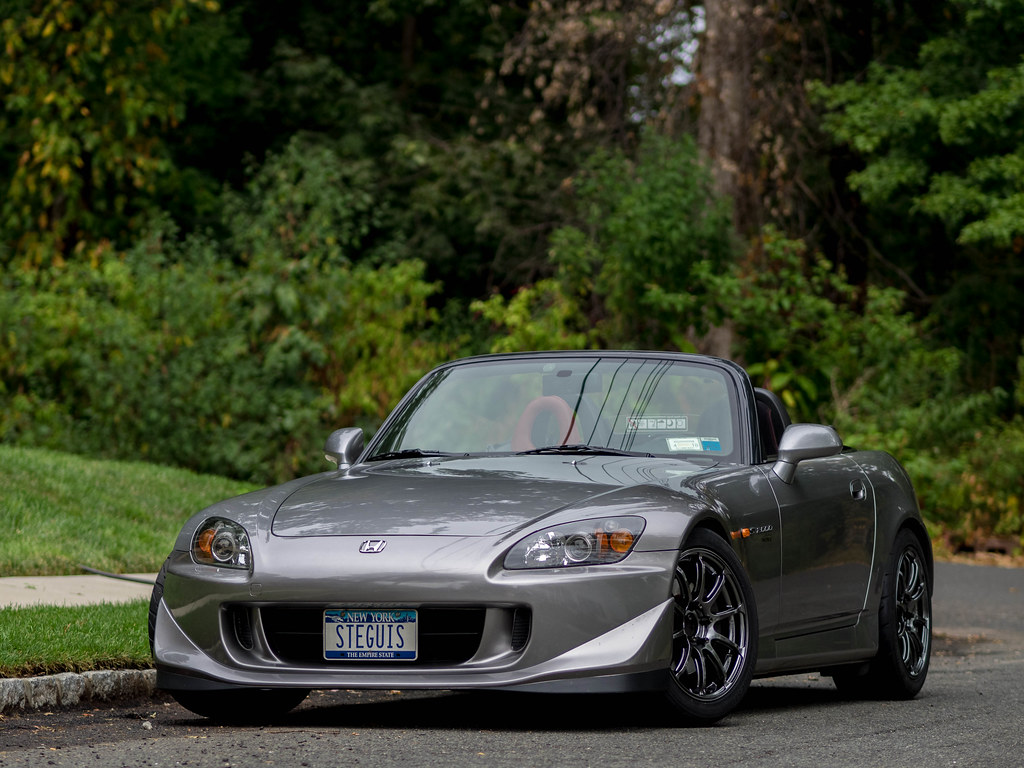
Lupa in her current trim
We've had some incredible times. I spent a lot of time driving to all sorts of places with the top down. Her driver seat was a great place to re-establish focus and be alone with my thoughts. Eventually fully prepped for STR, she served as a "training/backup" car for events where I didn't feel like towing Bumblestook. We drove all the way down to Key West and back going from near freezing temps to scorching sticky weather and back again all with the top down just because.

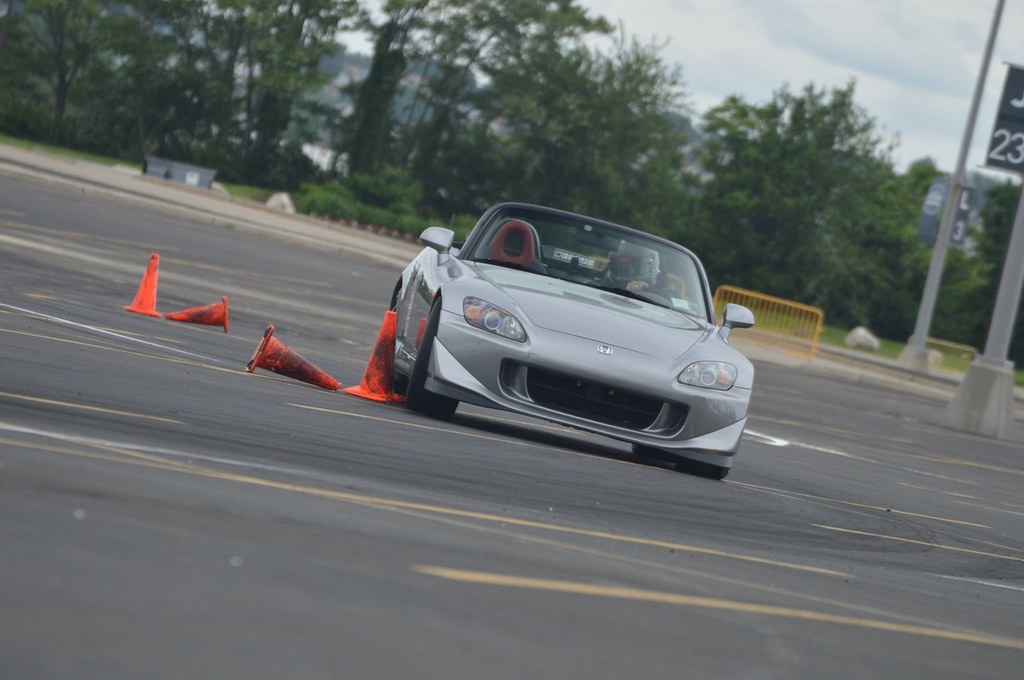
S2000 East Coast Tour 2015 Video

Two years ago, I had to awesome opportunity to see both Lupa and Bumblestook compete at the SCCA Solo National Championship and share my love for these cars and the sport with more people.

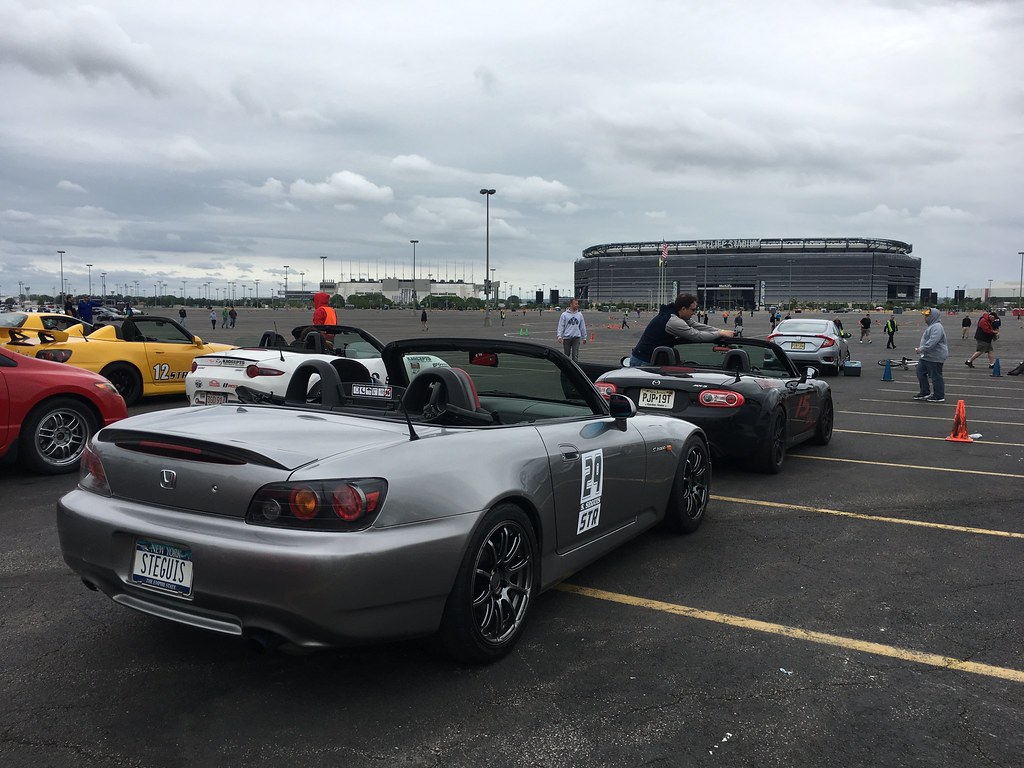
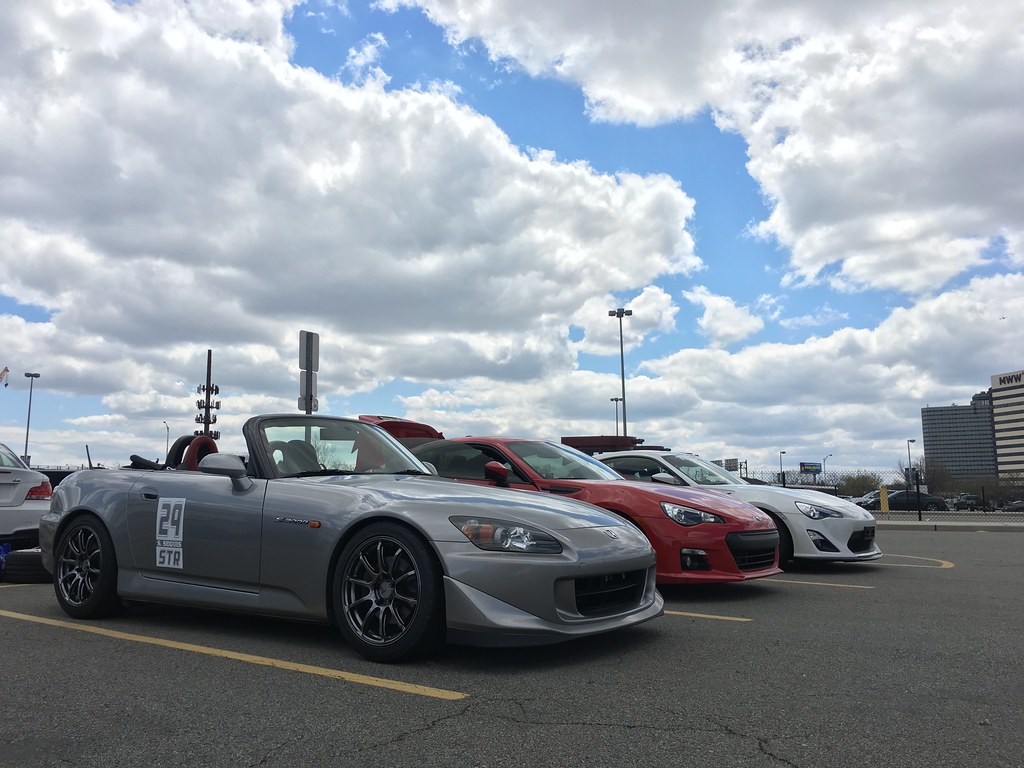
2016 SCCA Solo Nationals
Each S2000 had their own purpose and everything made sense. Fast forward to now and Bumblestook is back in all her glory as a legitimate "one car to do it all" street legal S2000. It seems obvious then that when presented with an opportunity to drive one, I'm always going to pick the keys of the car that started it all for me, Bumblestook. There are many reasons I can justify keeping Lupa but it is time to let her go. While I have no financial need to sell her, one thing I refuse to do is just leave her parked when she can be out there being driven hard and enjoyed as every S2000 should.

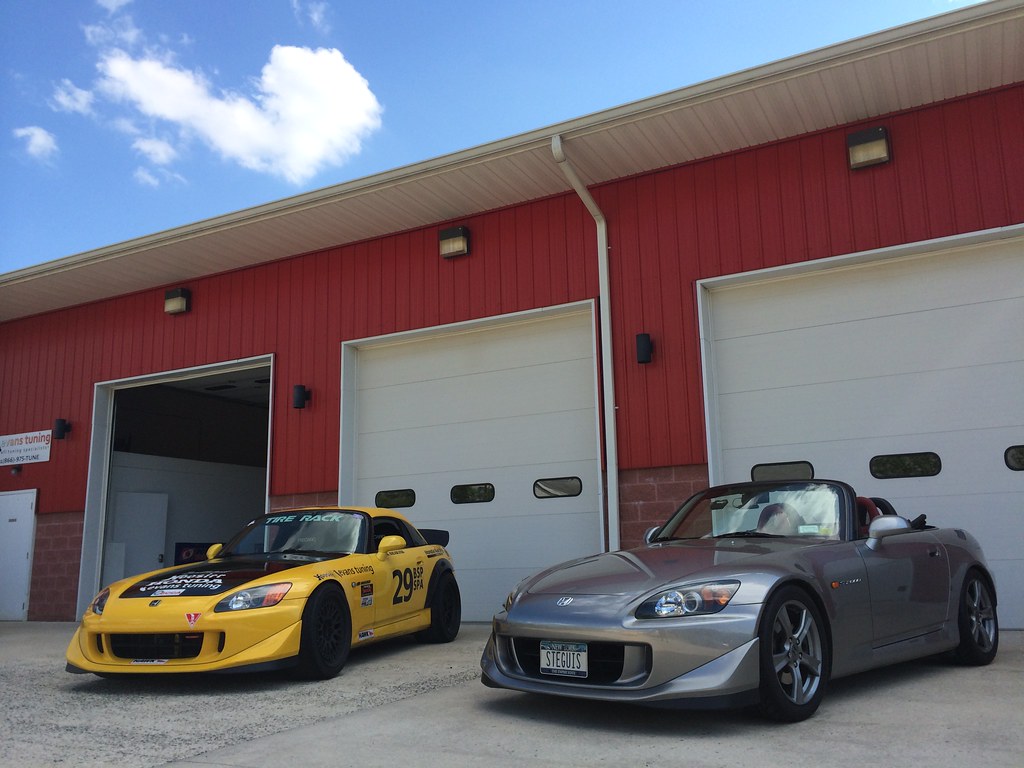
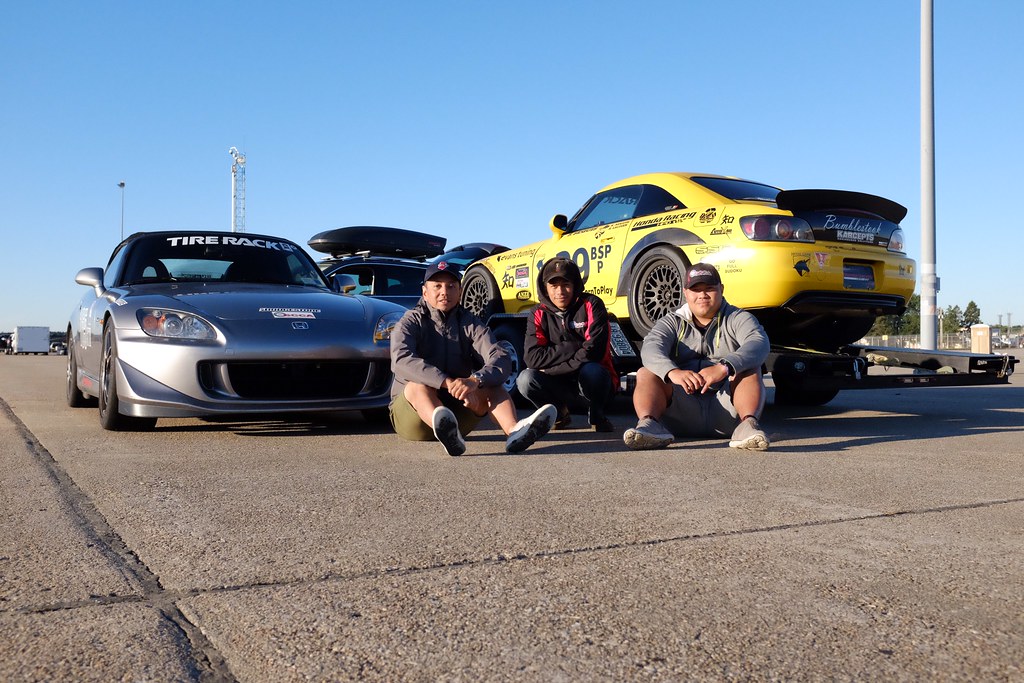
One of the rare moments both cars were together

This is the 2nd to last post for this blog. The final blog post will be for when she's finally sold. The plan now is to part her out and bring her back to mostly stock form so I can offer her up for a very reasonable price and allow more people to share in what I like to call #s2klove. It's been literally and figuratively a great ride and now it's time to find her a good home.

Lupa's final event - 6-3-2018

Final Car Details:

2005 Honda S2000
Silverstone with Red/Black interior (around 1 of 520 made in 2005)
77K miles

Engine/Drivetrain
K&N FIPK Intake
Toda Torquie-Kun Header Jet-Hot coated
70mm EVS High Flow Cat
T1R 70-EM Full Titanium cat-back exhaust
New OEM clutch and flywheel installed at around 55k miles
ATS Spec III clutch-type differential
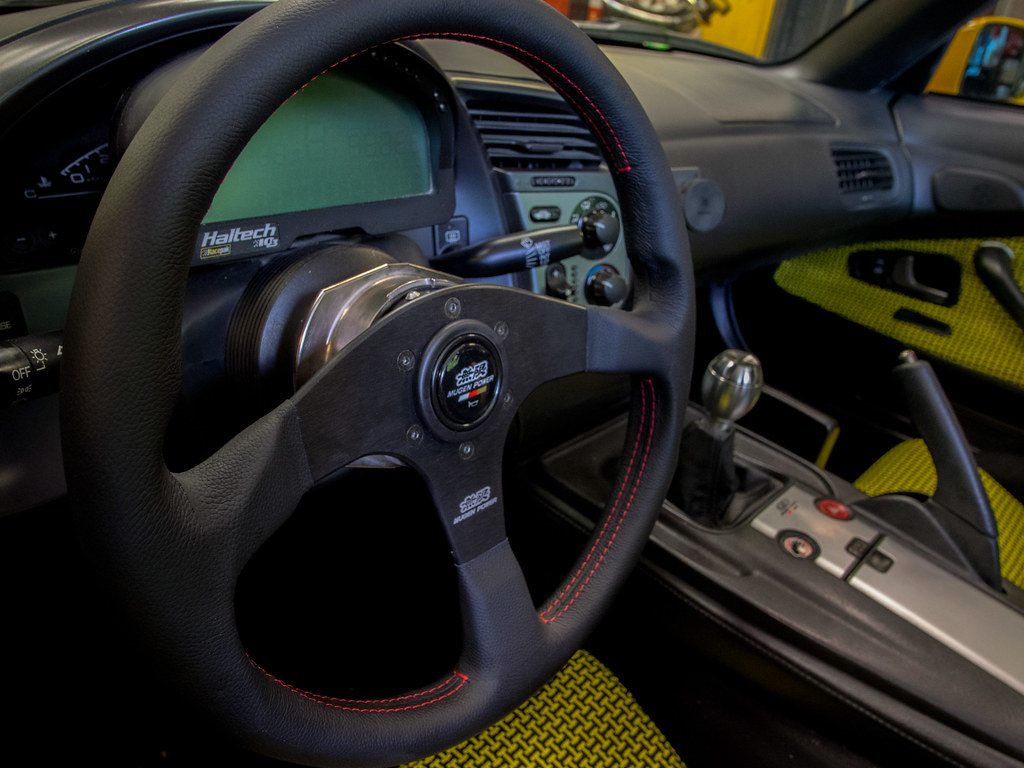
GReddy Emanage Ultimate with Karcepts dyno tune (8600rpm redline)
Moroso Catch Can
Innovative 75A poly motor mounts and transmission mount
Poly filled OEM differential mounts
New CMC and VTEC solenoid gaskets
New Deka EXT14 lightweight battery
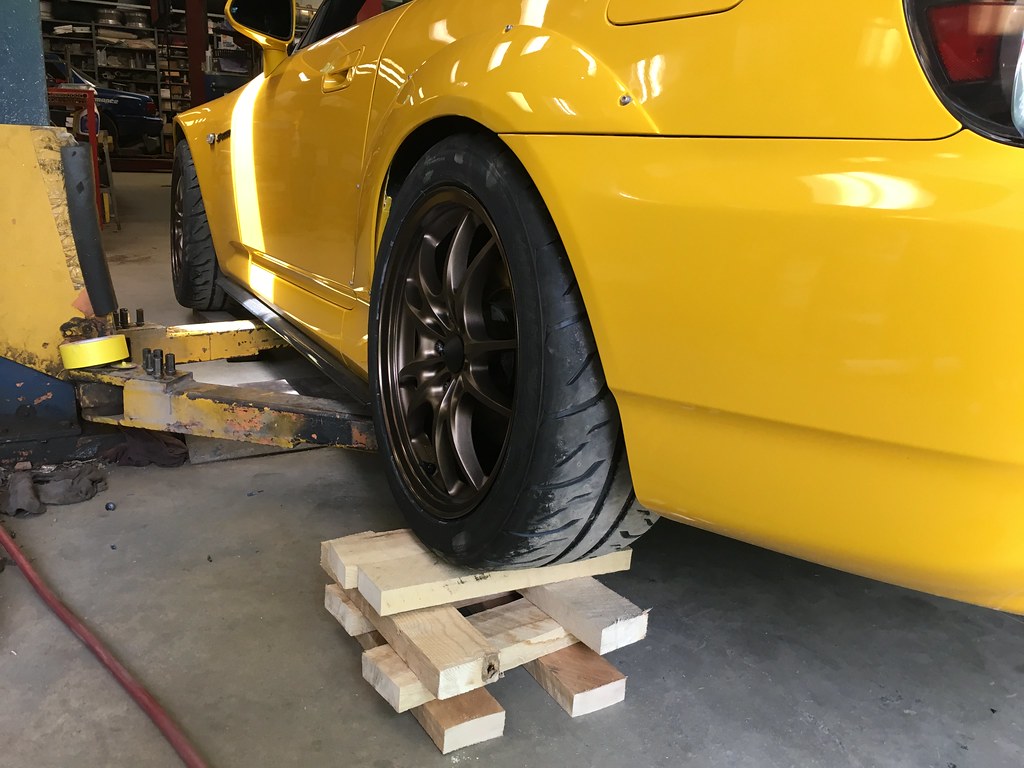
Suspension
Karcepts front and rear sway bars
Moton Clubsport dual adjustable shocks rebuild/revalved by ANZE Suspension
850lb/650lb Hypercoil springs
Hardrace front camber joint
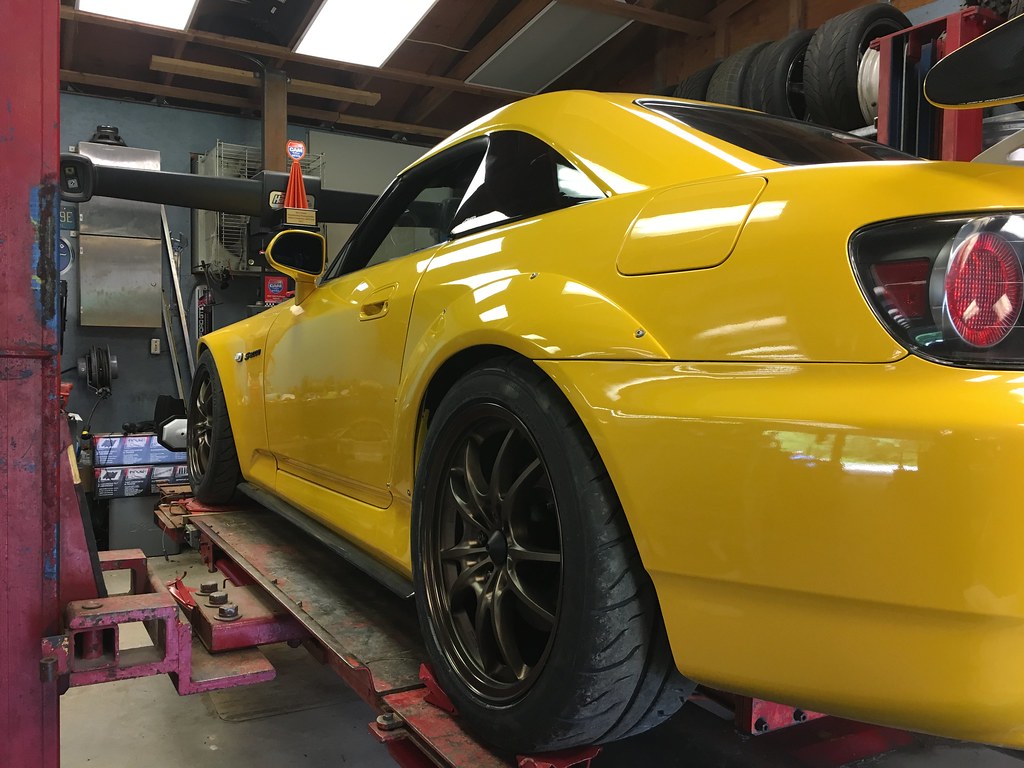
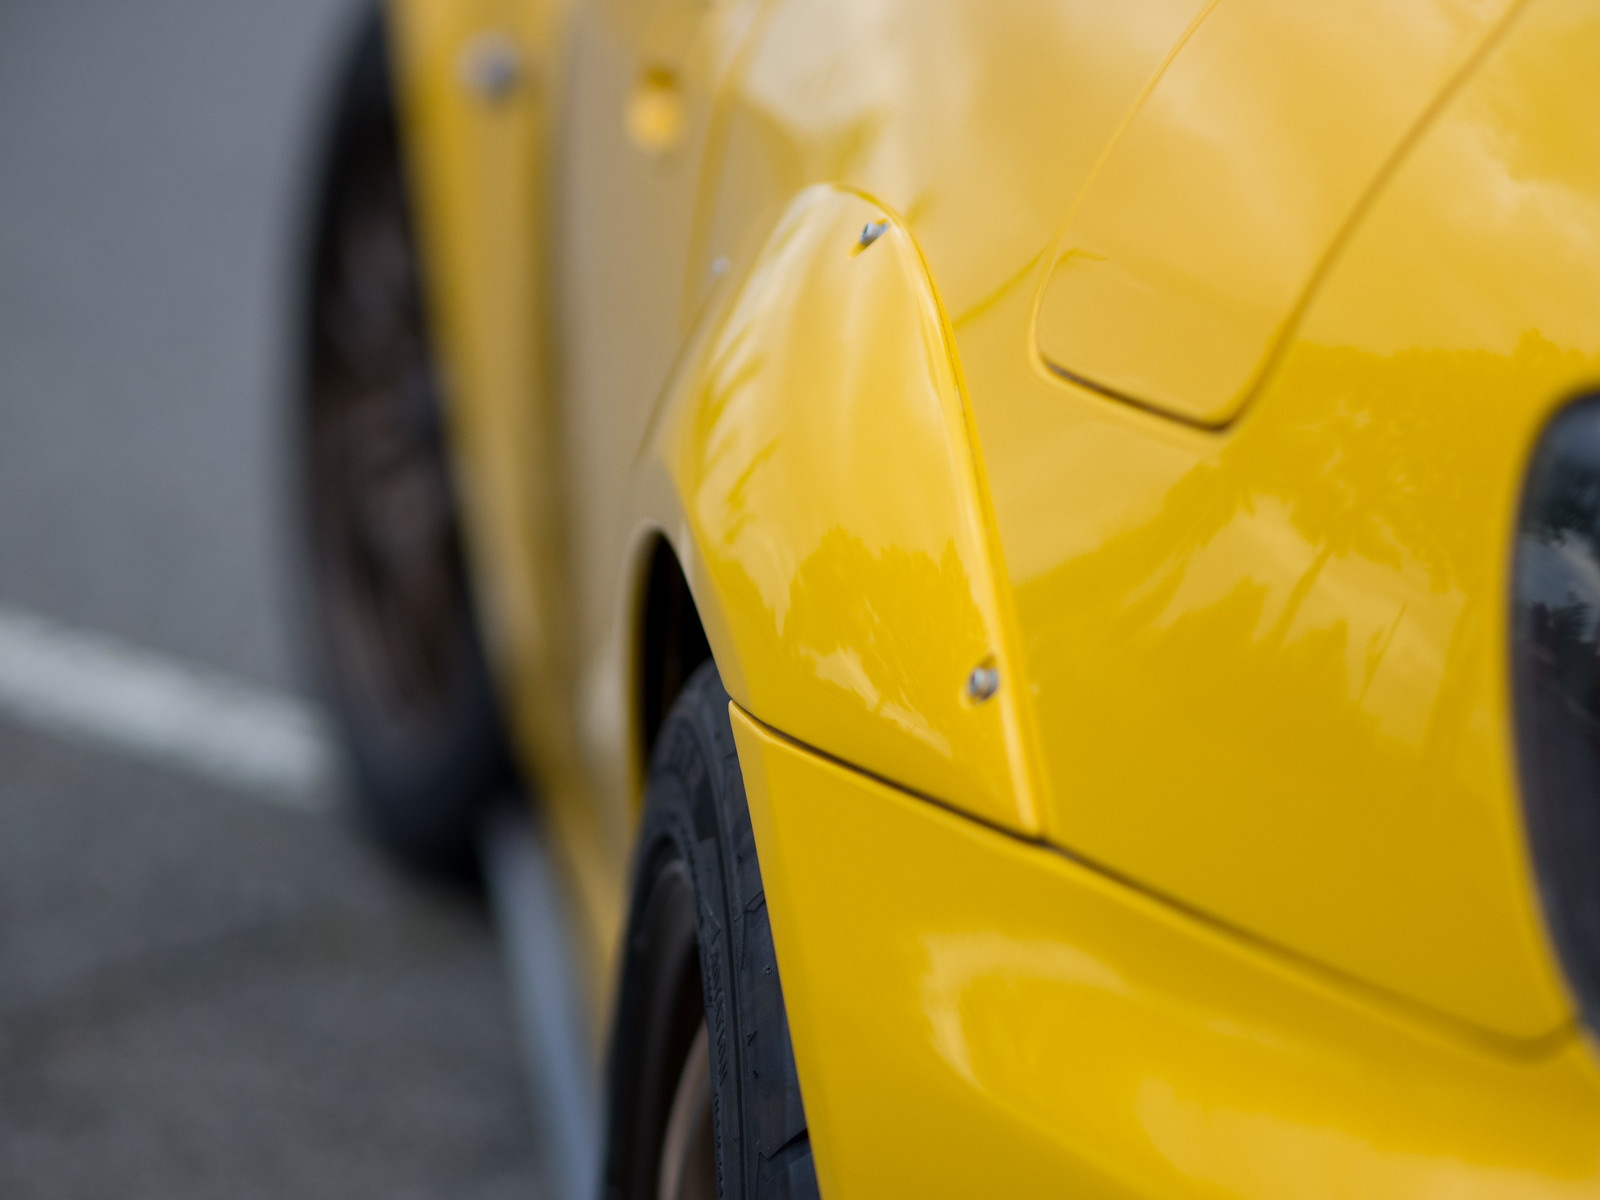
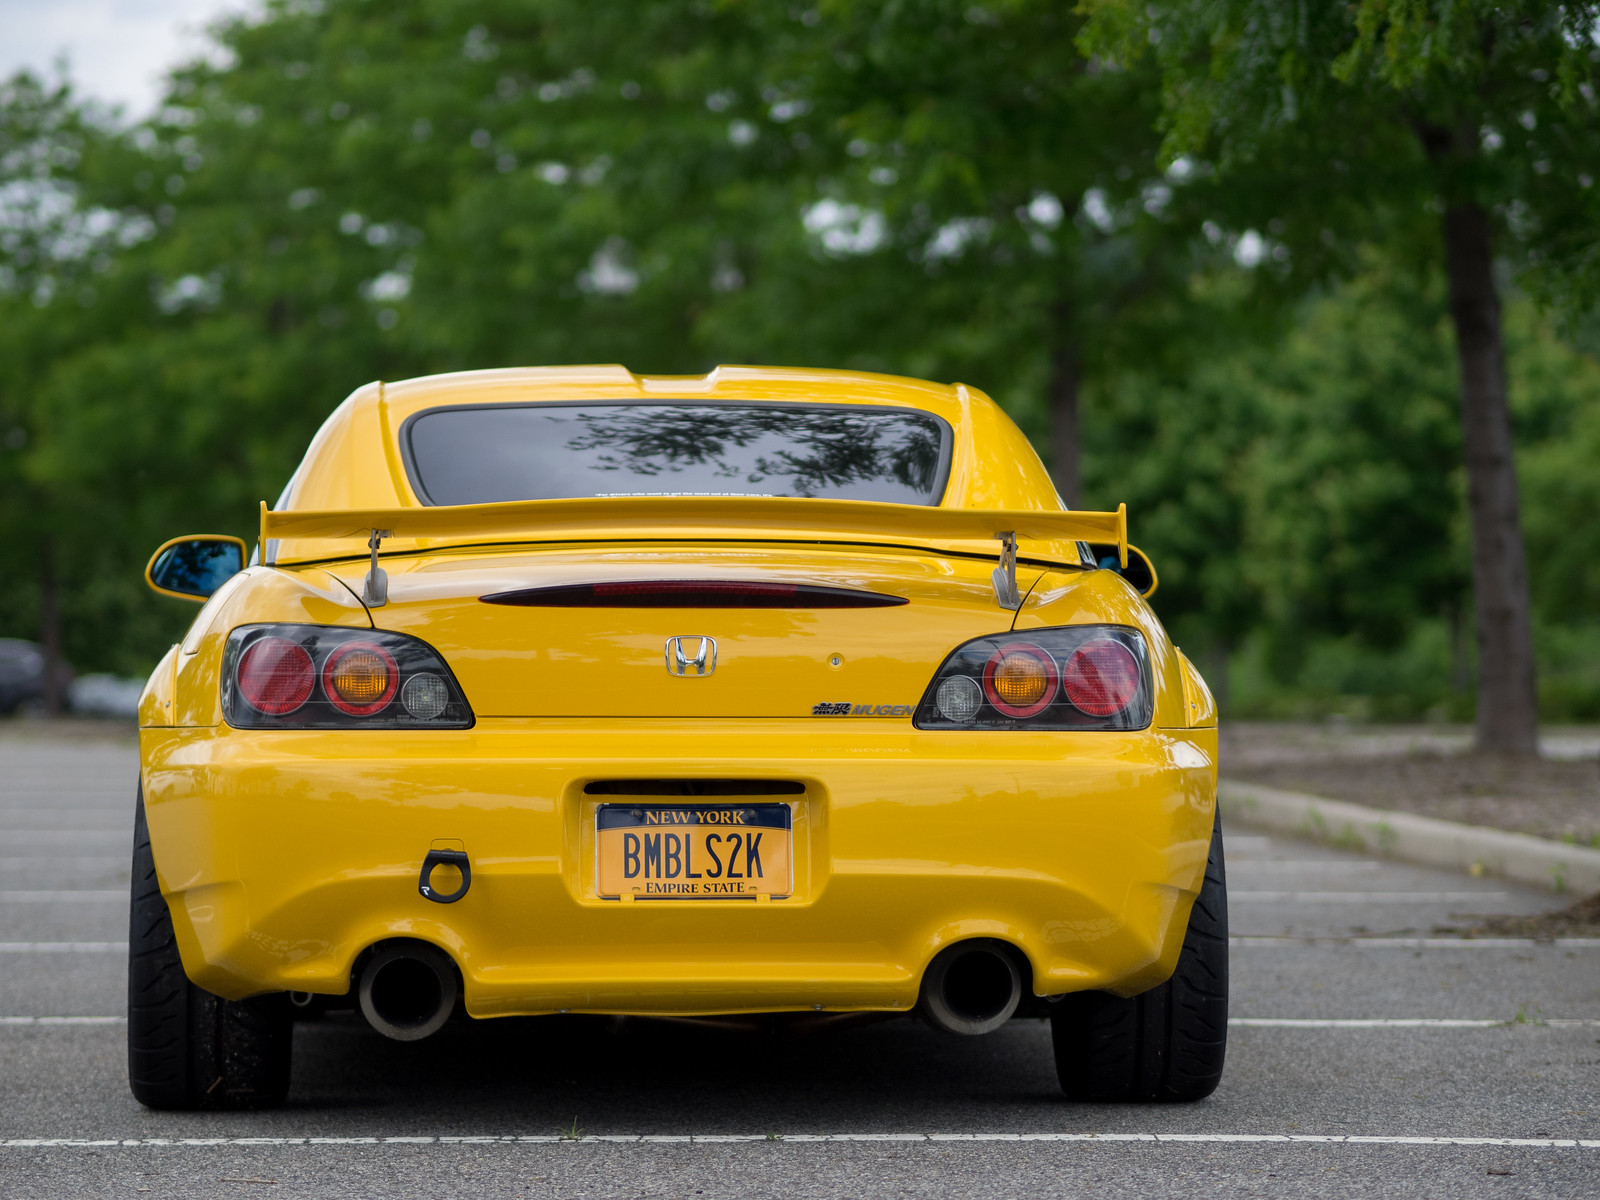
Exterior
OEM CR Lip
OEM license plate holes deleted, bracket removed
Robbins Cloth soft top with glass window
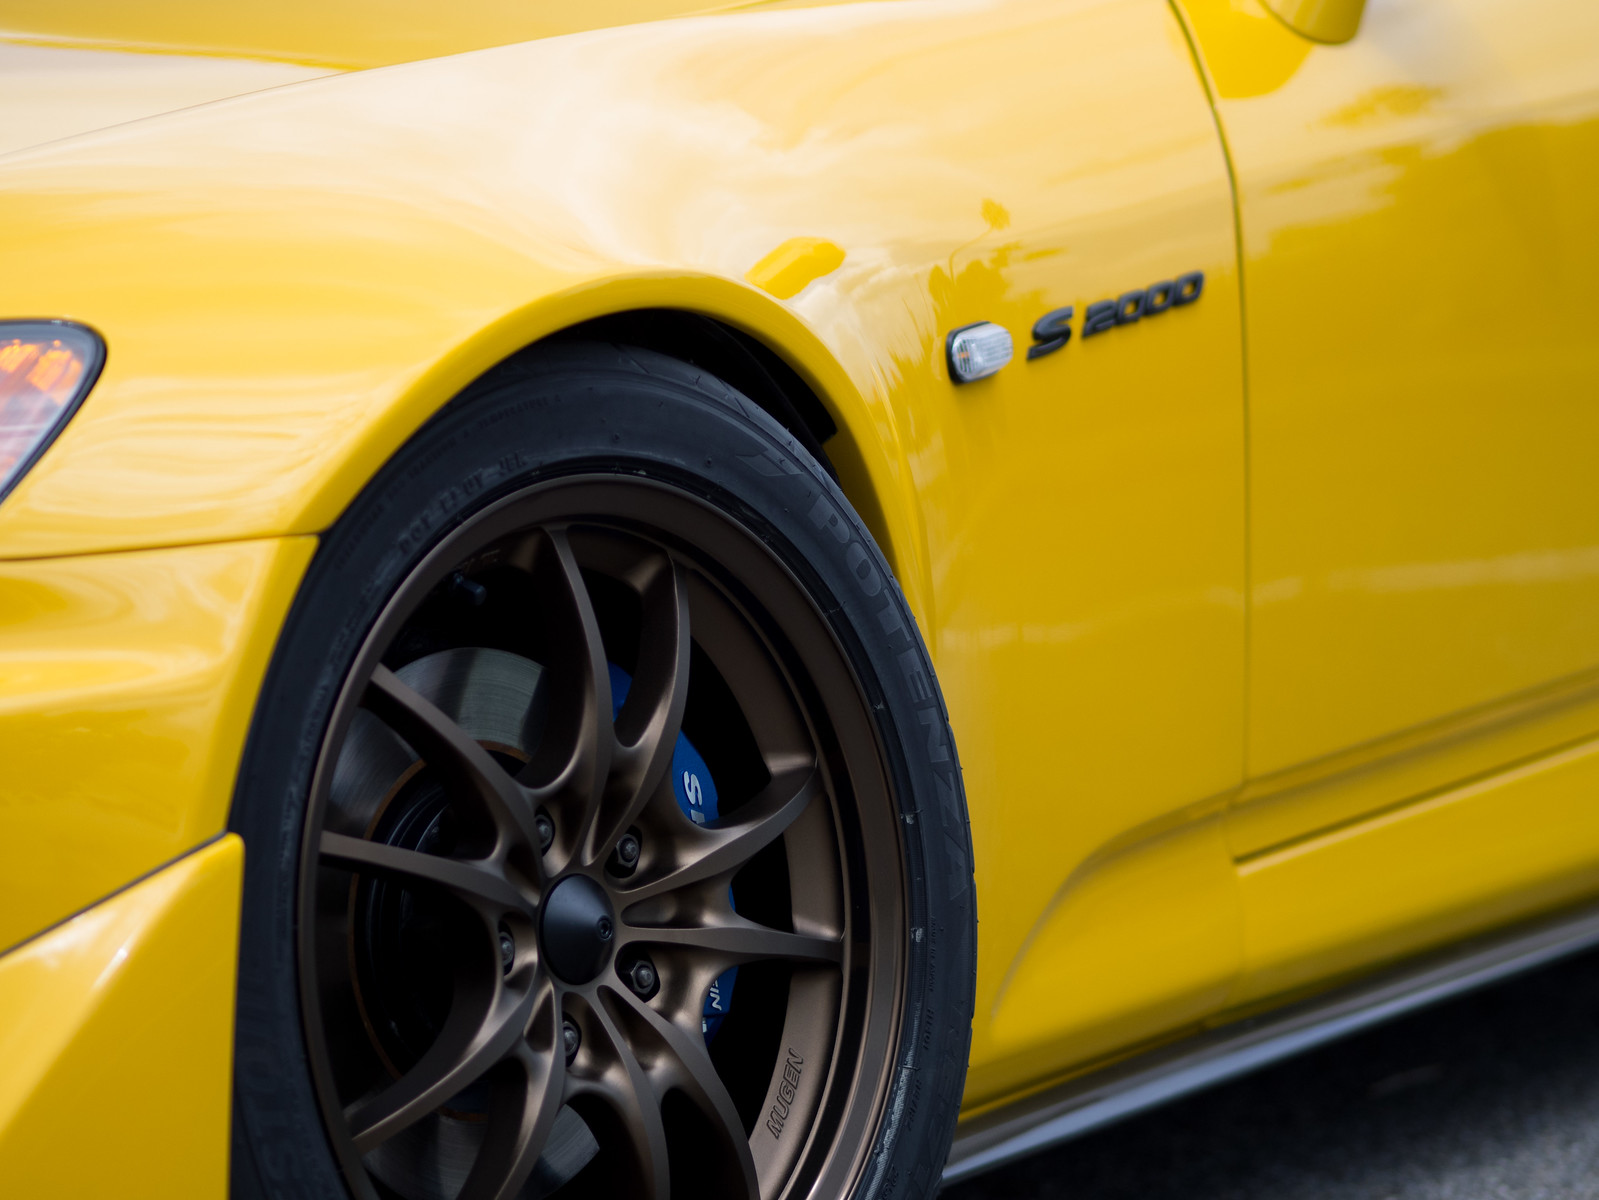
Advan RSII in Hyperblack 17x9 +63 with Advan aluminum center caps
255/40/17 BFG RivalS 1.5 all around
LED bulbs everywhere (turn signals, parking lights, reverse, license plate)

Interior/Electronics
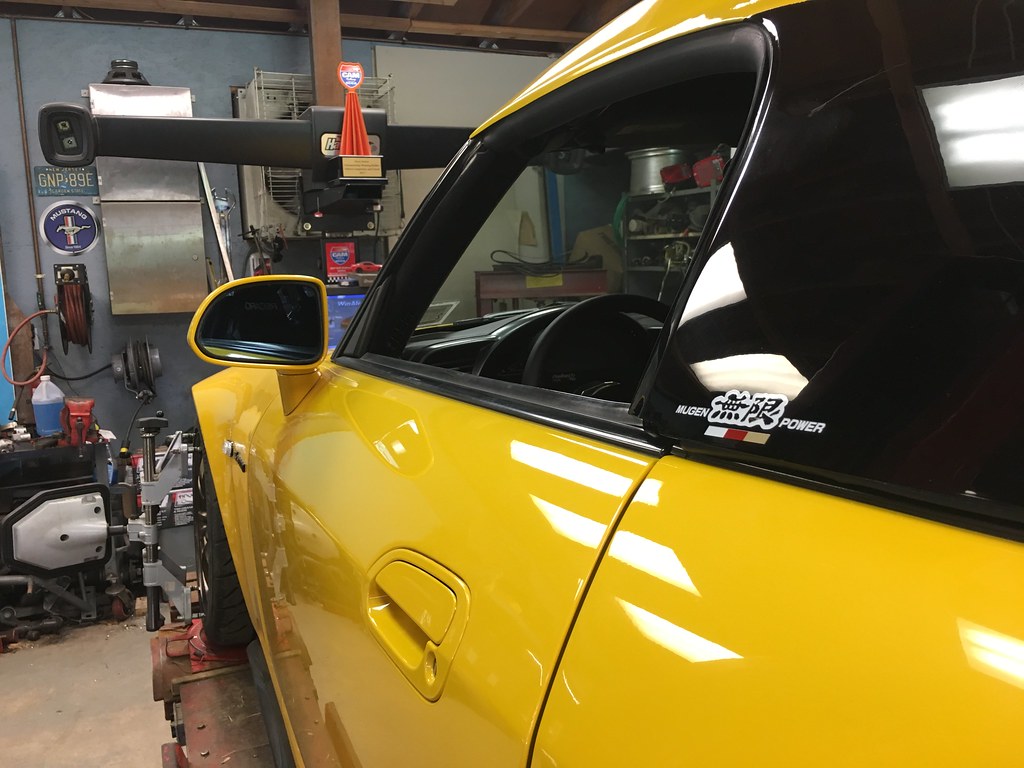
Alcantara wrapped and thickened OEM steering wheel
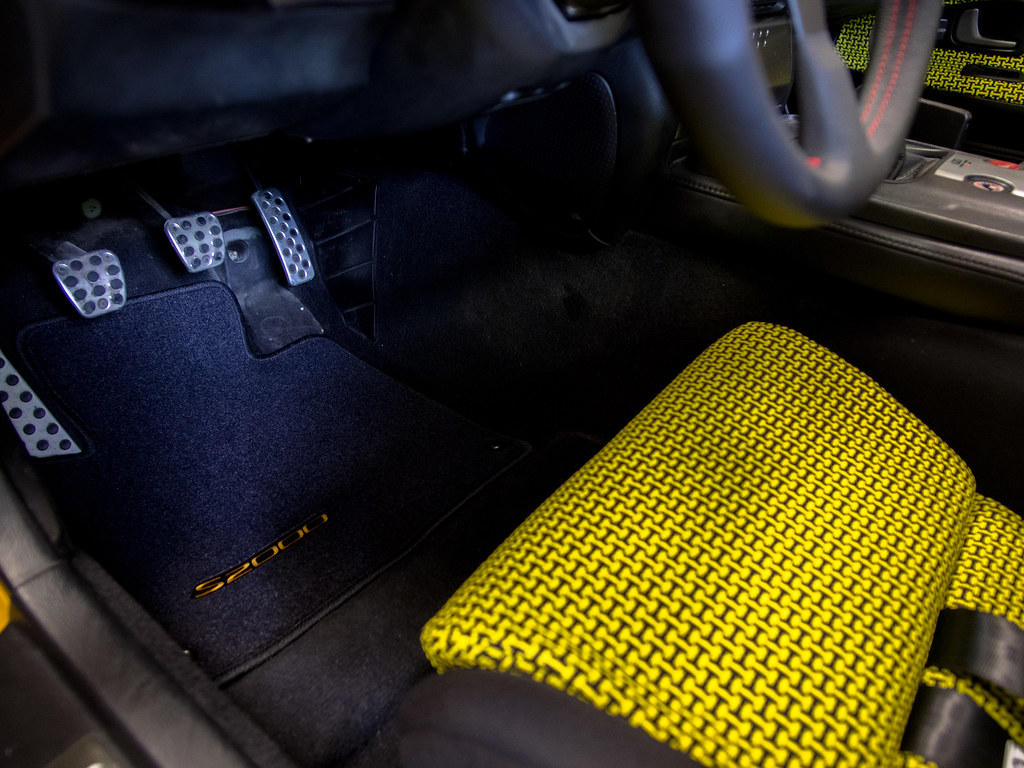
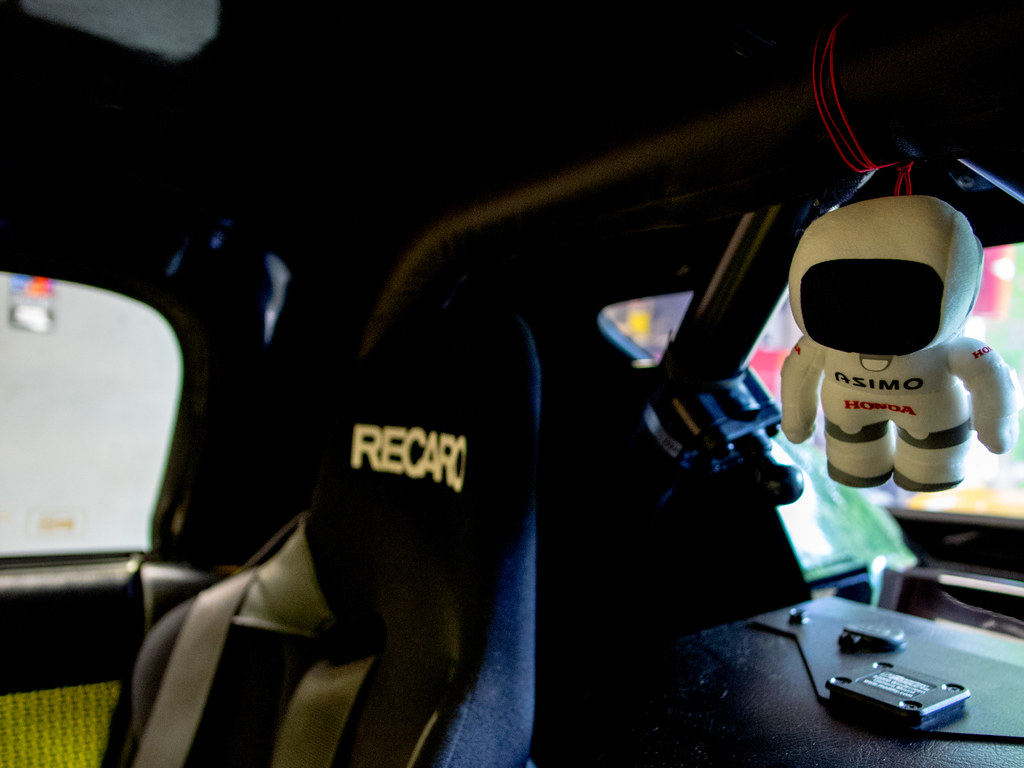
Evasive Motorsports spec Black/Red Recaro Pole position. (black velour headrest, black jersey sides, a red suede center and classic double red stitching)
Mugen leather shift knob with red stitching
Alpine headunit with Alpine Type-S speakers and inline sub
Modifry Shift Beeper
Modifry cup holder

Miscellaneous Items
OEM AP2V1 wheels wrapped in Continental DSW tires
Original VIN matched transmission (has 2nd gear popout, transmission currently in car has 5K fewer miles than odometer)
Spare driver and passenger side mirrors
OEM driver seat


Saturday, June 23, 2018

Fixing Electrical Gremlins and Other Small Issues

Although Bumblestook has been running great since completion there have been a few issues that prevented me from just truly enjoying her. For starters, just after the car got repainted, the passenger side windows stopped working. More accurately, the window would roll down but not up. A few week ago we tested the window regulator and knew it was fine and at the time I thought the switches were good as well since the down function was working. I picked up spares of every item that might be at fault including the driver and passenger side window switches and the soft top control module. Turns out the culprit was just the passenger side window switch. Strangely, it seems that if the passenger side switch isn't working, then the driver side control of the passenger window also won't work even if it has no faults of its own. Good to know for next time. Right now I'm just happy I can roll the window up and down again. It's crazy how frustrating it is when you can't.

Replacement passenger side window switch - 6-23-2018
The next fairly frustrating issue was a parasitic drain on the battery. After only 3 days I'd be forced to jump start the car. It turns out it wasn't the old Lojack system after all. I suspected it might be the additional Haltech modules installed on the car and sure enough that was the issue. I have a Haltech I/O port expander installed when the car was initially built for BSP to take inputs from additional sensors (wideband o2, oil temp, flex fuel, etc). It turns out the 12V wires for constant power and switched power were interchanged. This didn't affect normal operation but it meant that the expander never shut off and just like leaving your radio on, eventually it drains the battery. Switching the two wires around permanently fixed the problem. I guess I never noticed when she was in pure race car trim since I always disconnected the battery after every competition day anyway.

Faulty Ohlins Shock Adjuster - 6-23-2018
Last event I noticed that I couldn't properly make adjustments to the left rear shock. I should have 32 levels of adjustment but the knob would only go 16 "clicks". I was worried that the shock might have been defective but thankfully the only problem was the adjuster itself. The remote adjusters I got also seems to have some issues. It doesn't adjust smoothly so for now I've disconnected them. I'll be contacting Sakebomb Garage to get this resolved. For now, we moved the adjuster from the right rear to the left rear since left rear is harder to adjust due to the fuel lines being in the way. These issues aside I'm pretty impressed by the FPSpec Ohlins DFV. They aren't Motons but they're well balanced for a multi-purpose car.

Mugen wing risers re-installed - 6-23-2018
While the body shop generally did a great job on the car, they didn't install the wing properly. I think they must've bolted the risers up to the wing then attached it to trunk which meant that it didn't sit properly flat due to the wing's angle of attack not being set correctly so the risers were not even. I wanted to install the wing myself anyway so I took this opportunity to remove the risers, clean off all the double side tape and reinstall properly. The Mugen wing is held by a bolt on each side where an OEM spoiler would go but the rest is held by strong adhesive. The adhesive the shop used was definitely very strong and took a long time to remove but it came off cleanly.

High strength automotive attachment tape - 6-23-2018
We marked off where the risers should be with the wing attached, then removed the wing, applied new tape (recommended by the body shop) and attached the risers only to the trunk first. This ensured that both sides were perfectly flush with the trunk and let it sit for a few hours to let everything settle. We then re-installed the wing and sure enough even at speed at maximum angle of attack, everything is now perfectly flat.

Mugen wing back on the car - 6-23-2018
We also tracked down random rattles from the engine bay. The hose spacer for the oil cooler was hitting against the chassis. A rubber panel and some silicon eliminated the metal on metal contact. I added more felt tape around certain wires and connectors in the dash and door panels and I think I've eliminated 98% of any annoying rattles inside the cabin. There's one minor vibration I hear left on the passenger side at 4500rpm. I'll need to track that down one day with someone in the passenger seat helping me figure out where it's coming from but rights now the only thing you hear is engine or exhaust. There's no mistaking she's still a high strung sports car when you get on it but she can cruise around when you want with no drama if you want too.

Next up, she's going to get her first detail since she needs proper layers of wax to protect the paint. Her interior and engine bay could use some TLC as well. We're going to do a few autocross tests in July to make sure there are no other small mechanical issues to tend to then I think we can start sort out the final things she'll need to be able to go to a track day again (mostly brakes). Ideally I'd like to take her back the Watkins Glen in the fall. It's been a solid 6 years now since I last let her fully stretch her legs on a track so it's long overdue.

Sunday, June 17, 2018

First Shakedown - Verdict - Awesome!

To say that I was nervous about Bumblestook's first event today is probably a massive understatement. With so much done in the past few months, it was unclear how she'd behave when pushed to her limits. Were the tires going to violently rub and crack a fender? Was the car balance going to be way off and I'd find myself spinning run after run? Was I going to hit a cone so hard that the paint would chip badly before I got a chance to even put her first coat of wax on?

Maiden event - MSNE
Meadownlands, NJ - 6-17-2018
Well thankfully, the answer is that Bumblestook worked flawlessly today. I have a minor issue with the driver side rear shock adjuster not having "all the clicks" but her balance was spot on. Within 2-3 runs I felt really confident to lay in more throttle and toss her into the corners and wasn't phased by the street tire squeal or slide. There's something very different about this car to me. I noticed I drive differently when I'm in this cockpit. I have full confidence and trust that she will perform.

I had no issues placing her where I wanted and she transitioned so well and moved so predictably there was no drama. She felt amazing! Underneath her show car exterior still lies the guts of her glorious racing heritage. It was like putting old sneakers on. It just fits and feels right. Despite the sweltering heat, that was probably the most smiles I've had autocrossing in a long time.

MSNE Autocross - 6-17-2018

I got a chance to mess around with the 360 camera I picked up from Don. I didn't particularly like watching it in 360 (having to scroll around to view different angles) but I thought it'd be just as interesting to overlay it with my internal gopro, render it as a flat video and effectively have 3 camera angles. Surprisingly, for someone really trying not to hit cones all day, looking at the exterior 360 video, it seems I really was trying to at least get on top of them. I think I only hit one cone all day. Success!

Saturday, June 9, 2018

Ready For A Shakedown

Just shy of 5 months since this build started, we're finally done. Let me qualify "done" since cars like this are never really "done". My goal was to have her mechanically sound, resprayed and ready for a proper shakedown at an autocross by June 11 and it happened.

Ready to rumble - 6-9-2018
Today, we completed the final piece of the puzzle. The car's been driven about 500 miles since she became road legal again and with several months of being parked, her springs have now adequately settled to properly adjust ride heights. My target was to keep the ride height no more than about a 1" drop from factory. Not only does this allow the car to keep the highly optimal suspension geometry and let the suspension work, it also means I don't have to worry too much about scraping on things when I'm generally driving around. This meant the front had to be raised a bit and rear lowered a bit.

 Not too high, not too low - 6-9-2018
Checking for clearances - 6-9-2018
I know that the rear tires were rubbing on something if I hit a bump after putting on the Mugen MF10s so we did various checks to see how much clearance we needed. We just needed to shave the bracket that lines the bumper up with the overfenders a little and we were good to go. Yes, the correct way would've been to completely remove the shocks and articulate the arms completely but it really isn't hard to see where the tire would end up just by compressing the corner as much as possible. I took several test drives on bumpy / wavy roads and not a peep from the rear anymore.

Plenty of clearance now - 6-9-2018
I also asked SJF to move the sphericals on the front upper control arms to try and get as much caster as we can. The stock rubber ones are offset from the factory and you have to offset the sphericals as well. For some unknown reason we've only been able to get 4.6 degrees of caster on the driver side and 5.0 on the passenger side. I think we'll revisit this on the 2nd alignment after I put the car though her paces and after all the suspension bits have been pushed to the limit a bit.

Ready for alignment - SJF Performance - 6-9-2018
The final alignment numbers are:

Front Camber: -3.1
Caster: 4.6 (left), 5.0 (right)
Front Toe: 0

Rear Camber: -2.3
Rear Toe: 0.06in each side (0.12in total)

It's probably a decent starting point since I have no idea how the balance of the car will be with the new suspension and I'm trying not optimize the car for autocross and make her too loose as that could prove to be a bad trait at higher speeds on a full track. We set the front bar to 4/6 and the rear to full soft. I'll probably start the shocks midway and go from there at her first event. 

Hella Functional - 6-9-2018
It's been a very interesting few months getting this build done. Now comes the fun part, enjoying the car and fine tuning things along the way. I'm still getting used to driving her again and learning which noises are normal. Despite her appearances, she's still very much a raw race car under the skin and makes all the "interesting" noises race cars make. Now I'm chasing down little rattles and I already think a new radiator and fan setup in the not too distant future would be a good idea. The new generation stuff doesn't take up as much space while cooling as efficiently and have quieter fans. Right now the FEL fans on the car make it sound like she's a jet engine about to take off when they kick in. The first cone I hit is going to suck given her near perfect condition right now but I built her to drive her and that's what I'm going to do.

Soon to be seen at an autocross or track near you

Friday, June 8, 2018

Interior Complete and Ice Cold AC

Now that the exterior is all done, it was time to finally put the interior back together so it was back to SJF Performance to finish her up. I already had a suede Mugen steering wheel but opted to freshen things up with a new Mugen Racing III Steering from King Motorsports in leather this time around.

Interior back in - 6-8-2018
I really like alcantara steering wheels but I chose leather to better deal with sweaty hands from longer track sessions. They're still made by Momo and with the car so fresh on the outside, I wanted an equally fresh wheel on the inside.

Mugen Steering - 6-8-2018
We put the re-upholstered Recaro Pole position seats and door panels back in and finally setup the 6-pt harnesses. We did some basic test fitting before but now it's all properly mounted and all the straps adjusted to fit perfectly. 

Recaro Pole Position and Schroth 6-pt harnesses - 6-8-2018
When she was a BSP car I actually had no more floor mats in the car since I never drove her on the street and we had to remove mats for racing anyway. I wanted to go with OEM mats that matched the rest of the interior so I also put in a new set of OEM CR floor mats since they come from the factory with the S2000 logo in yellow. Of course, a JDM inspired interior wouldn't be complete without something Kawaii (cute) so I've got a Honda Asimo mascot hanging from the rollbar. 

S2000 CR Floor Mats - 6-8-2018
Honda Asimo - 6-8-2018
When the car left SJF Performance after all most of the mechanical work was done, it was still March and snow was still covering the ground. We couldn't refill the AC at the time but today it was a balmy 83F and recharging to the AC took no time at all and at full blast the temperature of the air coming out of the vents is a very chilly 49F at full blast. 

AC Recharging - 6-8-2018
One unfortunate issue I had recently was that the passenger side window goes down just fine with window switch but not up. After doing some research we tested a number of things. The relay seems fine, the motor runs if we apply power to it directly, there are no blown fuses and the driver and passenger side switch responds to at least one direction so I don't think the switch is bad either. The likely culprit in this case is a faulty soft top control unit. Even though Bumblestook doesn't have a soft top, the control unit is still connected and has been know to fail over time. Unfortunately the soft top control unit not only controls a soft top (if installed), it also controls the passenger side window. I ordered another one so hopefully we can pop that in when it arrives and see if that fixes the problem permanently. For now we just ran power directly to the motor so that the window is up. 

Lojack removed - 6-8-2018
The other highly annoying thing I've noticed is that there's been some bad parasitic drain on the car and even though I had a full battery, after only 4 days, I had to jump start the car this morning (though it at last had some power, just not enough to crank the engine). The car is pretty simple and the usual suspects of dome and trunk lights were easily eliminated. The radio is basic and there really are no other electronics in the car that are on constant power. The only thing I thought of was a Lojack system installed by the previous owner when the car left the dealership in 2002. I suspect after 16 years in the car, it could be doing something funky so I ripped it out as no one uses Lojack nowadays anyway. Hopefully this cures the problem as I can't think of anything else in the car that could possibly be drawing power all the time. 

Tuesday, June 5, 2018

Rio Yellow Pearl AP1.2.CR Mugen S2000

It's been almost 6 weeks since dropping her off at the body shop and almost 5 months since we started this project but Bumblestook is finally back in her full glory. Eric and the boys over at K2 Auto Body in Edgewater, NJ did a fantastic job not only with the respray but making all the panels fit perfectly. She came out even better than what I had envisioned in my head.

Bumblestook - 6-5-2018
One of my major goals with this project was to retain as much of Bumblestook's original racing heritage under the hood while taking her back into presentable streetable form. I wanted to put her together in a way that stayed true to my original design ethos when she became a competitive BSP car which was to take all the best parts of each generation S2000. Her exterior reflects that design ethos, with parts from every major revision, AP1, AP2 and CR while of course adding a little extra zing from my favorite tuning company of all, Mugen.

Bumblestook - 6-5-2018
To get her color to really pop, she was painted in 4 stages; a bright white base color, Rio Yellow on top, then a layer of pearl then finally clear coat. One of the design goals was to not noticeably interrupt the gorgeous OEM lines. The shop resealed the rear quarters, redid the holes and installed new threaded inserts to make sure the ASM overfenders fit perfectly flush including pulling the rear bumper out to line up perfectly. The downforce front fenders were reworked heavily to fit even better than stock and in the side view, even discerning S2000 owners wouldn't be able to tell you the car is now 25mm wider. To keep the lines flowing and to further hide her muscular stance, Downforce carbon fiber 1x1 weave side diffusers were added. This serves two purposes. First, aesthetically it traces the outline of the car better and giving a splash of black in keeping with her yellow/black color scheme. Secondly, it's there to keep cones from creating large streaks on the rocker panels when I run them over at an autocross. She's widebody without flaunting it.

ASM rear over fenders - 6-5-2018
Downforce 25mm wider front fenders and
Downforce CF side diffuser - 6-5-2018
In the front, the only cue left that she is actually an AP1 in disguise are her AP1 OEM lights. Many prefer the AP2 lights which in some ways I do as well but this is a salute to her origin. They've been polished up and clear coated to bring back some new life. Her chassis is still very much AP1 and the lively and raw character found in all AP1s is still very much there and it was important for me to keep that heritage alive in her exterior.

Bumblestook - 6-5-2018
Only looking at her head on do you suddenly realize something is different. She's got a wider, more athletic stance than a normal S2000 with broad shoulders to let you know she's pretty but means business. In the rear, the previously all black painted Mugen wing was stripped of paint showing her original carbon fiber textures. The wing is now body colored with the side carbon fiber exposed just like Mugen intended. Decked out in authentic Mugen goodies, for the first time, she deservedly and proudly wears the Mugen badge in her rear. No replica parts here...this is the real deal.

Bumblestook - 6-5-2018
Since she's going to see track time again, we've got a rear tow hook back on the car. I finally found a manufacturer that doesn't make flimsy ones. The Raceseng tow hook is not only an eye catching design but is really well constructed. I just hope I never have to use it. The antenna was also deleted and the hole sealed over to give her a cleaner look.

Raceseng rear tow hook - 6-5-2018
Lastly, and for me what really completes the car, are the 17x9 +42 Mugen MF10s all around wrapped in 255/40/17 Bridgestone Potenza RE-71Rs.

Mugen MF10 - 6-5-2018
The build isn't over yet though. Later this week the interior is going back in and we're going to be buttoning up the final pieces of mechanical work then she'll be ready for some testing.

Sunday, June 3, 2018

Another mid-pack performance

Surprisingly we got an NNJR SCCA event suddenly added to our schedule in June (joint with the NNJR PCA) so obviously I had to take the opportunity to go. It was a fun course and I had a great time despite the unseasonably cooler temps in June (low 60s) and a stiff constant wind at the meadowlands making it feel even cooler and challenging to get any heat in the BFGs.

NNJR SCCA Autox - 6-3-2018
I can't say I was terribly happy with my driving. It's pretty lackluster and I'm not even mildly mid-pack. It's definitely not the car holding me back. I think it's a combination of reduced skill and practice along with a loss of serious motivation or competitive hunger right now. Normally this time of year I have my game face on and prepping for the Toledo ProSolo but with my calendar clear of any big events this year, I don't really think I'm trying hard at all.

NNJR SCCA Autox - 6-3-2018
Photo by: Alex Meramo
Maybe I'll find my way out of this rut soon but for now i'm going to continue to enjoy the sport for what it is...a place where I can enjoy the limits of my car safely and hang out with friends.

Steguis - NNJR SCCA - 6-3-2018