My goal for all my cars nowadays is to make them capable of doing whatever I want whenever I feel like it whether that means car meets, street driving, autocross, or even some track time. I just no longer want to be limited to one activity so special purpose builds for me are a thing of the past (for now at least). The Cayman has been terrific fun but the competition focused MCS setup I had was less than ideal for bumpy NY/NJ roads. I wouldn't call them unbearable but as I've gotten older, I want the ability to have a more comfortable ride when I choose to. My Cayman came with PASM (Porsche Active Suspension) that allows for a comfortable street ride in regular mode and a more aggressive ride in sport mode. However, it's still a bit too soft so I wanted an upgraded version of that stock setup. The answer of course was from the very company that makes the OEM Porsche dampers, Bilstein.
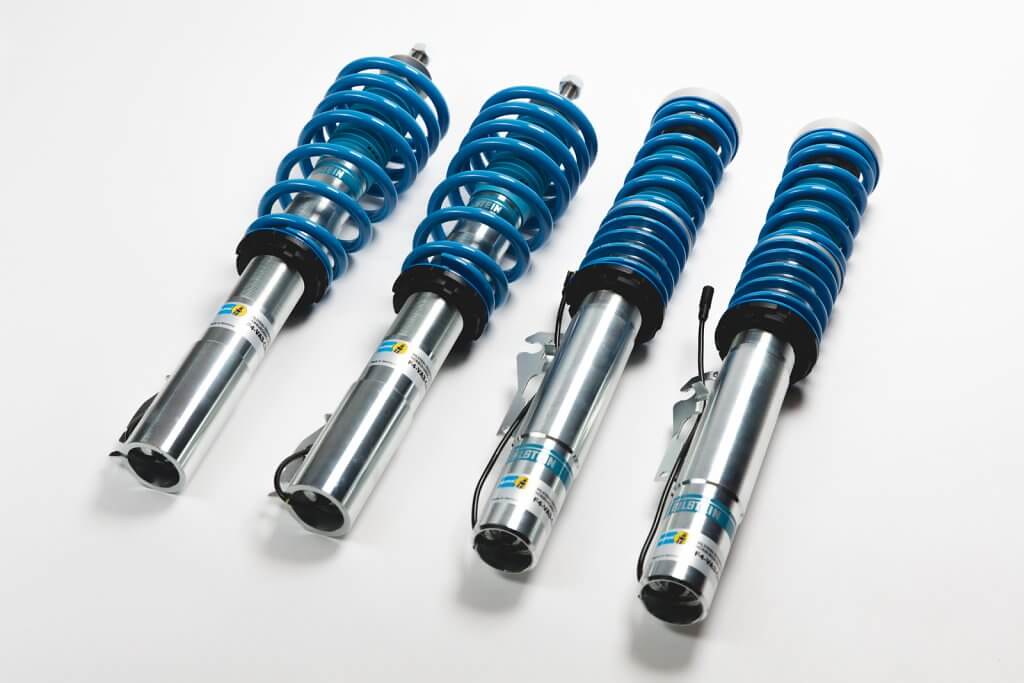 |
Bilstein B16 Damptronic
Photo from: Bilstein |
Bilstein makes a B16 Damptronic coilover system that gives me full height adjustability, uprated springs and most importantly integration with the factory PASM controller. I picked these up from our good friends at
Tatis Motorsports. Since these are compatible with the factory PASM controller, it means that in the future I can also fit my car with a
DSC sport controller for even better active damper control, something I plan to do over the winter. When you normally install these you're suppose to move over the top hats and a few other pieces from your stock suspension but that's just not my style. I went with
Tarett Engineering monoball shock mounts front and rear and all new hardware.
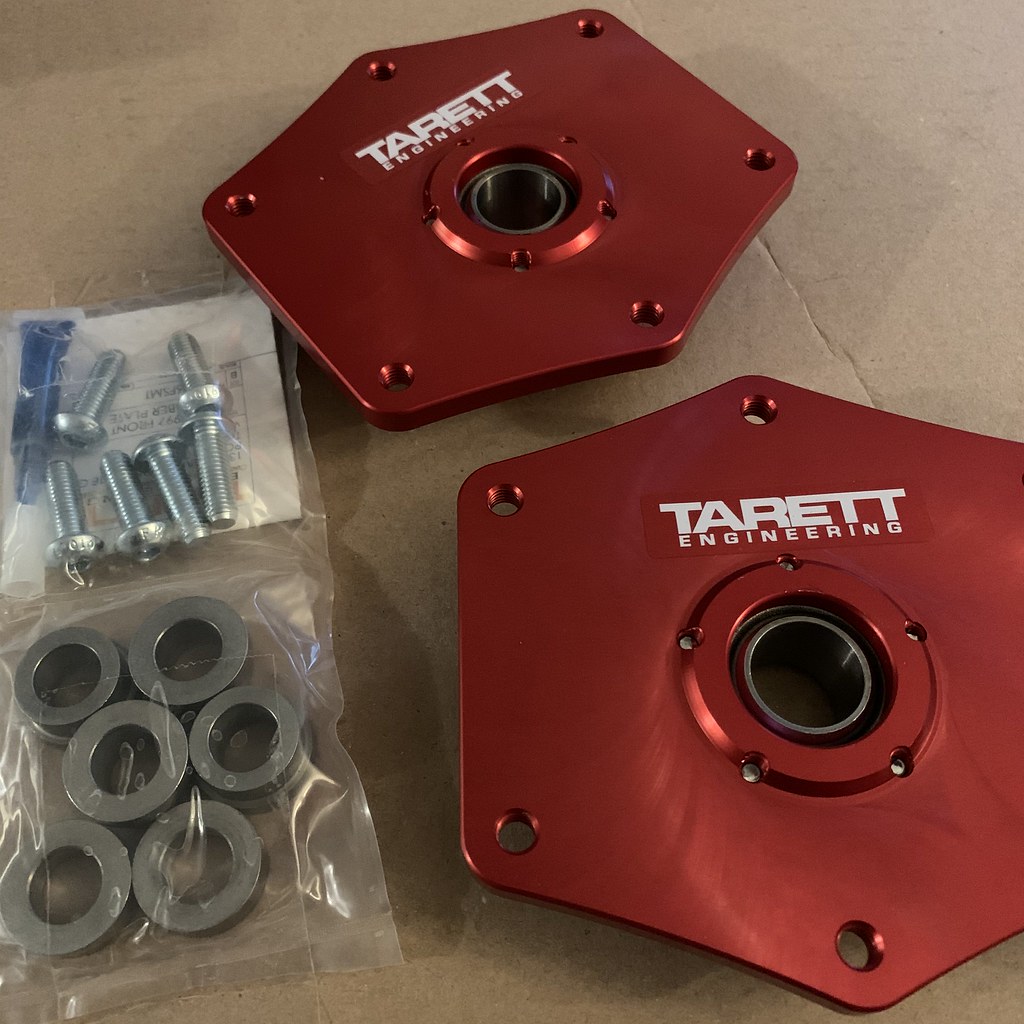 |
Tarett Monoball front top mount
|
 |
| Tarett Monoball rear dome top mount |
The box barely fit in the rear trunk but it does so I dropped the car off with Bryan and his team at
Speedsport Tuning a few week ago to have them swap it in. Swapping out suspension is unfortunately a bit more cumbersome now that I have a rollbar installed but thankfully since it's all bolt in and sectional, it wasn't as horrible as it could've been. They reinstalled and re-activated my PASM controller which was previously disabled and removed when the MCS 2WNR dampers were installed by them almost 2 years ago. I'm quite happy that all the buttons that I actually paid extra for when I specifically looked for a PASM Cayman S are working again.
 |
Damper button works again
(Sport automatically activates it as well) |
Since I'm expecting that the springs to settle a bit in the next few weeks I had them reset it to near factory ride height. It doesn't look horrible but once the springs settle, I definitely want to drop the height a bit and re-align. For now it's got a baseline alignment (max camber up front, etc) just so I can do some testing this weekend with the NNJR SCCA.
 |
Rear dampers installed
|
 |
Front dampers installed and marked
|
 |
A little higher ride height for now - 10-1-2020
|
I also made holes in my old front frunk panels to easily make shock adjustments but since I won't be needing that now, I bought new ones so that the car looks unmolested again.
 |
Time to replace some panels
|
 |
Frunk looking fresh
|
Another issue I wanted to address was the brake pedal feel.
Boiling my brake fluid at The Glen a few months ago was bad but I finally got to feel what people were saying about the Cayman brake pedal in general. Under aggressive repeated braking in track conditions, it just feels a bit spongy, even on fresh fluid. The fix is to replace the brake master cylinder with one from a GT3. You've got to love how Porsches are like Lego and you can just pretty much swap stuff between their different models of the same generation. I ordered a brand new brake master cylinder from FCP Euro which the shop also swapped in along with a full brake flush. The pedal feels fantastic now. It's super firm and has a very solid feel that really gives you a lot of confidence. They also do a trick where they recode the computer to think it has PCCBs so that it doesn't freak out about the new brake pressure. 100% would recommend this upgrade.
 |
| GT3 Brake Master Cylinder |
Overall the ride feels really good. In normal mode, the car feels firm and critically damped as you'd expect from a sports car and if you run over some uneven surfaces, it soaks those up quite nicely. Sport mode stiffens up the dampers a bit. I'd say in sport mode they feel a bit closer to my old MCS setup on the street but still do a better job of absorbing rough road conditions. I'm really happy with this change and I can only imagine how these dampers will respond after we get the DSC controller and 3-axis yaw sensor installed.
Lastly, I wanted to get an oil sample to send over to SPEEDiagnostix so I had them do an oil change. I'm curious how the Driven Racing DT-40 oil handled the super hot 2-day track day and whether I need to run more racing purpose oil when doing track days.
Maintenance Update:
Mileage: 42,513 miles
- 8.5 quarts Driven DT-40 oil, NAPA gold oil filter
- New magnetic drain plug
- New GT3 brake master cylinder
- Brake flush with Motul RBF660


