Friday, July 17, 2015

Revisiting the Suspension Setup

After a week or two of driving and letting the springs settle I decided that running without helper springs was going to drive me nuts. There were just too many little clunks here and there anytime you drove over a bump in the road (plenty of these in NY/NJ). It was also a total pain every time we'd jack the car up and having to make sure the springs seat properly when we lowered the car back down. Despite me not wanting to have to remove and reinstall the shocks, I really had no choice so I ordered a set of Hypercoil 2.5" ID 4" free length helpers and Eibach 2.5"ID spring spacers (couplers?).

Hypercoil 2.5" ID 4" free length helpers with
Eibach 2.5" ID spring spacers - 7/7/2015
Since I had to take the shocks apart to install the helpers, I thought I'd double check my setup. After pouring through my notes and blog entries for Bumblestook, my target spring rate difference of 100lbs wasn't going to work (theoretically of course). Assuming the Bridgestone RE-71R generally behaves like a previous generation R-compound tire and that I'm running a square 255 setup versus the 295/315 stagger of Bumblestook, my target should be more like 150-200lb difference front to rear.

Springs removed - 7/8/2015
To achieve this, I decided to replace my rear springs and go from 750lb to 650lb (leaving the 850lb springs up front). I think this will help keep the rear more stable and add some mechanical grip as well as more compliance to bumps and undulations. This would also allow me to up the rear sway bar setting from full soft to 3/7 stiffness and give me room for fine tuning later. The front sway bar is staying at 5/6 stiff.

Hypercoil 650lb springs and helpers installed in the rear - 7/17/2015
It turns out that my front springs were 2.25" ID so my 2.5" helpers weren't going to work so I ended up ordering new 850lb 2.5" ID 7" Hypercoil springs for the front so I can give the old ones back to Rad.

Hypercoil 850lb springs and helpers installed in the front - 7/17/2015
I reset the ride height back to a stock-ish 14.5" but I'm hoping it'll settle to around 14" over time or I'll just adjust it a few weeks after I've gotten some miles on them. I took it out for a good test drive and I'm very happy with the results. No more clunking. Everything feels solid. The damping is perfect and I think the 650lb rear springs is the ticket. Just the right amount of stiffness while the 850lb fronts gives very fast and responsive turn-ins (still miss the AP1 steering rack though in Bumblestook).

There's still some work to do before I can take her out to her first event but she's getting there. I'm basing my initial setup from years of driving S2000s and my driving style using Bumblestook as the reference but I won't know for sure if the formula works until my first event. I'm hoping it'll at least be within the ball park so I won't have to make too many major adjustments.

Monday, July 13, 2015

Setting FTD at MSNE

After a 5 week hiatus from running Bumblestook, I finally got a chance to run her again yesterday at the Motorsports NorthEast / BMW CCA joint event at the Meadowlands. Since Hez and I are now officially registered for nationals, we needed to get as much seat time as we could. It was a blistering hot day but with 7 runs each on offer, it was well worth it.

Getting ready to run - MSNE Autocross - 7/12/2015
Photo Credit: Rexin Autosport
Hez checking tire pressures - MSNE Autocross - 7/12/2015
We clearly got a bit rusty in the downtime with both our first runs seriously off pace including Hez's super spectacular spin right by the start. Once we got our heads straight though our times dropped rapidly. I took the opportunity to have various drivers sit in with me during my runs to share the Bumblestook fun but eventually it was time to run solo and set some serious times. I ended up setting FTD (Fastest Time of Day) out of 102 drivers with Hez in 2nd less than 0.2 seconds behind me. Great event overall. Bumblestook is as fast and composed as ever and we could have extracted even more pace if it wasn't for the air time we got at a few critical spots. We did hit fuel starve towards our last runs, easily remedied by a quick 2 gallon fillup in grid.

Hez getting ready to run - 7/12/2015

Our Fastest Runs - 1st and 2nd top times overall
MSNE Autocross - 7/12/2015

Thursday, July 2, 2015

Catch Can

One of the things that readily happens on S2000s when taking long right hand sweepers on grippy tires is for oil to get sucked through the PVC into the intake manifold as the oil rides up the side of the head due to the G forces. The solution is to install an oil catch can in between. On Bumblestook, I went through 4 iterations of catch cans starting with a DIY version made from an air/oil separator for compressors from Lowes. I then went for both the single and dual versions of the Saikou Michi catch can and finally the custom catch can that automatically drains into the oil pan made for me by Evans Tuning. The custom catch can for Bumblestook as it's designed isn't legal for STR so the Saikou Michi was my most logical choice. Unfortunately from experience, I've found that the biggest downside with the Saikou Michi (in its default configuration) is that it's difficult to drain in a rush. You have to take the bolt out, pull the catch can away from the battery, drain it, then put it back in. Under normal circumstances this isn't a big deal but during an event with a co-driver and you're rushing to clear the can in grid, there had to be a better solution that involved no tools and no burnt hands!

Moroso Universal Air/Oil Separator - Part #85474 - 7/2/2015
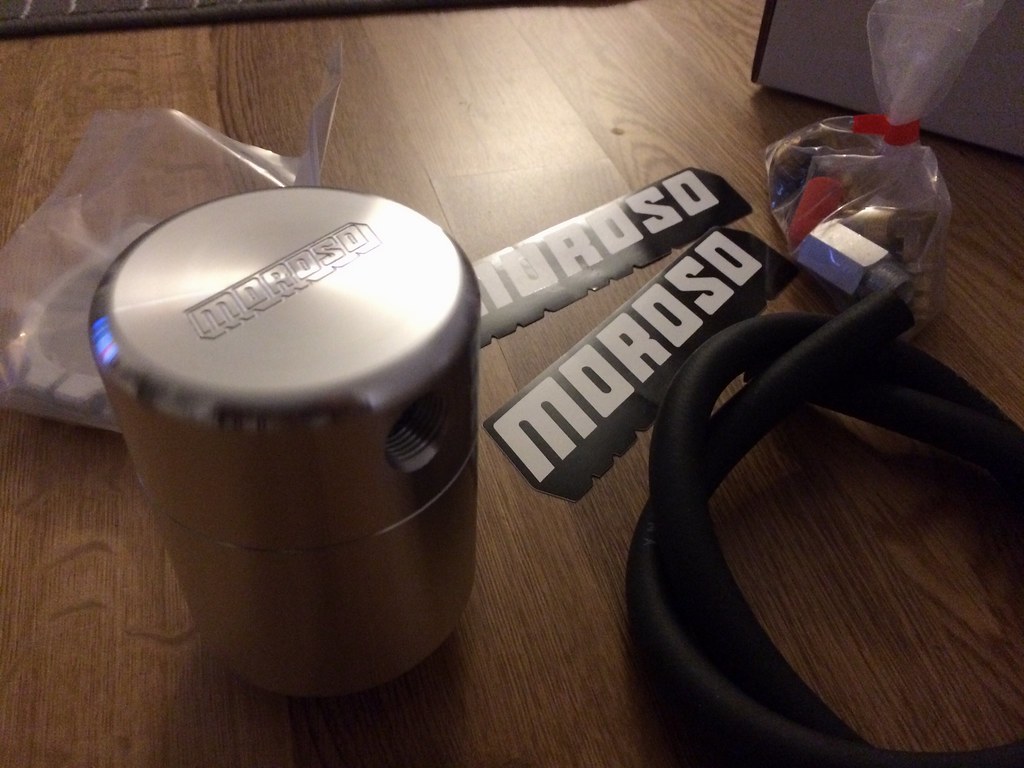
Enter the Moroso universal air/oil separator. I know people who have run the Moroso catch can successfully on the S2000. It's a really nice, well built unit that has been proven to be very effective. The problem is that the only ones I've seen this run on are the 06+ S2000s since they are drive by wire and don't have the cruise control module in the engine bay...a perfect place to put this catch can. I was determined to not let this stop me from using one. I remembered that on my DIY catch can, I mounted it onto the bolts holding the radiator fan and thought I'd give it a try. Sure enough it fit very nicely in that spot. Well, it almost does, you can only put in one of the two bolts for the bracket but because of the way the fan is made, if you bolt it up to the driver side, the other part of the bracket rests nicely on the fan shroud so it's going nowhere.

Moroso catch can installed - 7/2/2015
It came with 3/8" fuel hose but it was only long enough to go to valve cover on one side so I went to Autozone to pick up more 3/8" fuel hose and they just had enough left to get the other side of the catch can to the intake manifold. This makes it super easy to drain as you can easy fit your hand in that giant space above the cross bar. I'll probably add another hose coming out of the drain valve so I can route it out the side of the car for even easier draining one day but for now this is more than sufficient.

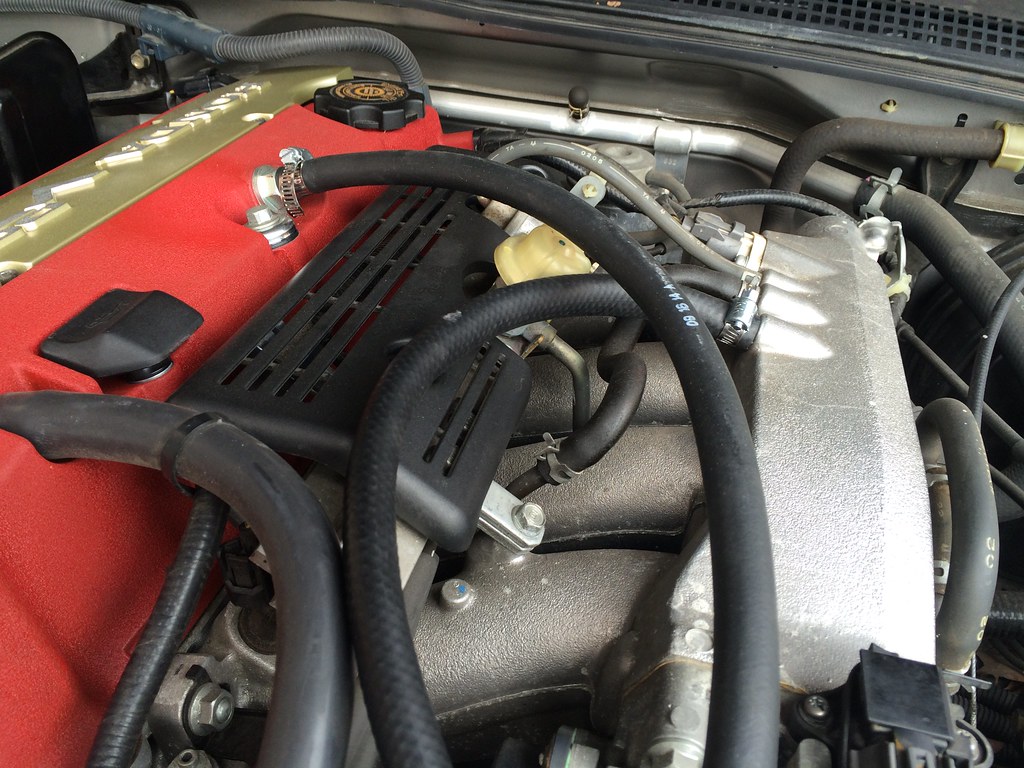
3/8" fuel hose connecting it all - 7/2/2015
Moroso catch can installed - 7/2/2015

While I was in the engine bay I figured I should probably replace the 10 year old serpentine belt. I inspected the old belt after I took it off and it was perfectly fine but when it comes to rubber components, it's probably best to err on the safe side and replace for preventative maintenance.

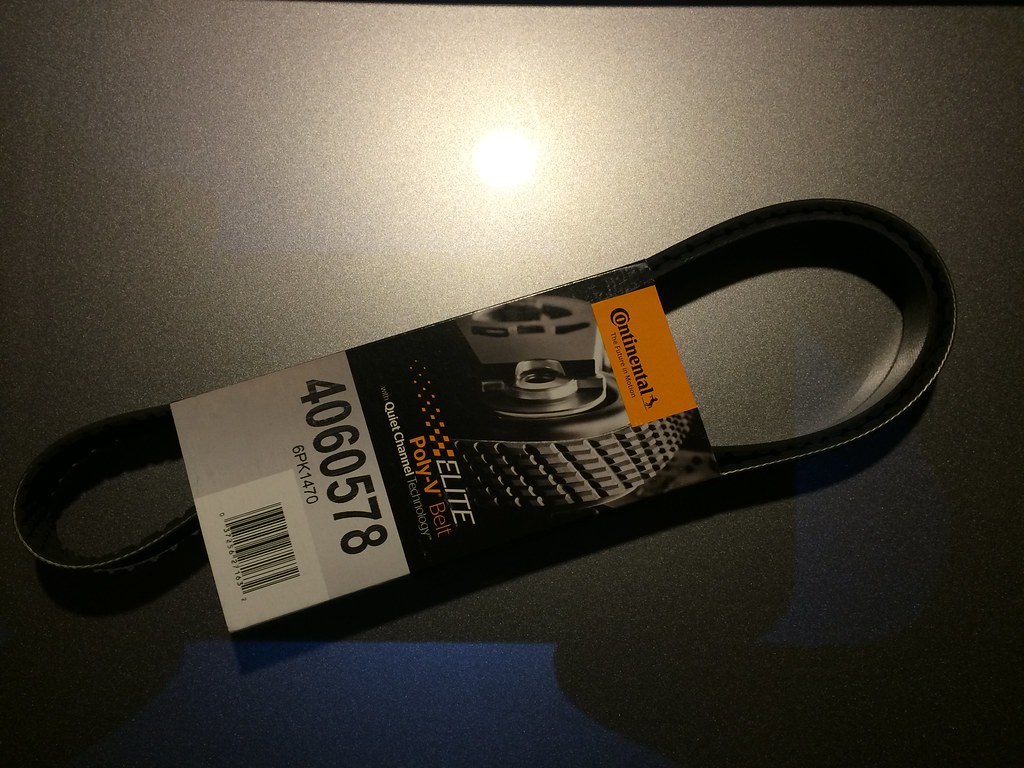
Replacement belt - 7/2/2015
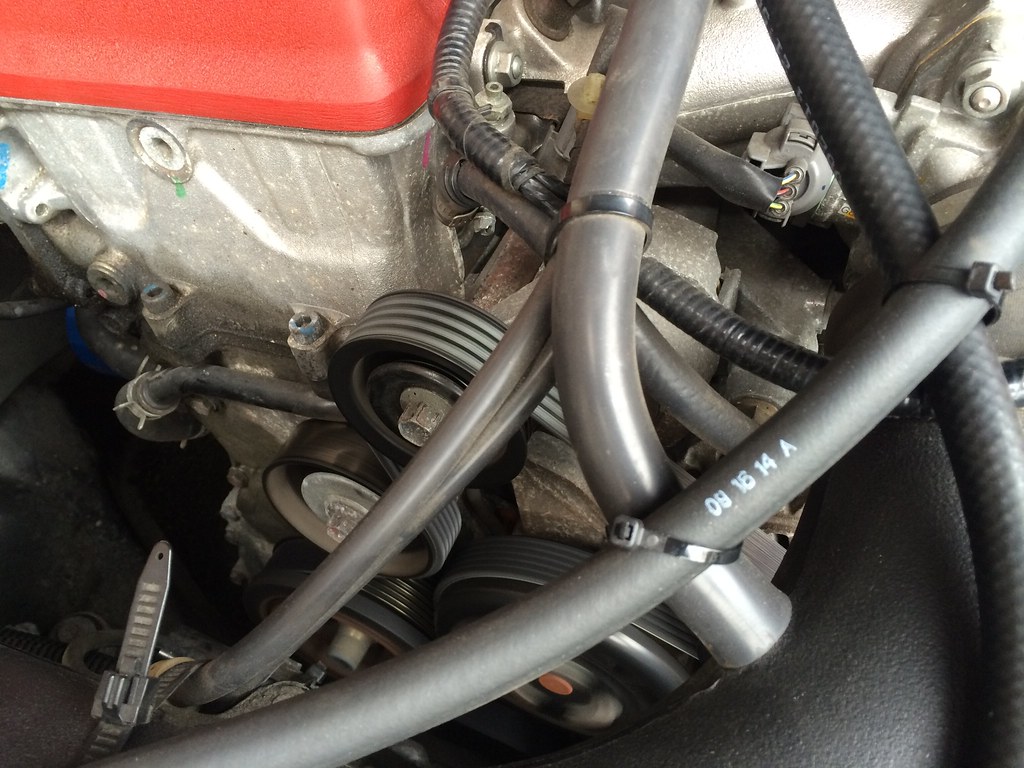
Belt installed and it's nice and tight again - 7/2/2015
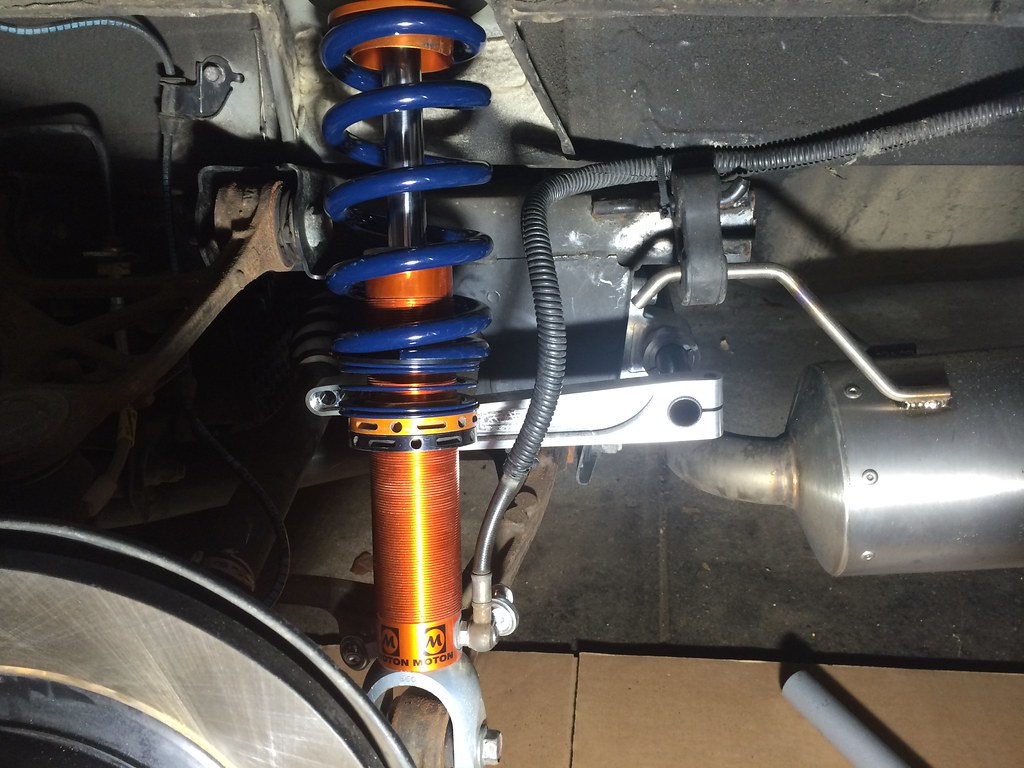
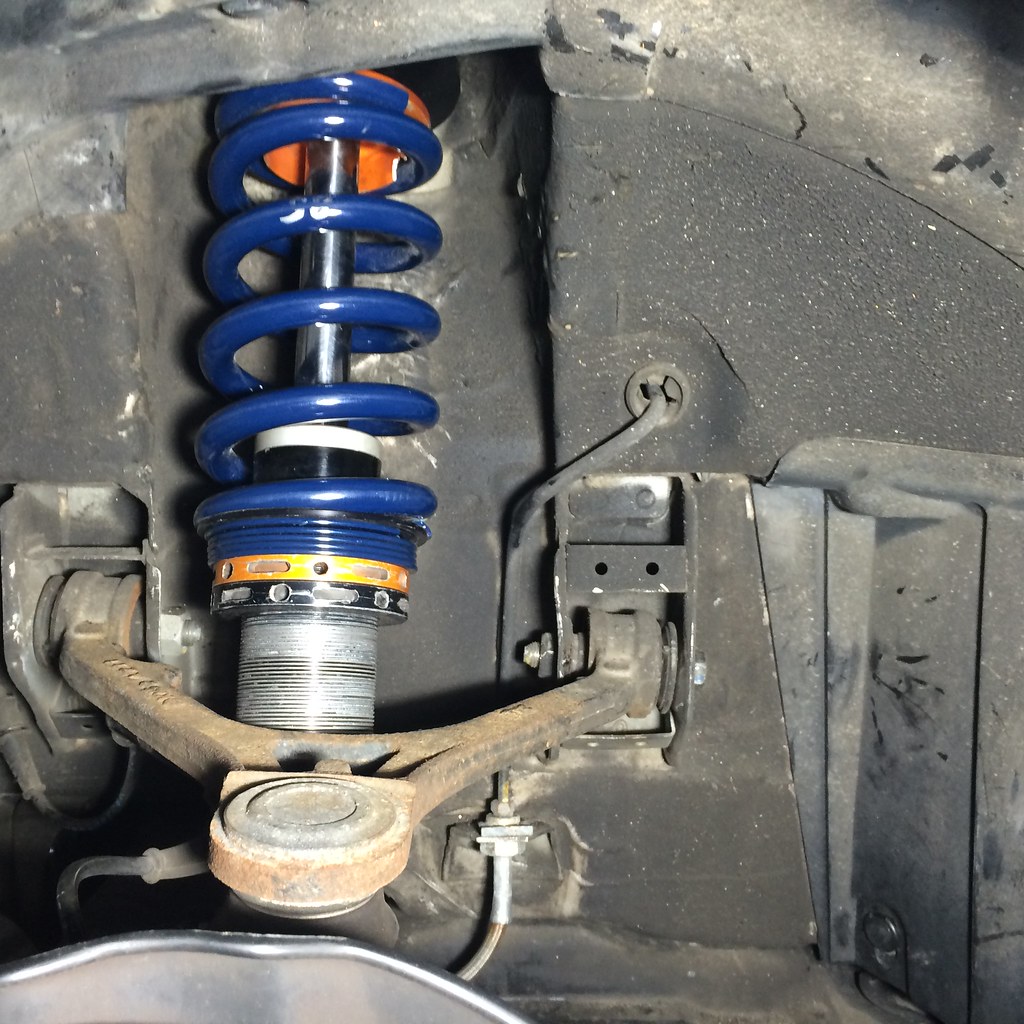
I think that's the last of the engine bay work that needs to be done this year. I may swap out the rear springs again before getting aligned since I think I may have calculated my target spring rates incorrectly but we'll see how it goes.