Last year when I switched the Cayman over to
Advan A052 tires, I was optimizing for autocross performance which meant going with as wide a tire as I could legally run for the class. For the rear, this meant 265/35/18 tires for improved gearing and 245/40/18 tires in the front to maximize grip (this was equivalent in width to the 255 RE-71Rs I was running before). Outside of autocross, this setup bothered me for two reasons; the rear tires were too short so the wheel gap looked huge and never looked right and the front tires rubbed the front fender liners badly. The rubbing was bad enough that I had to do a 12 point turn to get my car turned around in tight spots. During the winter I changed the rear tires to a 265/40/18 and after being fed up with all the rubbing and destruction to my front fender liners, I caved and went down to 235/40/18 which matches the OEM diameter.
 |
Fresh 235/40/18 Advan A052 tires for the front -
SJF Performance - 6/6/2020 |
As you can see, my main concern with the rubbing was that it was starting to expose a bolt behind the fender liner and I really didn't want that cutting into the tire.
 |
| Wearing through the fender liner |
Needless to say, if I was going to address the tire clearance issue then it made sense to replace the fender liners with new ones. I hate leaving things broken. My cars may not always be clean but I do try my best to not leave them in a state of disrepair.
 |
| Brand new OEM fender liners - 6/6/2020 |
 |
| New fender liners installed - 6/6/2020 |
I had also bought a black Rennline EZ Adjust fire extinguisher mount for Scarlett but decided to go a different route so I decided it should go on the Cayman instead. Fitment is pretty awesome and with the billet mounts for the Element Fire Extinguisher I'm glad I did this. It's a pretty stealth install that doesn't interfere with regular seat usage.
 |
Rennline fire extinguisher mount with
Element Fire Extinguisher - 6/6/2020 |
Big thanks to
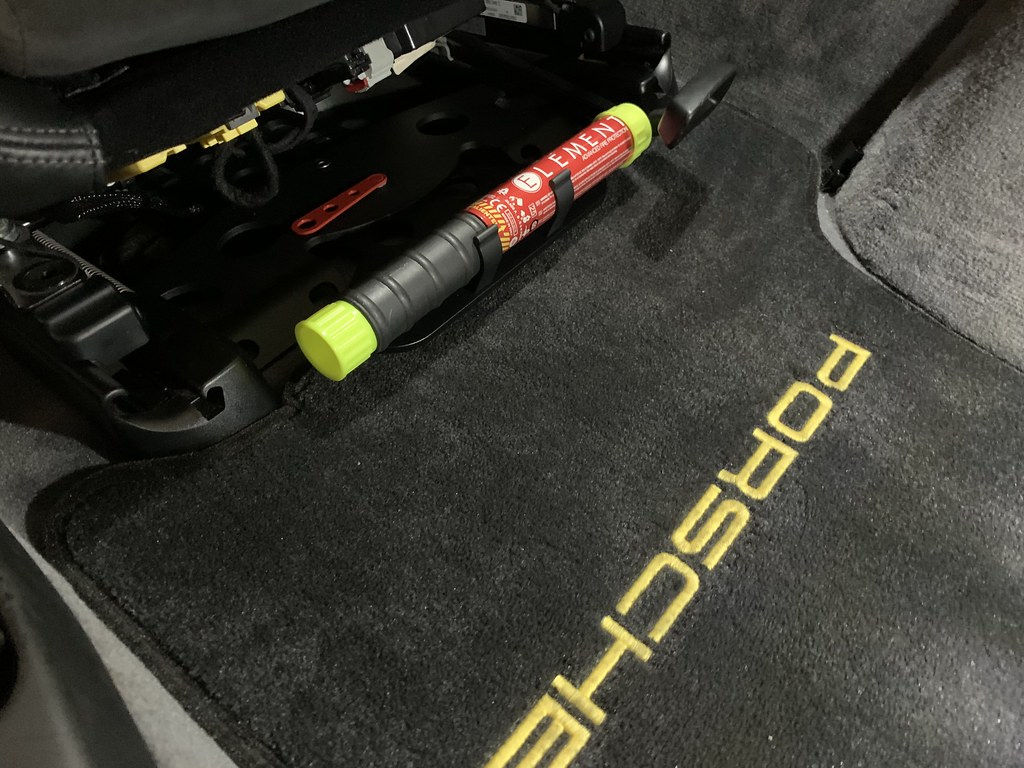
SJF Performance for squeezing me in between alignments today to get these things taken care of. For the 911, I ended up choosing to go with a rollbar mount for the Element Fire Extinguisher. It seems like a good place to put it for easy access and it won't interfere with the thicker coco floor mats. Why would I put a fire extinguisher in a car that I'm not likely going to take to the track at all? Well, it's an old car and frankly, I'm afraid of something randomly failing and causing a fire so I'd like to be able to minimize the damage if it comes to that.
 |
| Rollbar mounted Element Fire Extinguisher - 911SC - 6/6/2020 |
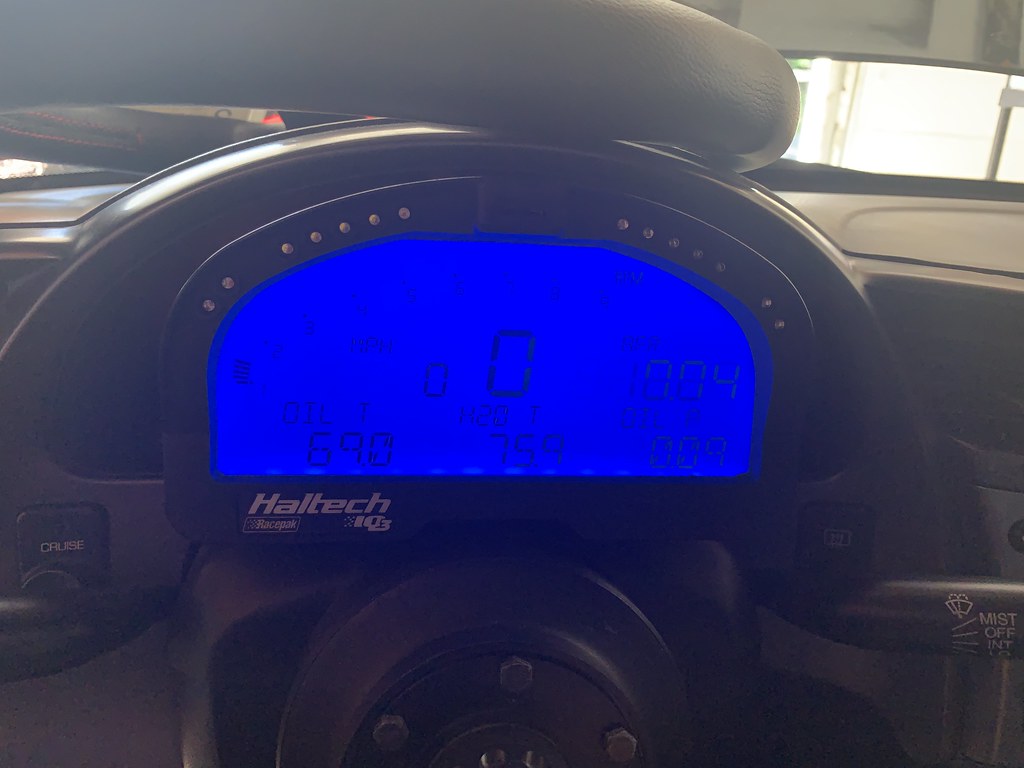
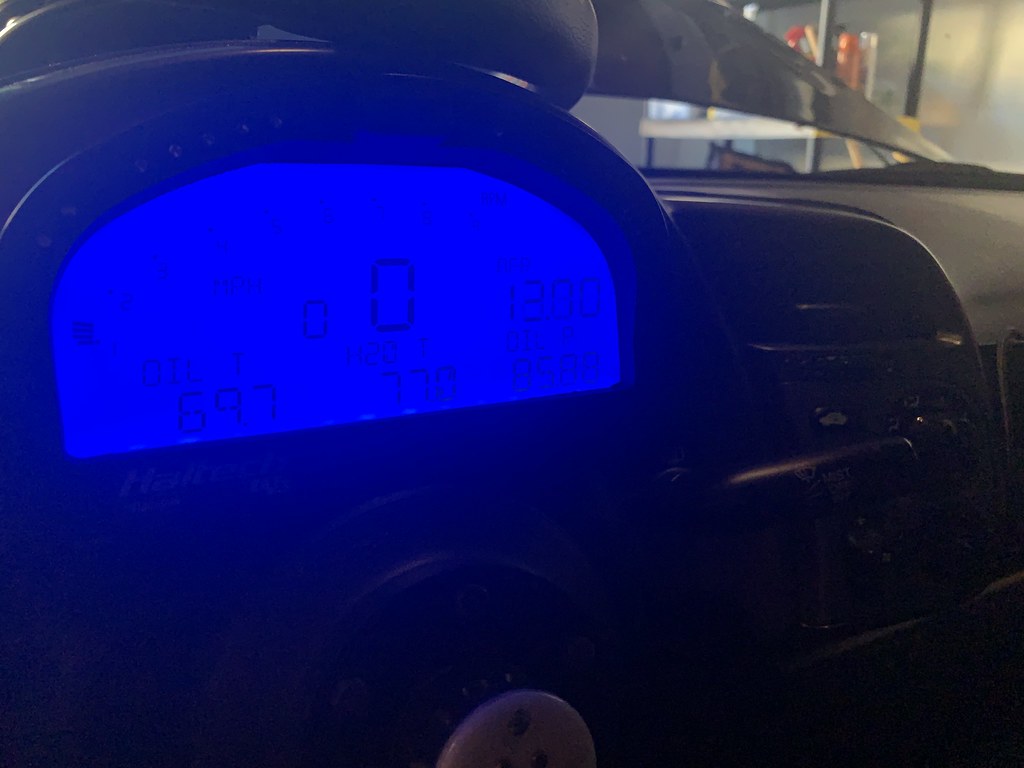
Finally, the best news of all is that I'm finally done breaking in the engine and transmission on the 911 so I dropped her off at
Speedsport Tuning so they can finish up the final tweaks on the car next week including a valve adjustment, putting in fresh regular oil (non-breakin), and of course, the new seats that
GTS Classics made for me. Hopefully, this is the last time I have to drive on these old ripped seats.
 |
| Drop off at SST |
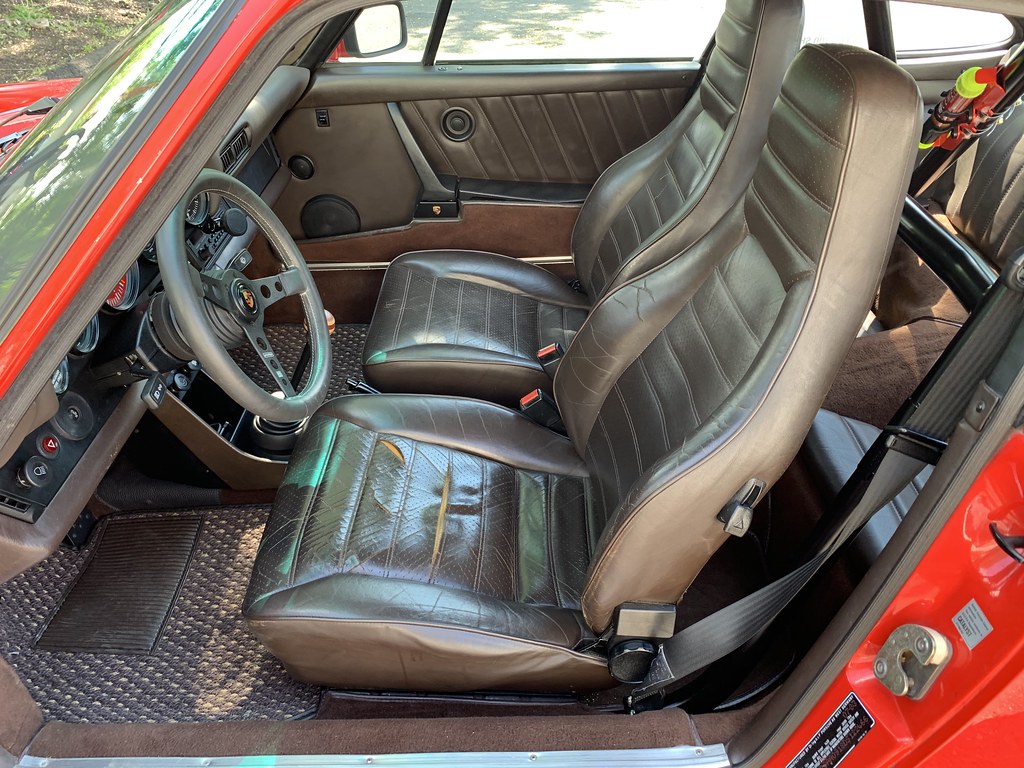 |
| Good-bye OEM seats |
It was also super hot and muggy today so I'm so glad the AC works on the 911 and that I was constantly moving so I wasn't worried about overheating. However, even at max cooling, the interior temperature was just bearable. I may have to reconsider driving this car at temps above 90F especially when it's humid and I have a chance of hitting real traffic. I have some interesting ideas about how I can address this in the future including a full electric AC conversion but we'll see if I go down that rabbit hole.