When I got the timing belts and oil cooler sorted, we noted vibration in the torque tube at around 3500rpms. The 944 S2 uses a torque tube that has a split lengthwise that was designed to reduce harmonics and vibration. The problem is that over time this can spread over time causing the bearings inside to not sit properly. The vibration wasn't terrible but it was a sign of things to come and rather than wait for failure, I prefer to just fix it the right way the first time. I picked up a used late generation 944 from @944Barn on IG and had it delivered to Black Sea R&D in Georgia to have it fully refurbished and have their four of the steel shielded super bearings fitted. These bearings are made in the USA and built to better quality than the OEM ones from the 80s.
 |
| One of the used later gen torque tubes from 944Barn |
 |
One of the used later gen torque tubes from 944Barn
|
 |
| Splines cleaned up |
 |
| Steel shielded super bearings |
 |
| Reassembled and powder coated |
Since I was going to have the torque tube dropped anyway, it made sense to incorporate a number of normally labor intensive jobs as part of it to save on future labor. Looking at the previous owners' records the clutch was changed about a 13 years ago but the flywheel was only resurfaced not replaced. I ordered a brand new OEM clutch, flywheel, pressure plate and all associated hardware since it's almost a no brainer to do that now with it exposed as part of the torque tube replacement. With the clutch out it also made sense to replace the rear main seal.
 |
| New Rear Main Seal |
 |
| New clutch, flywheel and pressure plate in |
 |
| Newly refurbished torque tube installed |
The foam that goes under the shifter for sound absorption had already started to crumble over the years so I had that replaced too since you can only get to it with the torque tube removed. Glad I did that since the old foam had definitely seen better days.
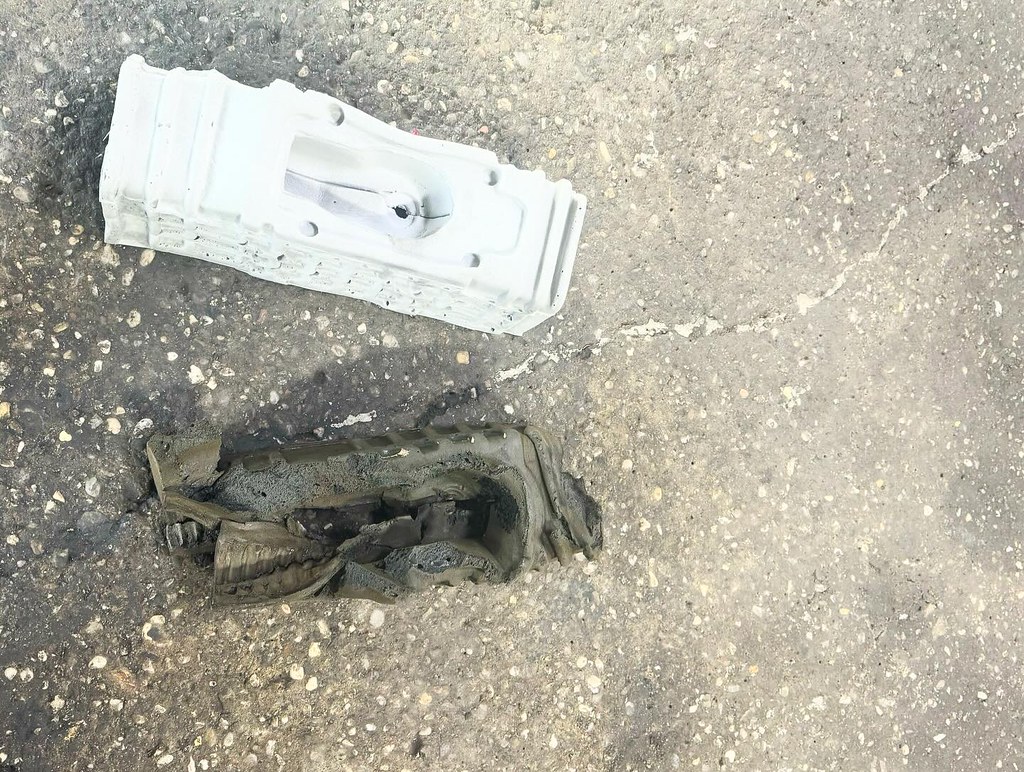 |
| New foam (top) vs old foam (bottom) |
Last but not least, I got a Wavetrac LSD installed with new bearings into the transmission and also put in a fresh new OEM transmission mount. I've had good experience with the Wavetrac LSD in my 911 so I figured for the price and performance, this was going to be a nice little upgrade.
 |
| Wavetrac LSD |
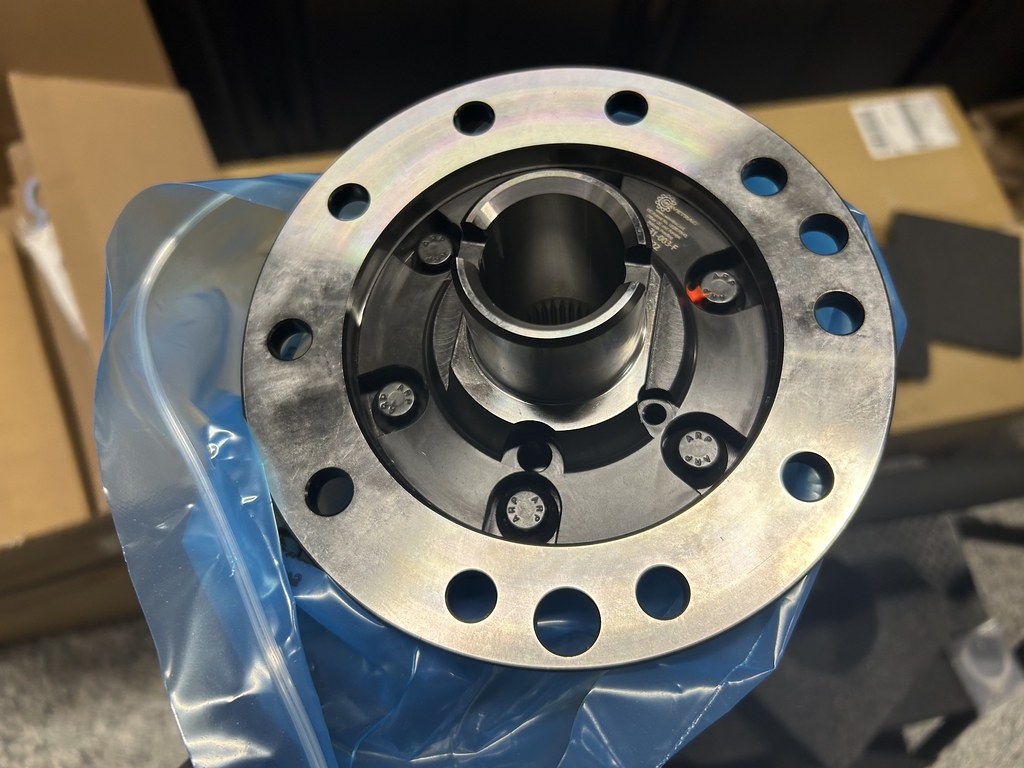 |
| Wavetrac LSD |
 |
Transmission back together with WaveTrac LSD and
Motul SAE 75W90 gear oil |
 |
| New OEM transmission mount |
All these changes really brought the car to the level of "restoration" I wanted for this car. It's been well take care of and driven over the years and really needed some proper investment and effort to make it as good as it was when it was new. It feels transformed from the day I picked it up and I'm definitely very happy with the outcome.
Super big thanks to Marcello at
Hybrid Motors for getting this turned our super quick and making sure everything was done right including addressing a few other small leaks we uncovered as part of this work.
Maintenance Update:
Mileage: 96,788
- New OEM Transmission Mount
- New OEM shifter sound absorber foam
- New OEM clutch
- New OEM Flywheel + new bolts
- New OEM Pressure plate + new bolts
- New OEM pilot bearing and release bearing
- New OEM clutch fork shaft
- New OEM needle bearings for clutch fork
- New OEM guide tube for release bearing
- New clutch bellhousing, torque tube, transmission bolts
- New OEM rear main seal
- Remanufactured late gen torque tube with 4 stainless shielded super bearings by Black Sea R&D
- Wavetrac LSD (40.309.170WK)
- 3 quarts Motul 75W90 Gear Oil