I've been meaning to improve the cooling on my car for some time now and picked a Mr Sideways x Sakebomb Garage high performance dual pass radiator with 12 and 10 inch low profile SPAL fans. It's supposed to be a bit more efficient than my Koyo radiator with much quieter fans than my old FAL setup. I also wanted to go back to OEM rubber radiator hoses from the Samco Silicone hoses I had before due to the coolant smell you can sometimes get from coolant that permeates through them.
 |
| Mr Sideways x SBG radiator setup |
First order of business was to drain the coolant of course, then removing the hoses and old radiator setup from the car.
 |
| Radiator drained |

 |
| New radiator in and hoses attached |
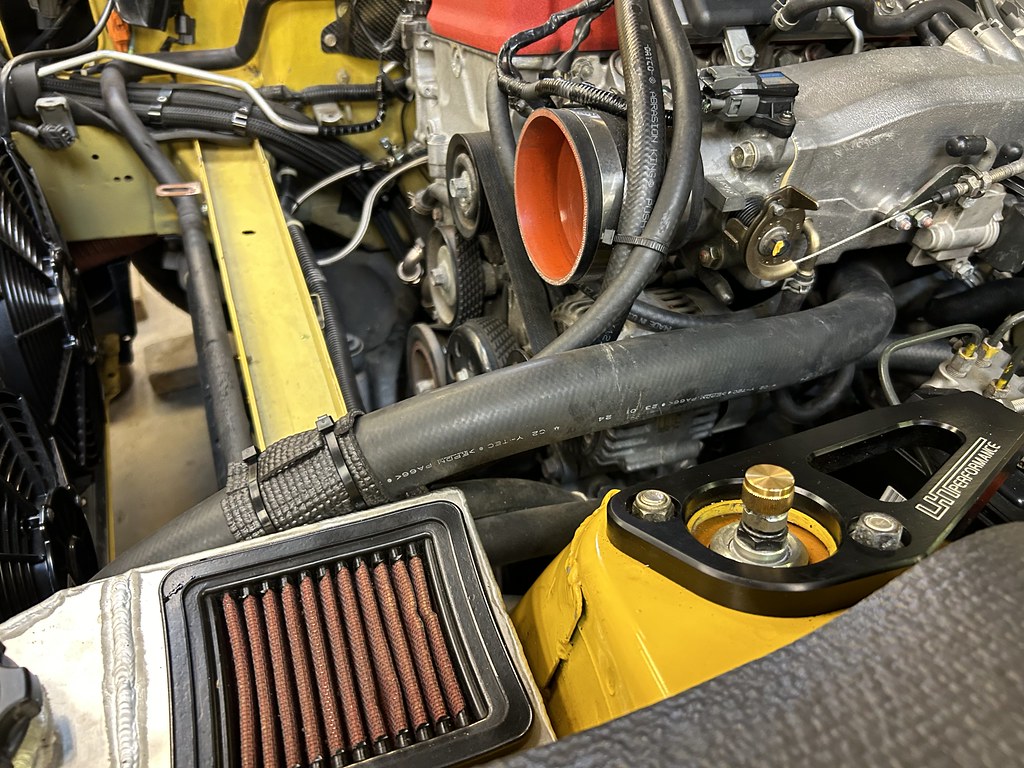 |
| Upper radiator hose supported by the catch can fittings |
SJF uses a vacuum filler to vacuum the entire coolant system so we know the seals are good then about 1.5 Gallons of Honda Type-2 coolant was added.
 |
| Coolant getting sucked in by the vacuum |
Once we got that filled, the old connectors from the previous radiator were cut and transferred and soldered to the new radiator since I have different radiator connectors from stock. The next problem were the radiator stays. The location of the radiator posts don't line up with the factory location so on the driver side, a 1/4-20 nutsert had to be installed into one of the existing holes and new holes drilled in both my radiator stay and carbon fiber cooling plate. We also had to drill new holes on the passenger side radiator stay so it could be bolted in. Additional carbin fiber had to be cut off to accommodate the new location of the coolant cap. For a radiator that's built for an S2000 you'd think they would have this sorted and not require additional fabrication.
 |
| Additional hold in passenger side radiator stay |
 |
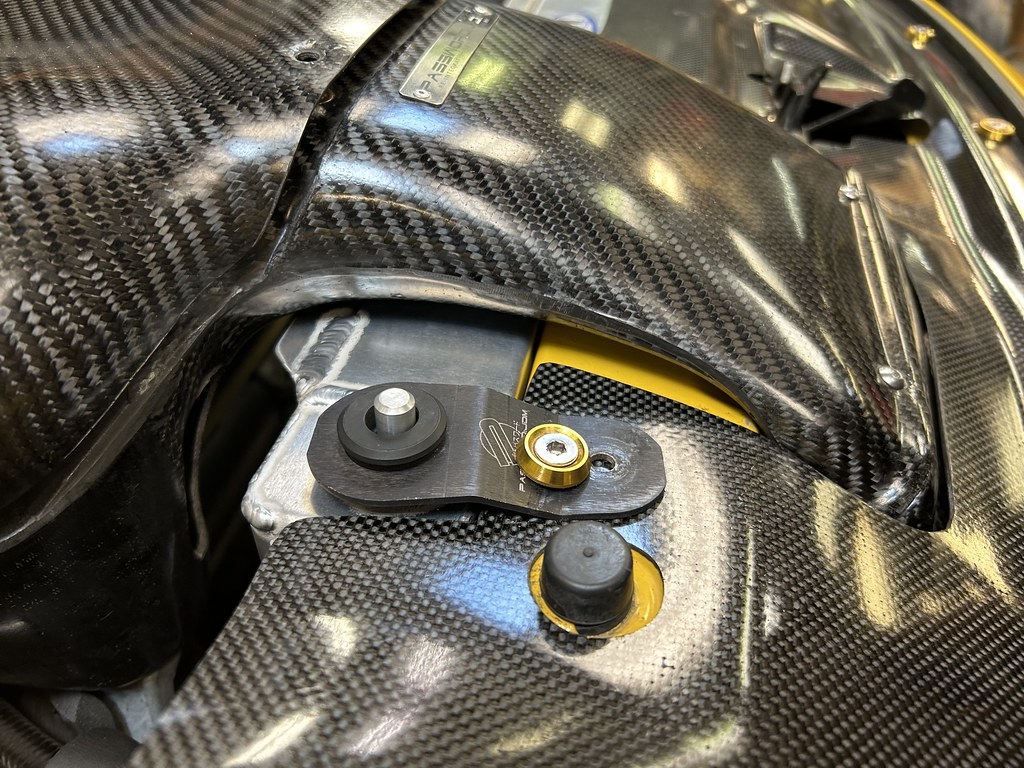
| Nutsert for driver side radiator stay |
 |
| Driver side radiator stay installed |
Once that was sorted we could the intake back in and make sure the system was operating as it should.
 |
| Everything back in place |
 |
| Getting the car hot and cycled |
Maintenance Update:
Mileage: 65,241
- New Mr Sideways x SBG high performance radiator
- 12 inch and 10 inch SPAL low-profile fans
- New OEM rubber radiator hoses
- 1.5 gallons (approx) of Honda Type-2 Coolant


