Wednesday, July 22, 2020

High Output Alternator and Starter

After the failure of both my CDI and AC relay I was starting to suspect something electrical wasn't quite right. After reading about people having their batteries explode on them from over charging, I decided to get a plug in voltmeter so I could monitor my alternator voltage while driving. I was quite shocked to see values anywhere between 12.2V all the way to 17V even when just idling. Clearly the internal voltage regular in the original alternator was starting to fail. Thankfully, I had already anticipated having to replace the alternator so I already ordered a 175A high output alternator from Classic Retrofit months ago (they're generally backordered and ship from the UK). I dropped the car off with Speedsport Tuning on Saturday so they could get to work on it while I was at Watkins Glen with the Cayman.

High Output alternator mated to fan housing - 7-20-20
Original alternator vs new alternator - 7-20-20
This unit is a nice modern alternator based on units used on stop/start capable vehicles. It's 6-phase instead of 3-phase making it much more efficient and has an internal fan to keep it cool and includes thicker ground cable and power cable to the start motor. One of the major benefits to getting this upgrade out of the way besides reliability is that it opens up the door to maybe installing the Classic Retrofit electric AC conversion in the future for significantly better cabin cooling during the hot months.

Details on the high output alternator. 

It's really quite a gorgeous piece and it's almost a shame that it's covered up inside the fan housing and shroud. It's designed by WOSP Performance in the UK for Classic Retrofit and these guys really know how to engineer stuff. Who doesn't like billet parts and well engineered products, right?

Classic Retrofit / WOSP Performance High Output Alternator
I liked their alternator design so much that I decided that if we're going through the trouble of doing the alternator, the next suspect old part that could leave me stranded was the old starter motor. Thankfully WOSP Performance also makes one that's not only high output but also half the weight of the stock starter motor. I think it's based off a Denso unit so you know it's going to very reliable. 

WOSP Performance high output lightweight starter motor
New starter motor installed - 7-20-2020
The combination of the new alternator and new starter motor is perfect. The car starts up beautifully each time now and the voltage output is a consistent 14.0V maximum at any RPM above 3K (drops to around 13.2V at idle). Since I did an EFI conversion, I really think this stable voltage has helped it quite a bit as I've noticed the car runs smoother now. I presume those sensors feeding the ECU are behaving more predictably with the correct voltage. 

Classic Retrofit rear fuse panel
Classic Retrofit rear fuse panel installed - 7-20-2020
While we were at it with electrical upgrades, I also got the Classic Retrofit rear fuse panel. It works the same was as the upgraded front panel but there are only 3 fuses in the rear. I just wanted to standardize on modern style fuses so they're easier to replace if needed. 

Carmagic Bright White instrument cluster LEDs
I noticed a few weeks ago that some of the instrument cluster bulbs were dead or super dim. I'm a big fan of LEDs because they're brighter and draw less current. I picked up a set of bright white BA7 LEDs from Carmagic and swapped them in today. It really makes a big difference being able to see the gauges properly at night.

Fitting new LED instrument gauge bulbs
It's a little hard to tell since it was very bright out when I tested them but you can see that all the gauges are now properly illuminated.

All gauges lit up with LED bulbs
I actually ordered the Carmagic LED kit upgrade for the exterior bulbs too but just didn't want to tackle doing that today since it was too hot. 

I think that completes all the major mechanical upgrades to the car. I've got some minor cosmetic things and new, lightweight battery to install but now we can move onto paint. I also finally got to see my friends over at K2 Auto to chat about our game plan for this car. We're doing a windows out respray plus a few other things. They understand what these passion projects mean to me (just look at what they did to Bumblestook a few years ago) and I trust they'll do an equal, if not better, job on my 911.

Maintenance Update:

Mileage: 165,731
- New Alternator
- New Starter Motor

Tuesday, July 21, 2020

Watkins Glen International with HOD

Finally got to take the Cayman out on her first track day and no better place than Watkins Glen International, hands down my favorite track in the Northeast.

Watkins Glen International - 7-20-2020
Caymans, Caymans, everywhere
I spent the better part of the first session just getting comfortable with the car on the track. It feels very different from my S2000. Power is obviously better but it doesn't have as much feedback throughout the chassis (mostly because my S2000 has spherical bushings everywhere). I was also trying to figure out the optimal gear to use for each corner. This is where I found the data from my newly acquired AIM Solo2 DL. I found it massively helpful on track to be able to see if the changes I was making at various corners were helping improve my predicted lap time. 

AIM Solo2 DL
Towards the end of my second session on the first day, I was noticing the brake pedal was feeling very spongy. As I was about to get into the final corner I could feel the pedal going to the floor so I made a quick decision to pit in. Turns out I had boiled my brake fluid (ATE) and basically had no brakes. Bad things could've happened if I attempted to barrel down the front straight at that point. Thankfully, The Little Speed Shop was there and they had the car flushed with fresh Motul RBF660 before my afternoon sessions and I didn't skip a beat. The RBF660 seems to be the ticket. I never had another case of brake fade or boiling fluid even though the ambient temperatures continued to rise the rest of the afternoon. 

Brakes getting flushed with Motul RBF660
Despite the increasing temperatures in the afternoon, I no longer experienced any further brake fade and I'm glad to report my three CSF radiators did a great job of keeping my coolant temps in check, with me not seeing anything above 217F despite outside temps being in the 90s and running 25-minute sessions. On day 2, I only ran the morning sessions since I had to leave by noon. I was finally able to get a good clean lap without traffic and improve on my time from the previous day setting my personal best at 2:20:28. I was driving well within the limits of the car. Not once did it get bent out of shape and I left enough grip for error. The one thing that changes your mentality when you do track days in a car that you expect to drive to and from the event on its own power is that you're less likely to take risky moves to find a bit of extra time. Ok, maybe that's not true for other people, but that's certainly true for me. 

Watkins Glen International - 2:20:28

Overall, it was a great event. Watkins Glen had very strict Covid-19 protocols and while that added to some extra effort from everyone, none of it really dampened the fun we had. I had loads of fun being on a familiar track enjoying such a fun car with a pretty good run group. I am a big believer in the mid-engine platform. The balance and control are really amazing and the more laps I turned the more I realized how superior it is. I will say, for a track like The Glen, having some aero could've helped. I felt I couldn't really go flat out up the esses as the front started to feel a bit light and was slightly pushy. I think some front aero to get that nose down would've helped quite a bit. The rear felt super planted though. Aero is not a direction I'm willing to take since this is not a dedicated track car and I'm not trying to win anything. I do, however, have some ideas about some brake improvements but that's for another blog post.

Setup Notes:

Front: 

Compression: 6
Rebound: 11

Rear:

Compression: 9
Rebound: 8

Sunday, July 12, 2020

Duck This

If I told you I was going to swap a decklid on the 911 you'd say, no big deal, it's just 4 bolts. Well, nothing is ever really that simple or straightforward with this car. If you recall I bought an unpainted ducktail early on in this project to put on the car based on the metal frame of an OEM 911SC decklid with a fiberglass ducktail fused on top. That was ok but I ended up coming across a Getty Design fiberglass ducktail already painted Guards Red on Pelican so I picked that up as well. The Getty Design decklids are known for their great fitment. That, combined with the fact that it was already painted, made it a no brainer. Today I went to see SJF Performance to tackle the installation.

Test fitting the ducktail decklid - 7-12-2020
The main problem we had to deal with was the fact that the ducktail decklids are designed for cars without AC which means it's completely missing the center mounting bracket to hold up the AC condenser. The AC condenser is held up by one bolt on each side to the hinge but the center is held up on the factory decklid by a bracket that it simply rests on. After some thinking and scrounging around for something to use in the shop, SJF found a very lightweight black aluminum bar that would be perfect for this. After cutting to length and adding a rivnut, it was simply bolted onto the decklid across the middle and a bracket was screwed on to hold up the middle part of the condenser just like factory except this has actually better coverage and the addition of some rubber padding means I won't hear any clunking from the condenser moving around when I hit bumps. It's a simple, yet effective solution.

AC Condensor Bracket installed

AC Condensor Bracket installed
On my OEM decklid, I was also having issues with the decklid occasionally not popping open when I pulled the release cable after driving around for a while. The latch wasn't operating smoothly. This was particularly annoying when I'm by myself since you need to yank on the decklid while pulling the release cable which is physically impossible. SJF enlarged the holes bolts for the upper decklid latch so it could be adjusted more and trimmed the washers so it wouldn't pull shift the decklid when tightened. The release mechanism itself was greased and now the decklid latches with a very satisfying click with on a single finger and instantly pops open on first pull of the release cable.

Decklid on and emblem attached
This decklid actually came off a 3.2 Carrera so it had 4 small in the back for where the Carrera emblem was. I bought an old 911 SC silver emblem a while ago, had the pins in the back ground off, and put double-sided tape on. This perfectly covered up the holes and looks proper in the back for a very OEM look. The grill also wasn't a straightforward task. The T-bolts holding it in place weren't long enough so SJF had to fabricate something to use for now while I search for a more appropriate OEM solution. The color of the decklid is obviously slightly off from the rest of the car since it is newer paint but it's not too bad. I can survive with this until the respray.

Ducktail decklid installed
While SJF was finishing off the decklid install, I went on to replace the chrome headlight trim with some new black ones that I got. I thought this would be a simple 3 bolts per side and a quick swap but no, that wasn't simple either. There's only one bolt that actually holds the headlight in place. The other two are about 4" long bolts that are actually for adjusting the headlight aim but you still need to completely remove it to swap headlight trim. The nylon nut holding it all in place made this quite annoying and of course removing it meant I now have to re-align the headlights at some point in the future. There were also 6 "clips" that secure the trim ring to the headlight lens and trying to get all that lined up again when you do the swap required some finesse that I really couldn't be bothered with. Thanks to Jenna and Jeff for helping me with this because frankly, I don't have much patience for something so fiddly when all I want to do is a trivial change. Let's just say I'm not incentivized to replace the headlight trim again in the near future.

Black headlight trim installed
I actually like this new look. It adds a bit of aggressiveness to the front. I'm debating if I'm going to body-color match these when the car goes in for paint but for now I do like this over the chrome rings since nothing else is chrome on the car. The front fenders were also rolled a little to have better clearance at full lock so hopefully that prevents further future damage to it when I turn into steep driveways.

Side profile looking great
I've always wanted an air-cooled 911 with the classic ducktail. The lines just work really well and it's actually functional so I'm super stoked we got this done. I also put in a 12V USB outlet that shows the voltage. I was getting suspicious that the voltage regulator in the alternator was going bad and sure enough I verified that the voltage was fluctuating from 12.6V all the way to 17V. This could explain why the CDI and the AC relay randomly died. Thankfully most of the recently electrical upgrades in the car are designed to handle voltage irregularities but I'm worried this will eventually kill my battery or some other electrical system. I've got a new high output alternator here so that's getting installed very soon along with a new high output lightweight starter for improved reliability.

Friday, July 3, 2020

Small Interior and Exterior Fixes

With hot and humid weather and heavy thunderstorms in the forecast I didn't want to take the cars out today but instead focused on getting some deferred mini projects out of the way.

Project Day at Steguis Motorsports - 7-3-2020
First up was treating the new GTS Classic Seats. I asked Stefan at GTS Classic what I should do to keep the plaid cloth on the seats in good shape. He recommended using some fabric guard. This stuff's pretty cool, once it cures it pretty much makes the cloth bead water. Hopefully it'll help keep it clean. You're not supposed to apply it on leather so I masked off all the leather then when I was done treating the clotch, I applied some leather cleaner on all the leather parts. Now I can let it cure properly for 24 hours before sitting in it.

303 Fabric Guard for the seats
Next up was to do something with the ruined clear coat on the front right fender and hood. I'm still planning on getting the car painted but I still have a few things I want to get done before doing so. In the meantime, I just didn't want it sticking out like a sore thumb because frankly it looks pretty horrible if you look at the car head on.

Clear coat damage on the front fender
As you can see it looks like someone was sweating on a black T-shirt and had all that salty sweat leave a crusty white mark everywhere. I wanted the car to at least be decent 10 feet away so I tried this L'Oxide oxide Reducing Emulsion. I was skeptical but at this point, I had nothing to lose since these panels are already in bad shape. After one layer I was already pretty impressed with the results. Sure if you're close you can still see the roughness of the clear coat but it's definitely not as bad as it was before. I'll probably put another coat next week and that'll hold me over until I get the car painted later this year. This also has to cure over night so it'll be ready for when I take her out for a drive tomorrow.

L'Oxide oxide Reducing Emulsion
After the emulsion, not bad, especially in a photo lol
Another minor thing that was bothering me was the factory fuel filler protective flap. After 37 years it basically stiffened up and kept getting in the way when trying to add fuel. I got a new one and it's nice and flexible again. It's the little details that make all the difference when you actually use a car.

Old fuel filler protective flap
Even off the car it's stiff 
New fuel filler protective cap
That's more like it
Before I dropped the car off at the shop a month ago, I installed the Element Fire Extinguisher on the rollbar and use the Rennline seat mounted extinguisher on the Cayman instead. Well after seeing how nice it was on the Cayman, I decided I had to do the same on Scarlett. Plus, it seemed super 90s ricer to have the fire extinguisher so visible from the outside when parked.

Rennline EZ Adjust seat fire extinguisher mount
Clean install, easy to get to and mostly out of sight
I even got this super easy to install/remove cup holder. I normally don't eat or drink in my "nicer" cars but sometimes you just want to bring a bottle or something with you and it's nice to have some place to put it securely. This installs with a simple thumb screw and can go pretty much on either side of either seat. I'm going to try this location first and see if it gets in the way.

Emergency Cup Holder
Finally, I was trying to keep the original 1980's rear license plate frame but there's just too much "Porsche" going on. It clearly already says Porsche right above it so I don't need to plaster more "Porsche" on the car. Thankfully Porsche makes a more appropriate license plate frame because I whole-heartedly agree...Porsche, There is no substitute. The black frame looks appropriate too with all the black accents on the car.

There is no substitute
One thing I didn't photograph because I know some people will take offense is that I put a Broadway mirror over the factory rear view mirror. Something JDM had to find its way into this car eventually. Frankly I did it because the top of the rollbar actually blocks a good amount of my rear view with the factory mirror and the larger 240mm Broadway mirror let's me see under it better so it's really a safety thing. If someone has a more appropriate German equivalent, then let me know.

Thursday, July 2, 2020

Oil Cooler

In the last installment of the 911 build, I was about to pick Scarlett up from the shop after the valve adjustment post engine break-in and the installation of the new seats but the debris in the oil filter had us revisiting the oil setup. Not wanting to risk contaminating the engine with debris, I opted to have the entire oil tank replaced with a brand new one. Since I wasn't sure if the oil lines were also disintegrating, I took the opportunity to upgrade the entire oil cooling system.

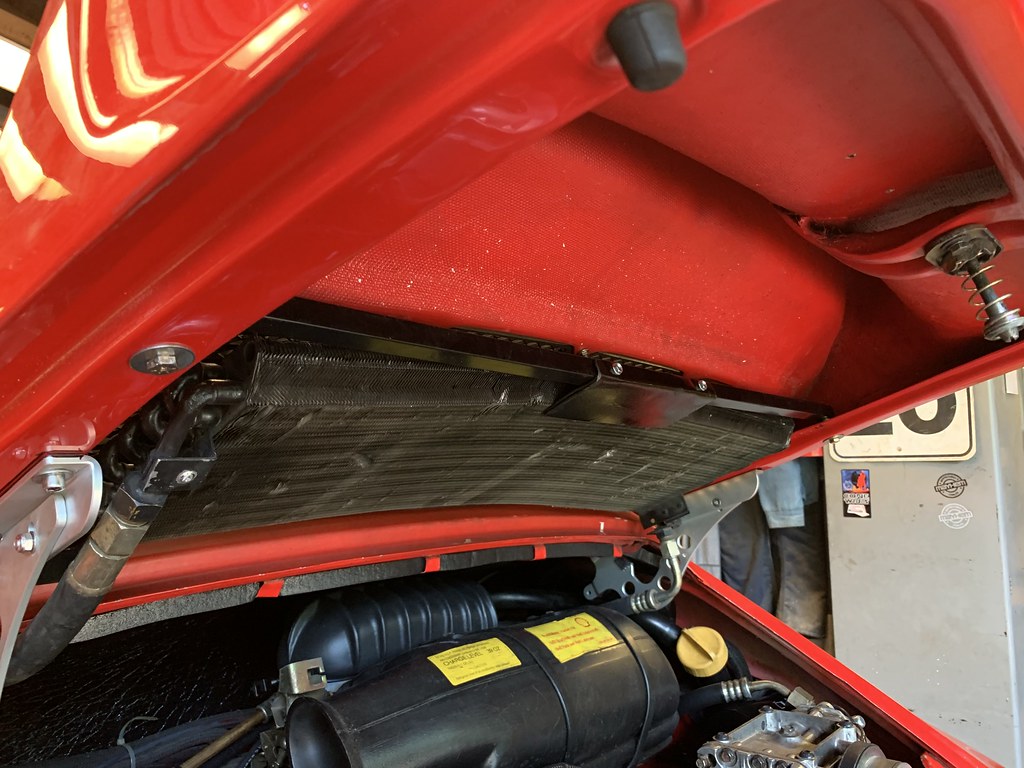
Elephant Racing Single Fender Cooler - 7-2-2020
Factory "trombone" setup
You get into a slippery slope sometimes when you decide to upgrade things but in the long run, this is the best choice. The factory setup is what's called a trombone cooler. It does nothing more than send oil to the front of the car, loop through a few times then goes all the way back to the tank. This works reasonably well especially if you stay in motion but if you get stuck in traffic on a very hot day and you have AC, you sit there nervously watching your oil temps creep up. The new oil cooler is a radiator "Carerra" style cooler with a fan that turns on if the oil temps get too high which helps cool the oil even when standing still.  The Elephant racing version is wide mouth which has a 3mm wider fitting that most typical oil coolers which actually increases the oil flow by 50%.

Finned oil lines
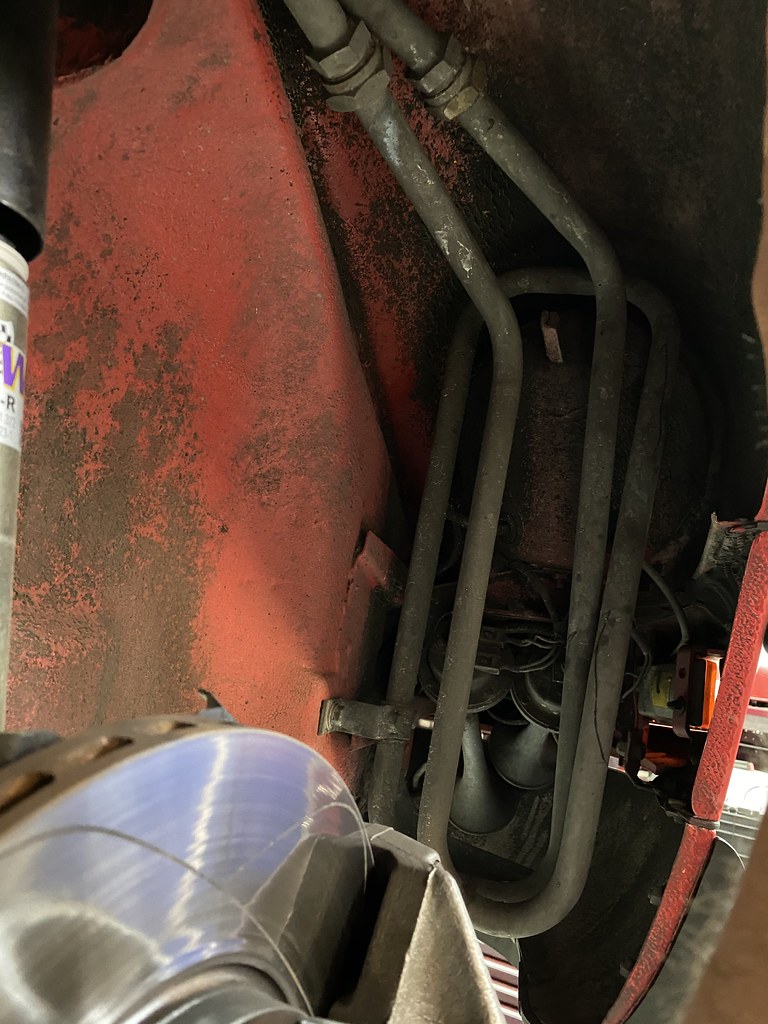
The kit also replacing all the hard oil lines with finned oil lines. This setup increases surface area and therefore increases heat dissipation 4x over the stock setup. It also features a valve where you can use air pressure to force oil through the oil cooler to have a more complete oil change. In the rear, I upgraded to high clearance oil lines that route the lines to the oil tank up into the wheel arch. This allows for a more aggressive tire and wheel setup if I choose to do so in the future.

High Clearance Oil Lines
The thermostat was also replaced with the Elephant Racing version which is far superior over stock. It features a pressure bypass that automatically loops the oil back into the oil tank should there be a clog in the oil cooler lines thereby preventing the engine from starving for oil.

New thermostat with high oil routing
Factory Thermostat with OEM oil routing 
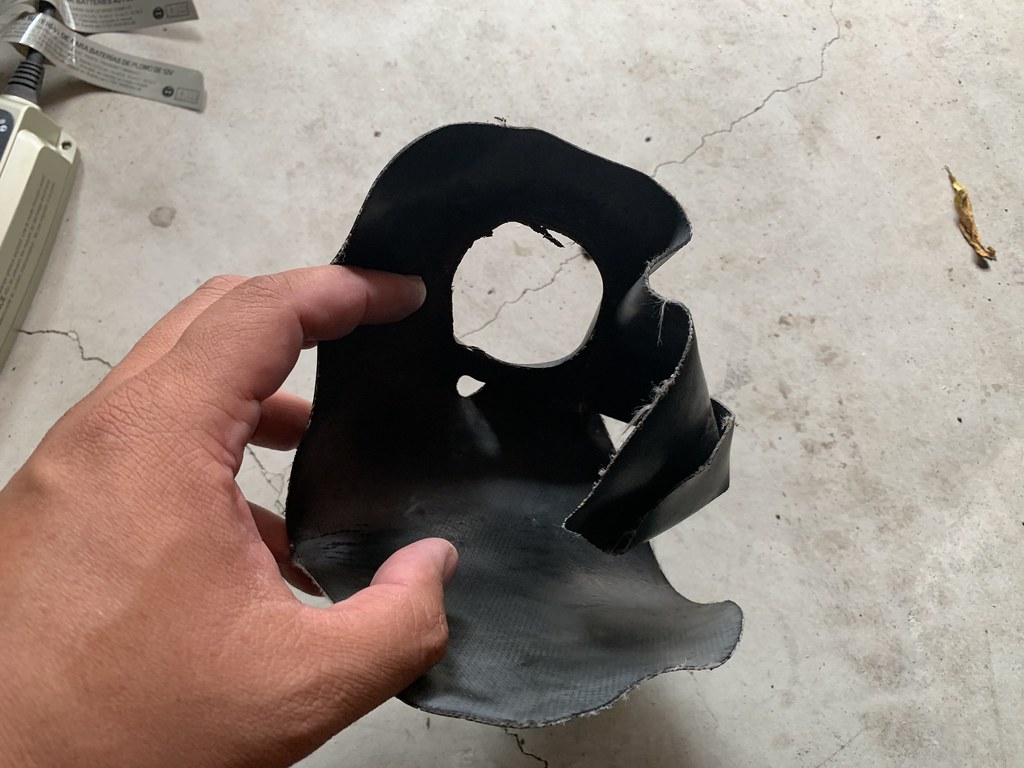
The install wasn't without hiccups though. One thing I've learned the hard way throughout this build is that even though you might find a part that says it fits a wide range of generations of 911, small build differences/improvements over the years means that things are rarely bolt-on. They should probably come with a label "some fabrication required" instead. In this case, the location where the cooler wanted to be in had a bumper bracket and the factory horns in the way. This could be solved a few different ways but we opted to upgrade to 993 style horns which are more like your modern small "snail" shaped horns. This gave additional clearance but the fan it came with was simply too wide. With the car lowered, leaving the cooler where it was meant the tire would contact the stone guard so we wanted additional clearance. We went with a smaller SPAL fan which they bench tested and surprisingly pushed about 300% more air through the cooler.

993 horns and SPAL Fan (VA31-A101-46S)
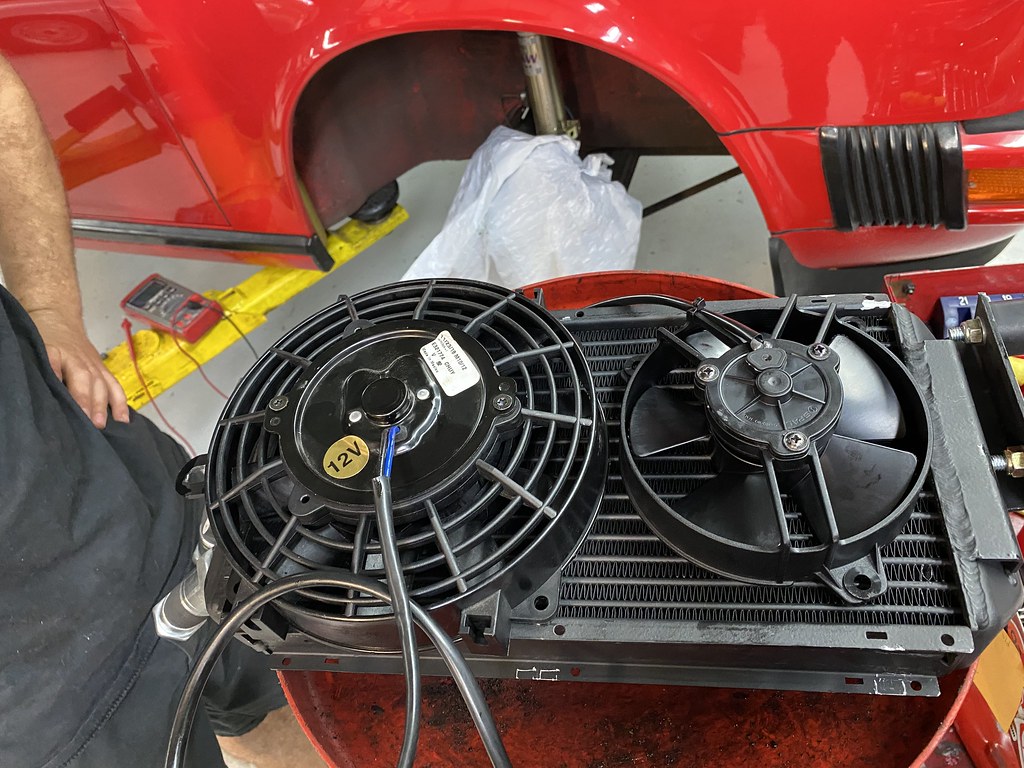
Larger kit fan (left), Smaller SPAL fan (right)
I also noted from my previous test drives that I had a weird outage of my Speedometer and Odometer for about 40 miles then started working again. When both speedometer and odometer stop at the same time it usually means the speedometer impulse sensor is going so I had that replaced with a new one as well.
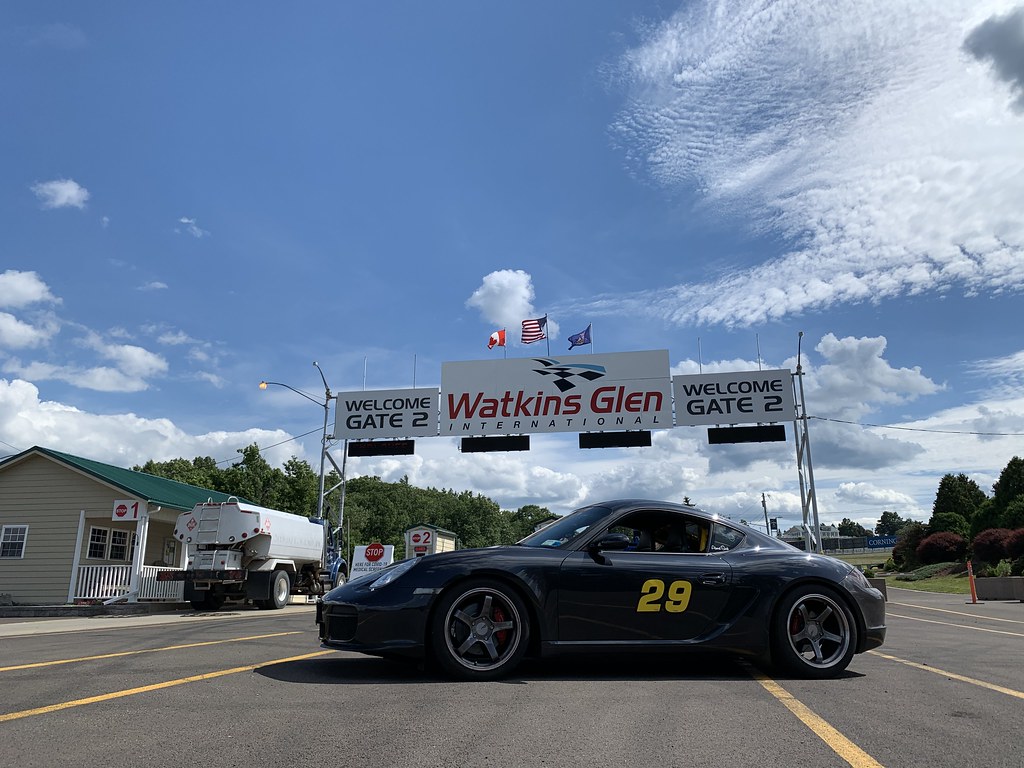
Finally out of the shop after a month - 7-2-2020
Speedsport Tuning - Danbury, CT
Of course, picking up the car should've been a simple process but as soon as I hopped in and tried to turn the AC on I noticed it wasn't blowing air nor was the compressor engaging. Ah the joys of classic cars! The guys at Speedsport Tuning were super helpful. It was the day before the long weekend and we were all just trying to get home. Instead, they spent a solid 2 hours going over electrical diagrams in the parking lot to figure out what happened. It turned out it was no one's fault. The relay that runs the circuit for all the AC stuff simply failed. Thankfully they had a spare so after a quick swap, I was back up and running and heading home.

Failed Ac relay in the "smuggler's box"
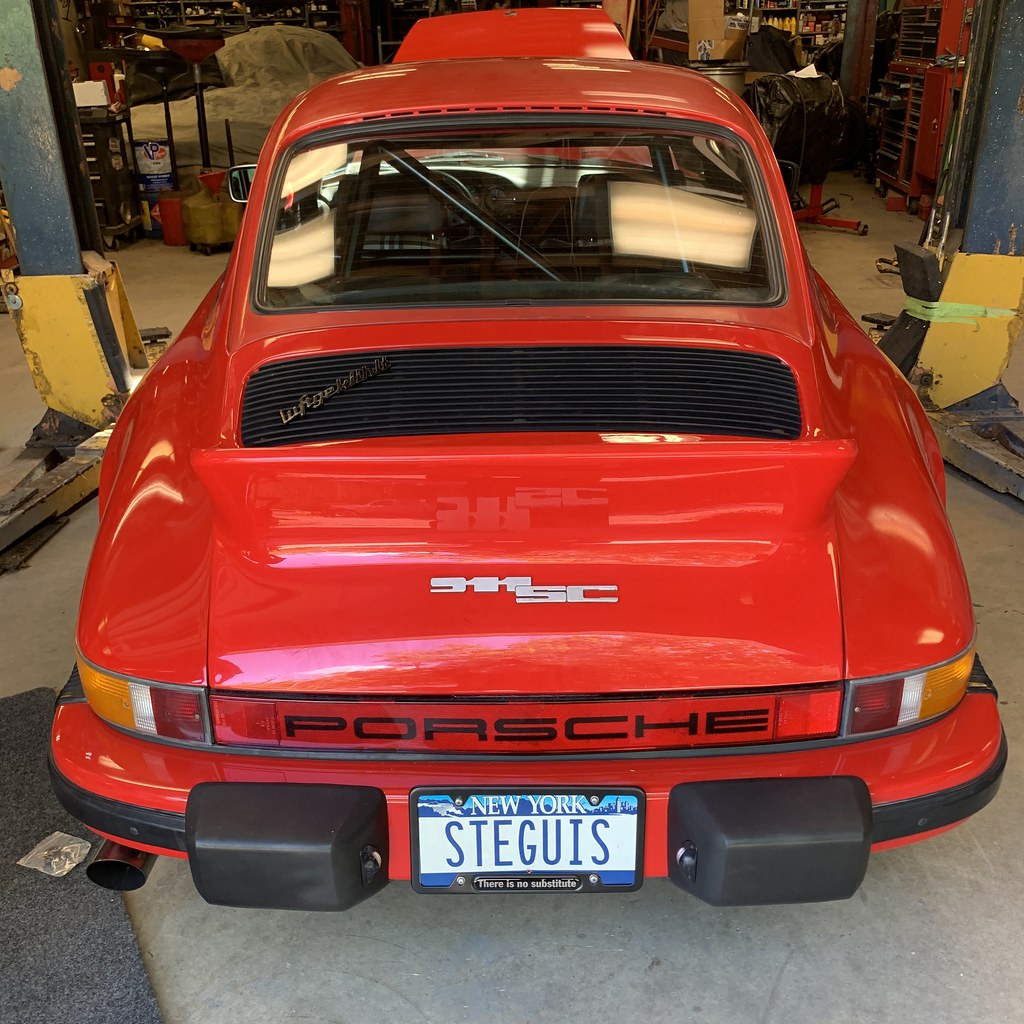
I'm just excited to get the car back. The engine runs so smoothly and I thoroughly enjoyed revving it all the way to redline all the way home. The gears are a little tall though so it's a bit surprising the speeds you get up to even at the top of 3rd. It's really not as slow as I thought it was. The new seats feel superb and my new, lower, seat height also means I can more easily see my gauges.

Maintenance Update:

Mileage: 165,144

- New oil tank and oil cooler
- New 993 horns
- Valve Adjustment
- 11 quarts of Driven DT-50 oil
- New Speedometer Impulse sensor