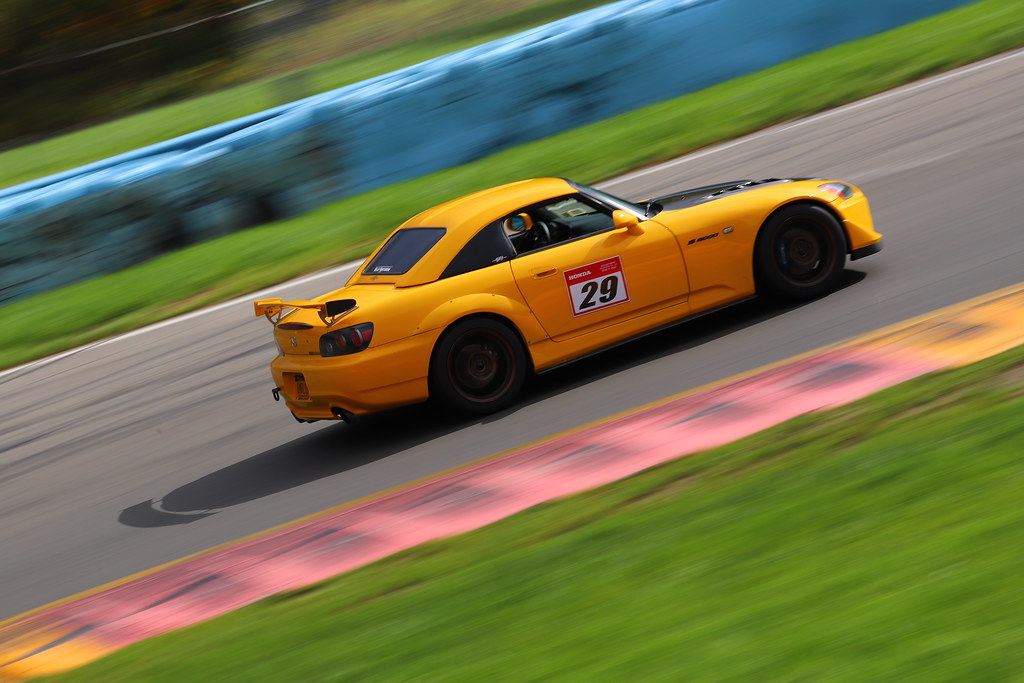
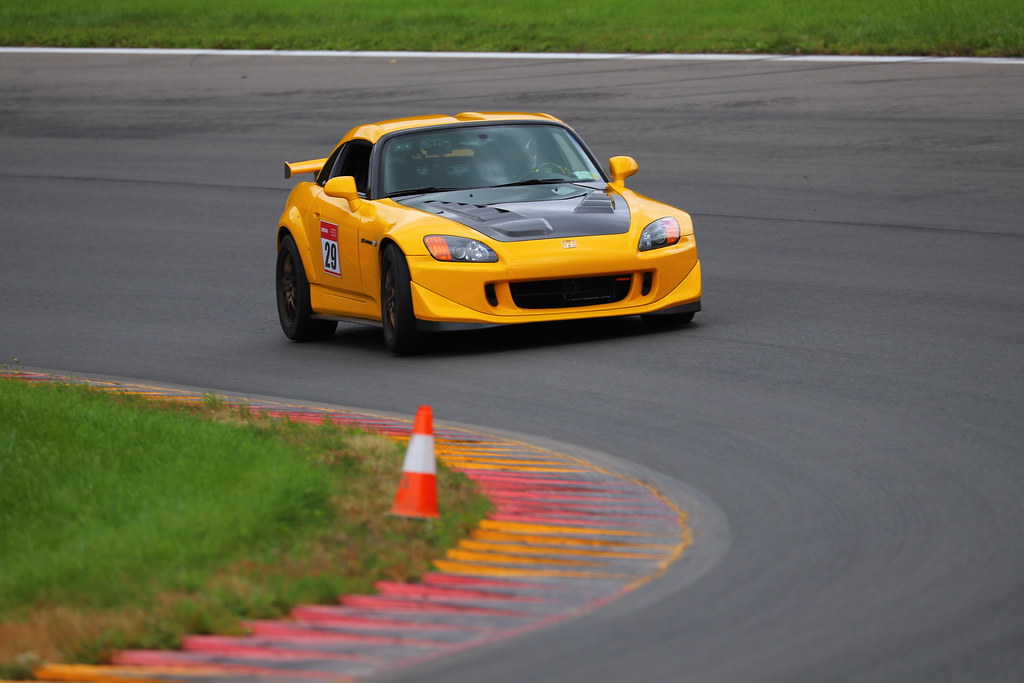
The main objectives for this build are:
- Make her fun and enjoyable both on the street and at autocross events
- Enhance the visceral and aural experience
- Use the STU rules allowances to increase her reliability
- Everything needs to be reversible
- No cutting holes in body or fenders
- Any trimming of interior panels needs to be done on replacement panels (keep original ones mint)
- Make the car as nationally competitive as possible to the limit of the rules
- ...understanding full well that a 987.2 PDK would likely be the stronger version of the 987 platform in STU trim
 |
| Stock oil pan removed ready for baffled pan installation 12/26/2018 |
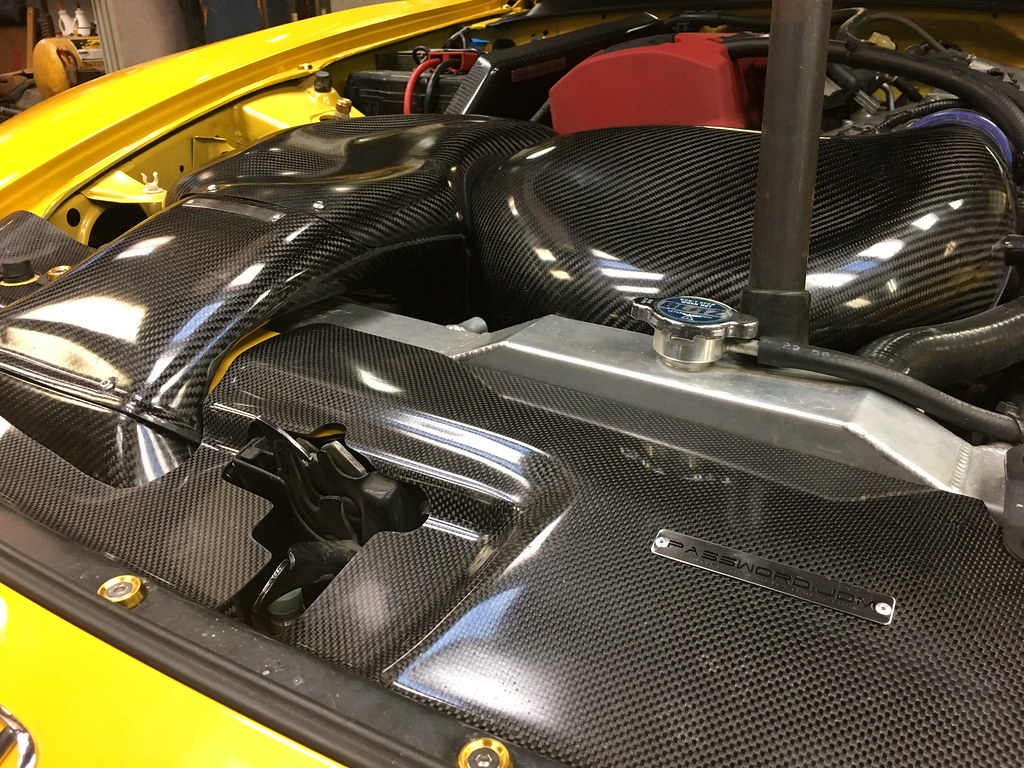
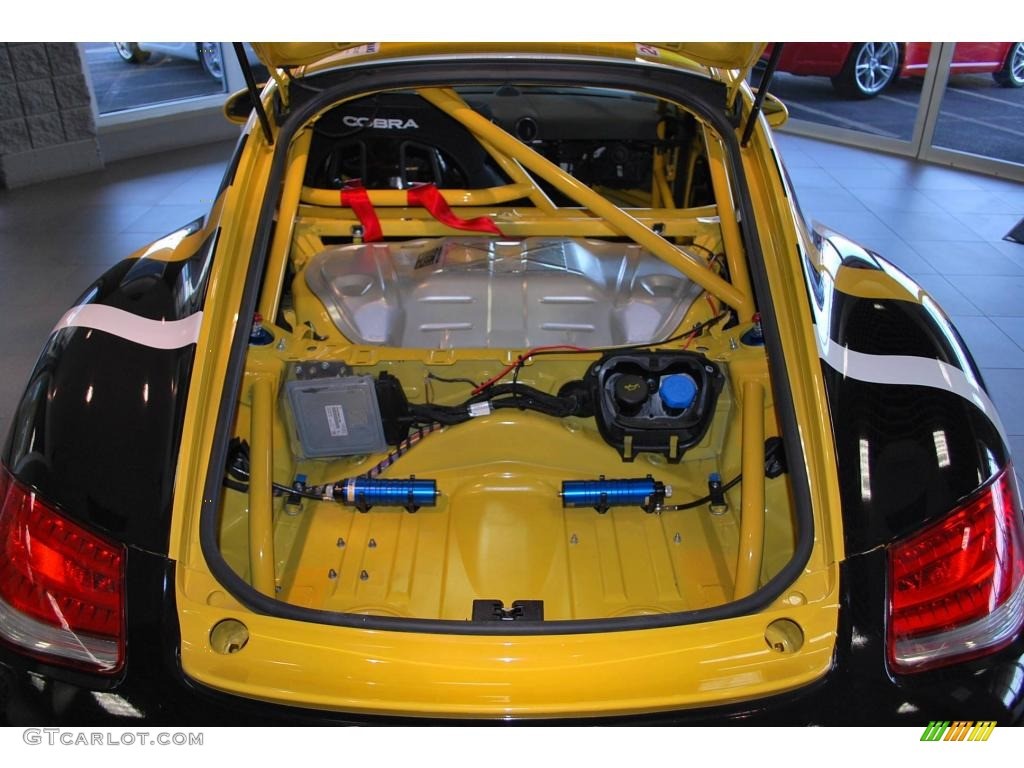
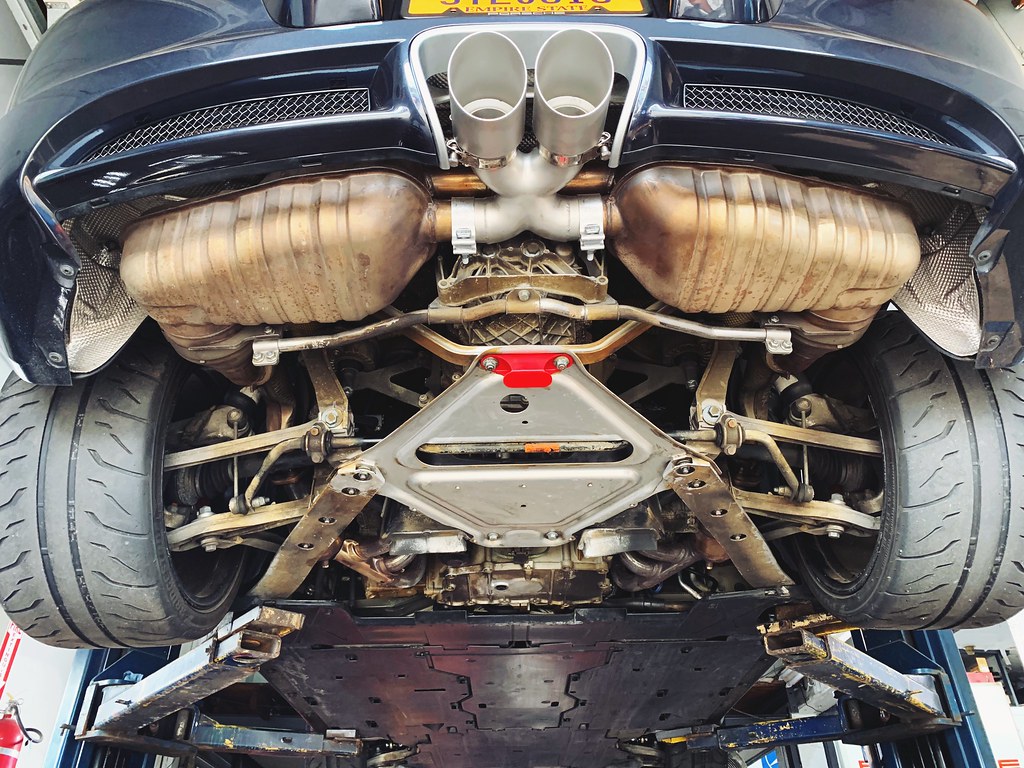
The upgraded Porsche Motorsports air oil separator we installed in a few months ago helps quite a bit with reliability but the M97 engine can still suffer from oiling issues under heavy lateral load. While I'm not terribly concerned at local events on asphalt, I'm a bit more concerned running on longer, faster courses on concrete. One way to help the engine out is by installing a baffled oil pan with increased oil capacity. I picked up an FVD Motorsports baffled oil pan that also adds another 3/4 quart of oil capacity. The engine was then refilled with a fresh 8.75 quarts of Joe Gibbs Driven DT-40 oil.
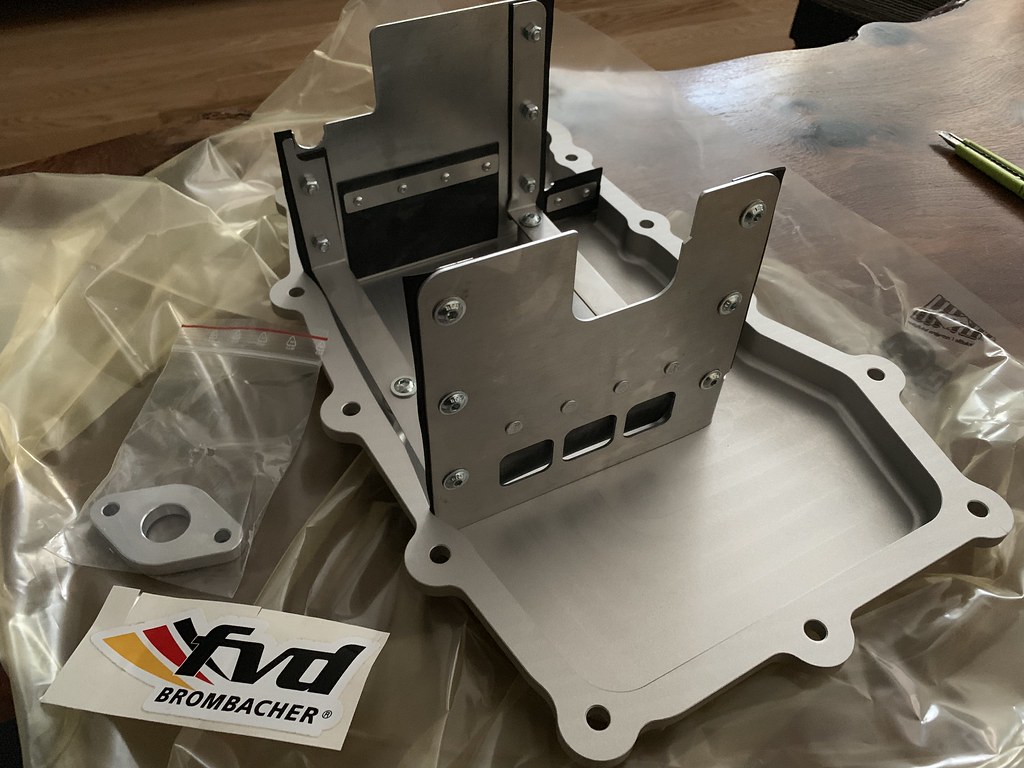 |
| FVD Motorsports baffled oil pan |
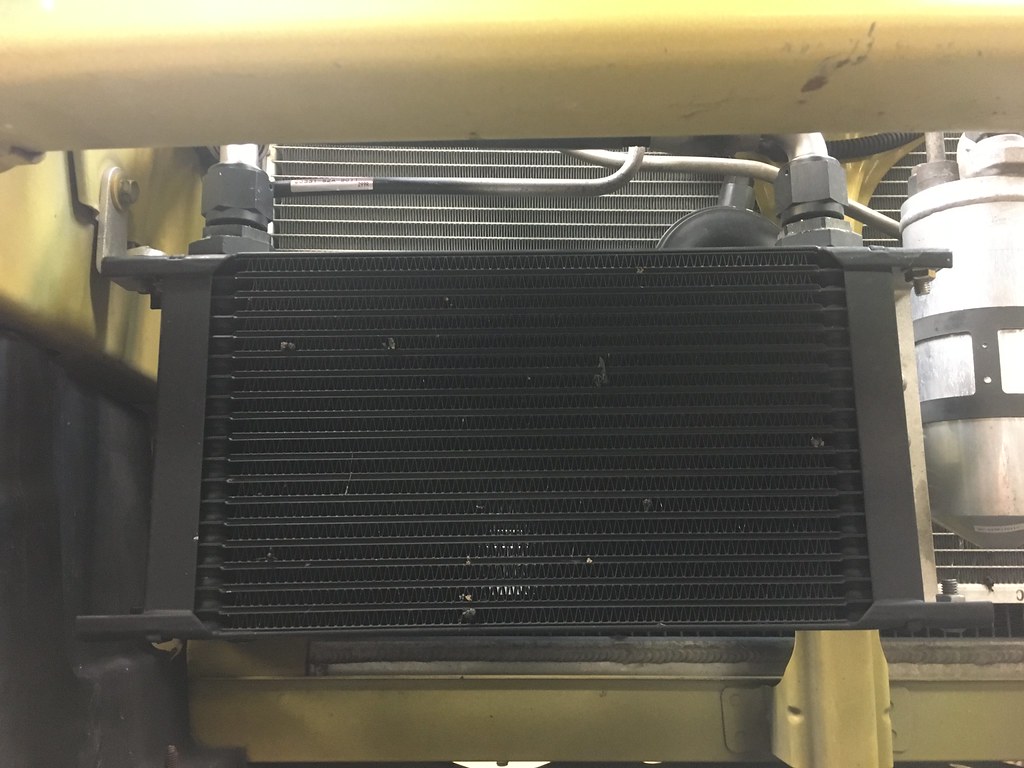
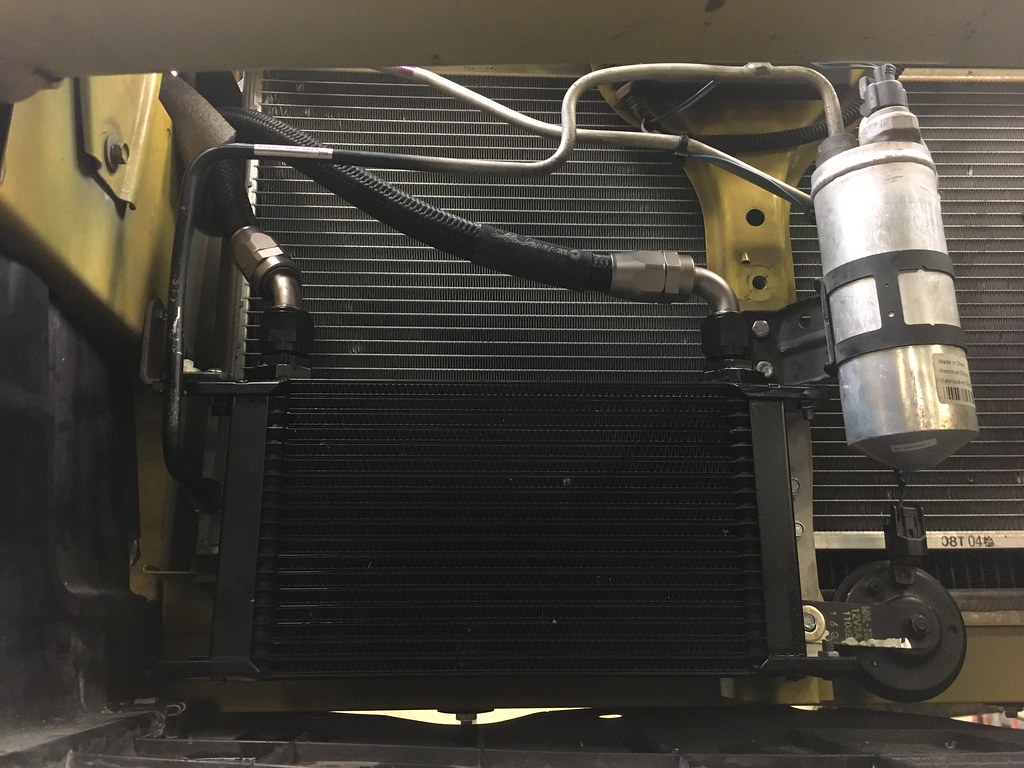
Although not completely necessary for autocross purposes, overheating power steering fluid is a known issue on the 987 platform under sustained high rpms. Installing a power steering fluid cooler is a relatively simple fix that offers extra peace of mind. They're not terribly expensive and we're already doing work on the car so adding a simple cooler won't really move the needle much on the project costs. Although a bit finicky to install, the location of the included Mocal radiator places it in a nice spot underneath the chassis for easy access.
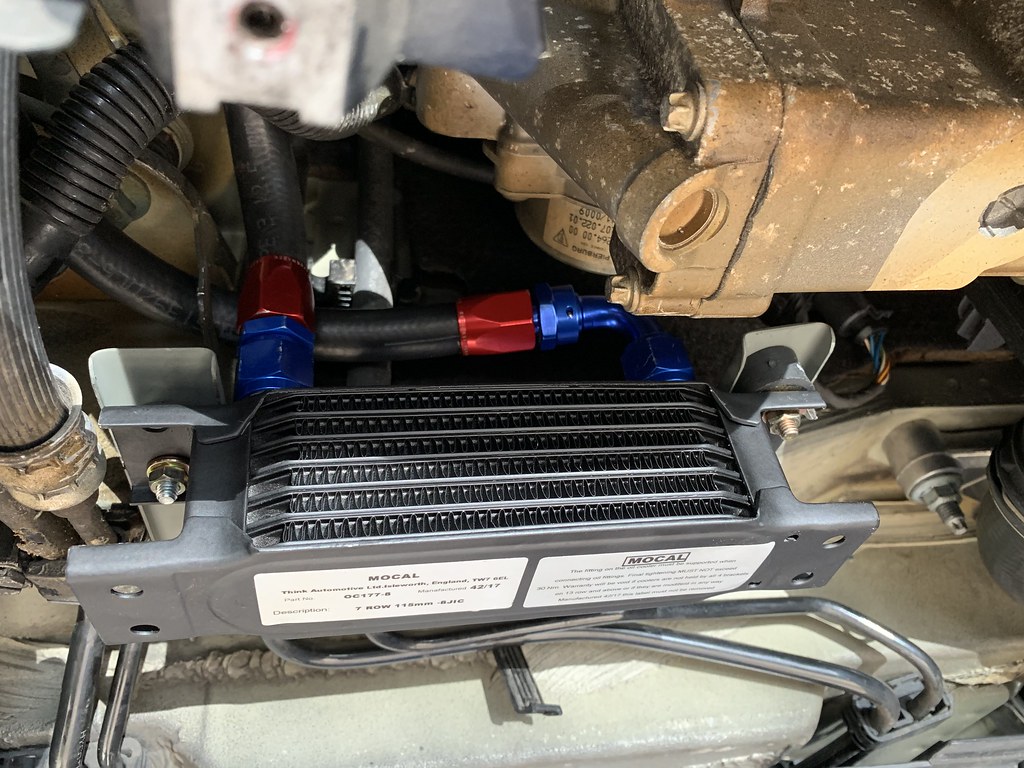 |
| TunerRS Motorsports power steering fluid cooler kit installed |
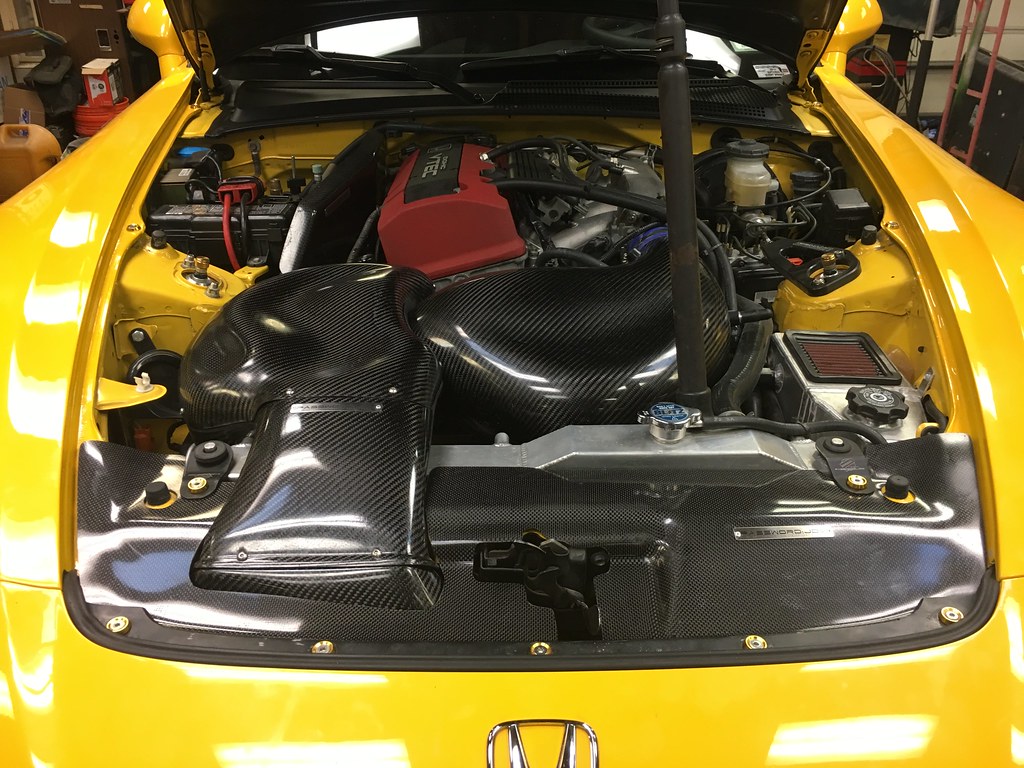
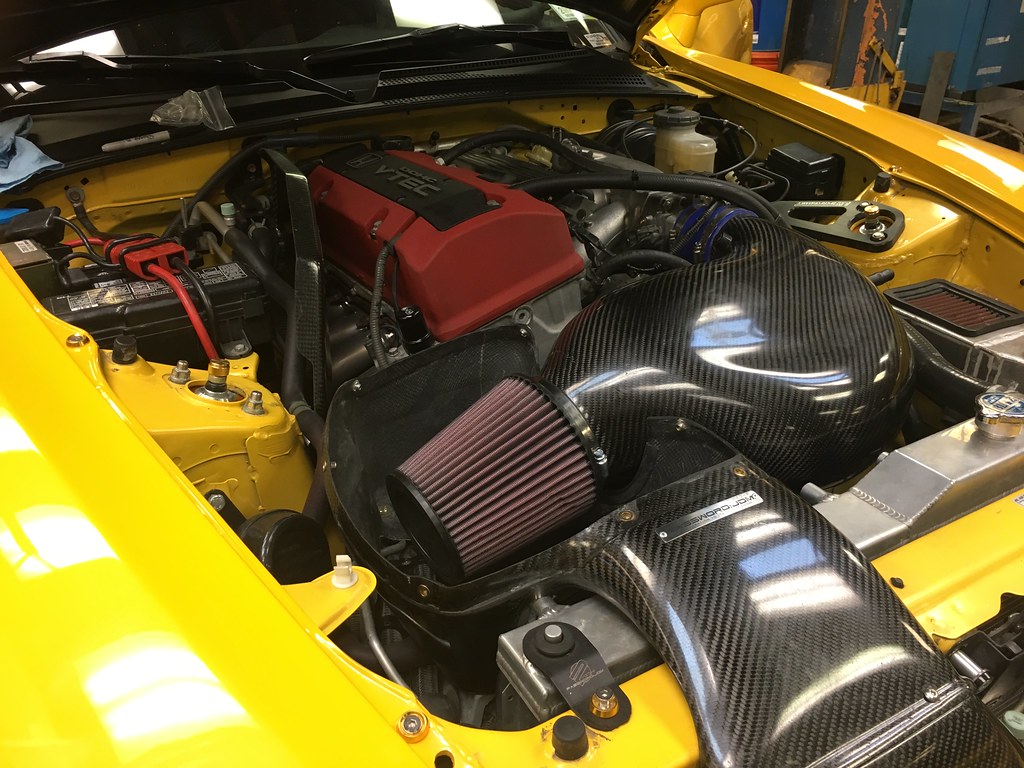
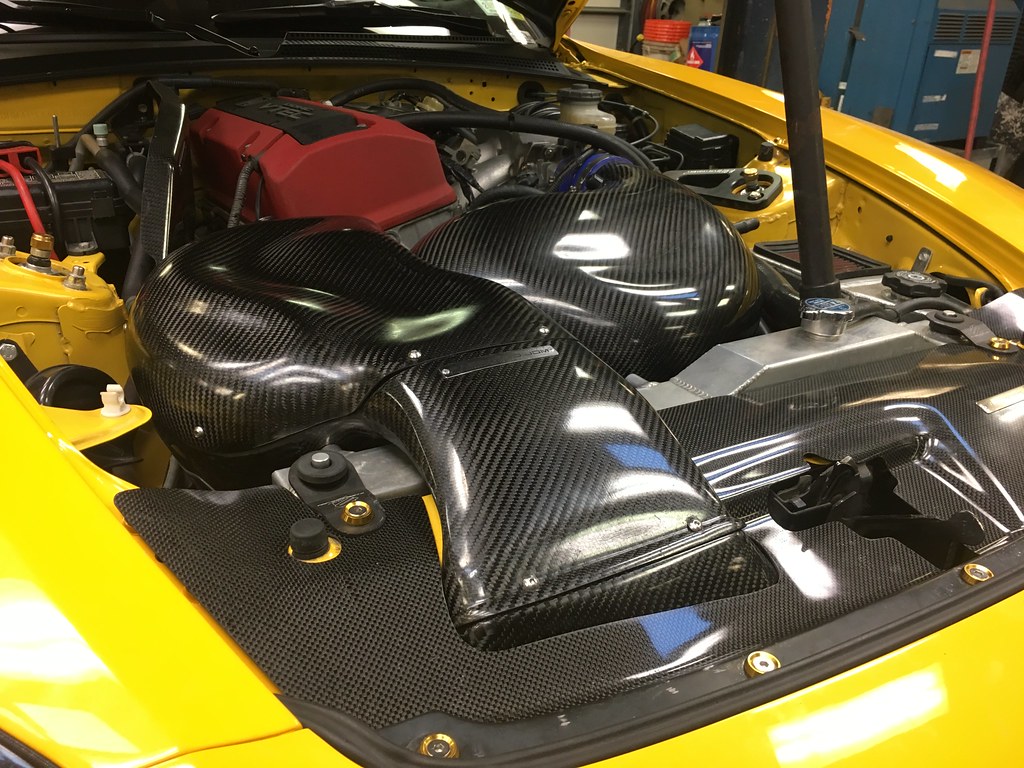
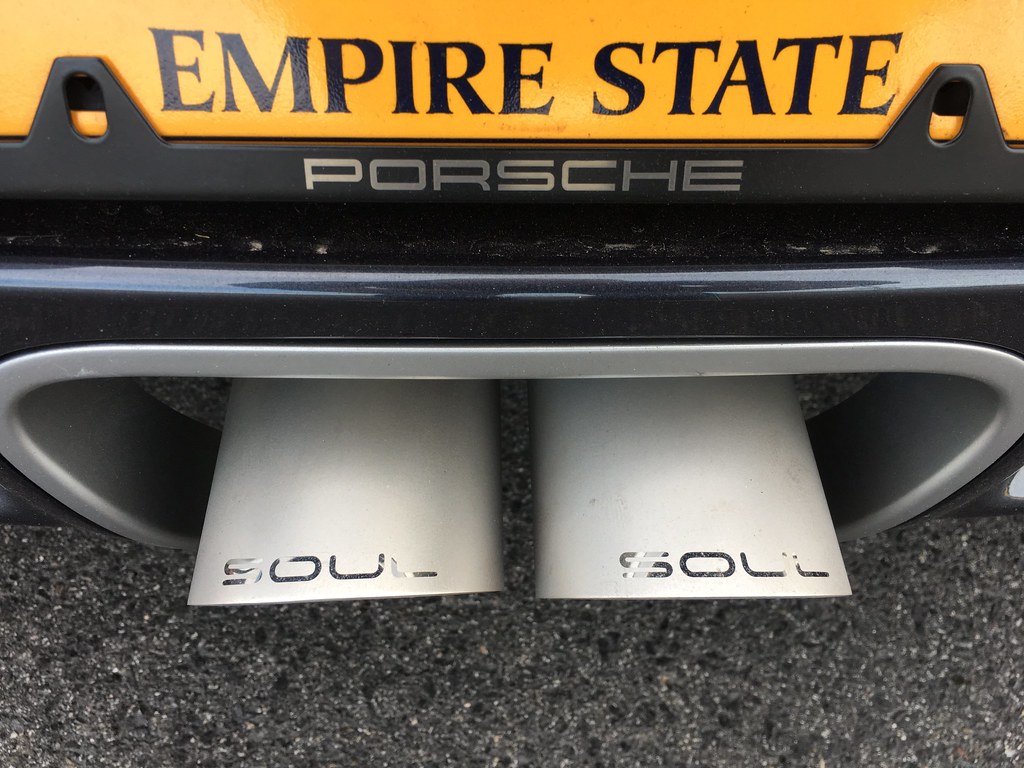
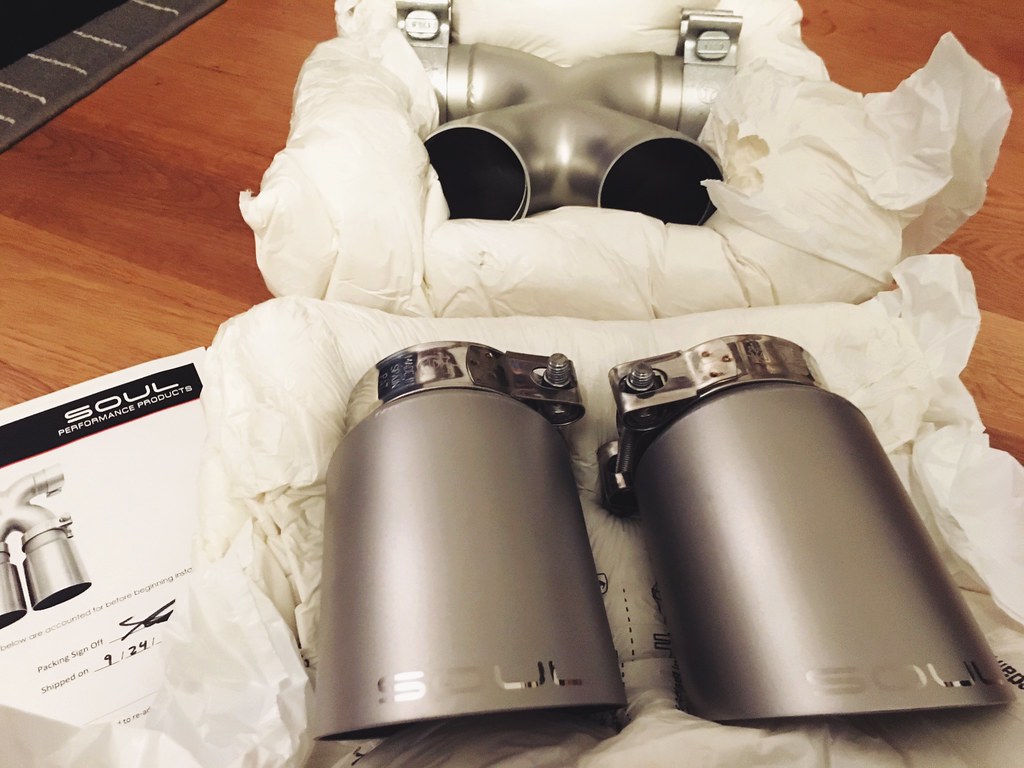
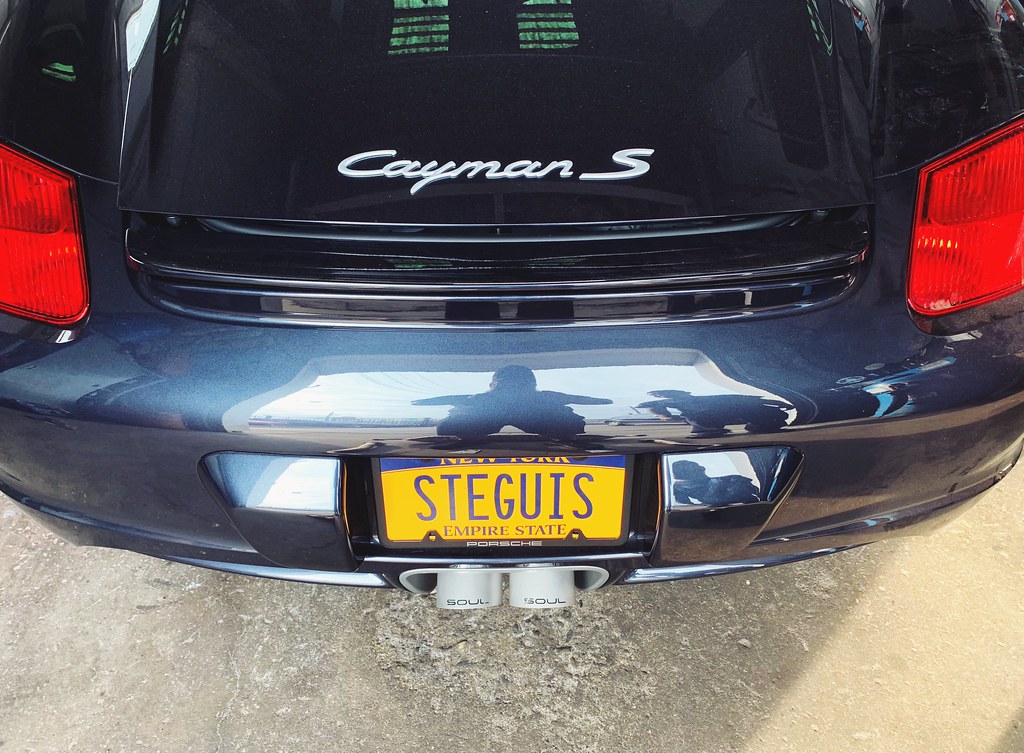
The next step is to unlock the power and awesome sound of the flat 6 engine. I was hoping that I could appreciate the sound of the stock muffler but after putting more miles on her I realized that it sounds too muted in stock form. I longed to put the FVD sports muffler back on but with the allowances of STU, I also wanted to maximize the power available to me so I mated it with the newly released Soul Performance long tube street header with HJS 200-cell high flow cats. The sound of this combo is glorious. At idle and low rpms there's just a light rumble, almost like a dog lightly growling at a would be intruder but once you open up the throttle and get above 4500rpms she makes all the glorious deep-throated roars you'd expect from a Porsche flat 6. I can already feel the extra pep and I haven't even put the tune on yet.
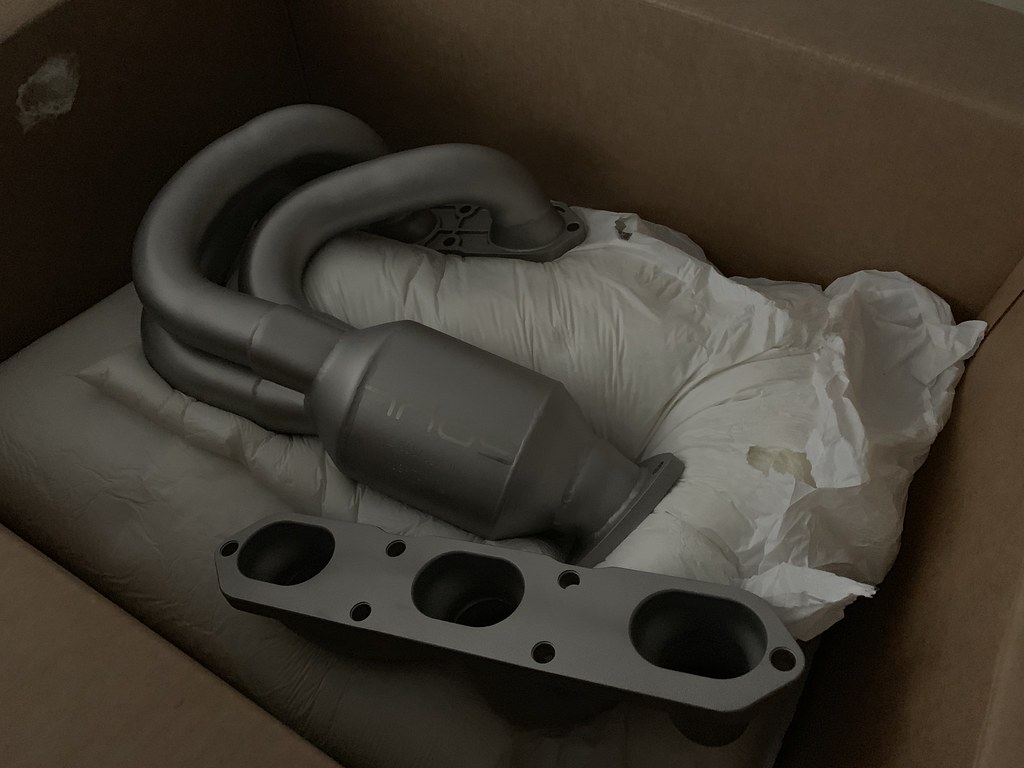 |
| Soul Performance long tube street headers |
 |
| Soul Performance header installed - 12/26/2018 |
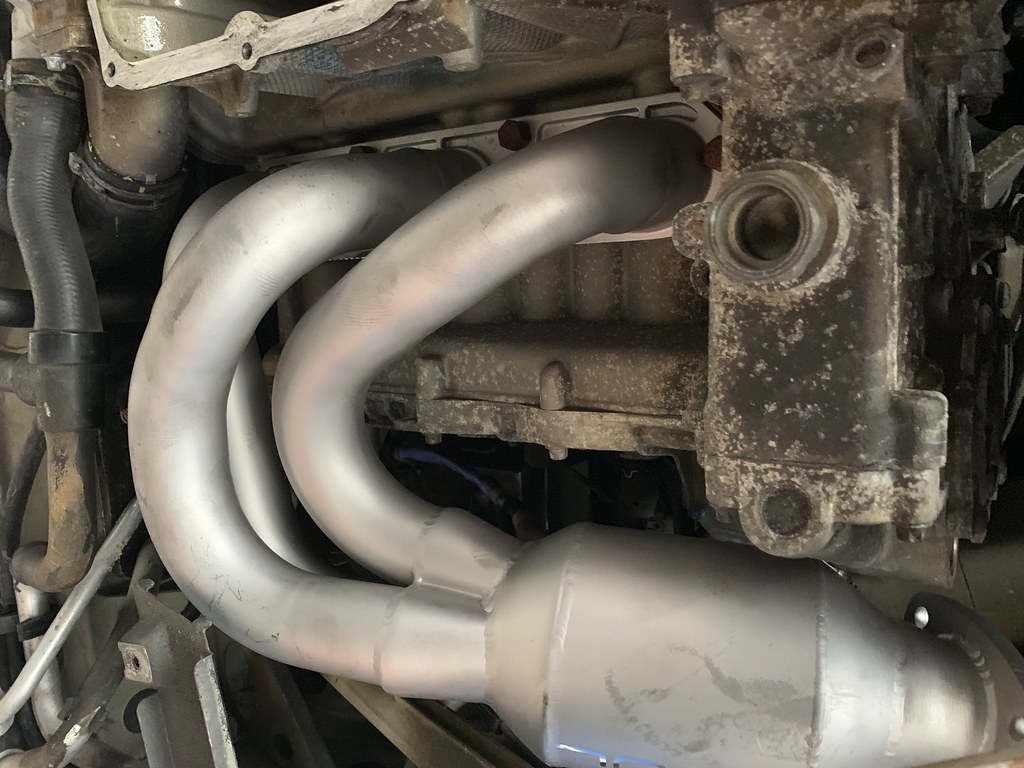 |
| Soul Performance header installed - 12/26/2018 |
With an 11 year old car, some things are guaranteed to not be so great anymore regardless of mileage. Top on that list is the rubber in the engine and transmission mounts. These normally wear under regular heavy use and add onto that, years of being on the car, if they haven't failed already, they are likely going to fail in the near future. I wanted upgraded mounts but not anything overly stiff as that can cause issues with false triggers on the knock sensors causing the ECU to go into limp mode. I opted to go with Rennline HD engine mount which is made of a harder rubber.
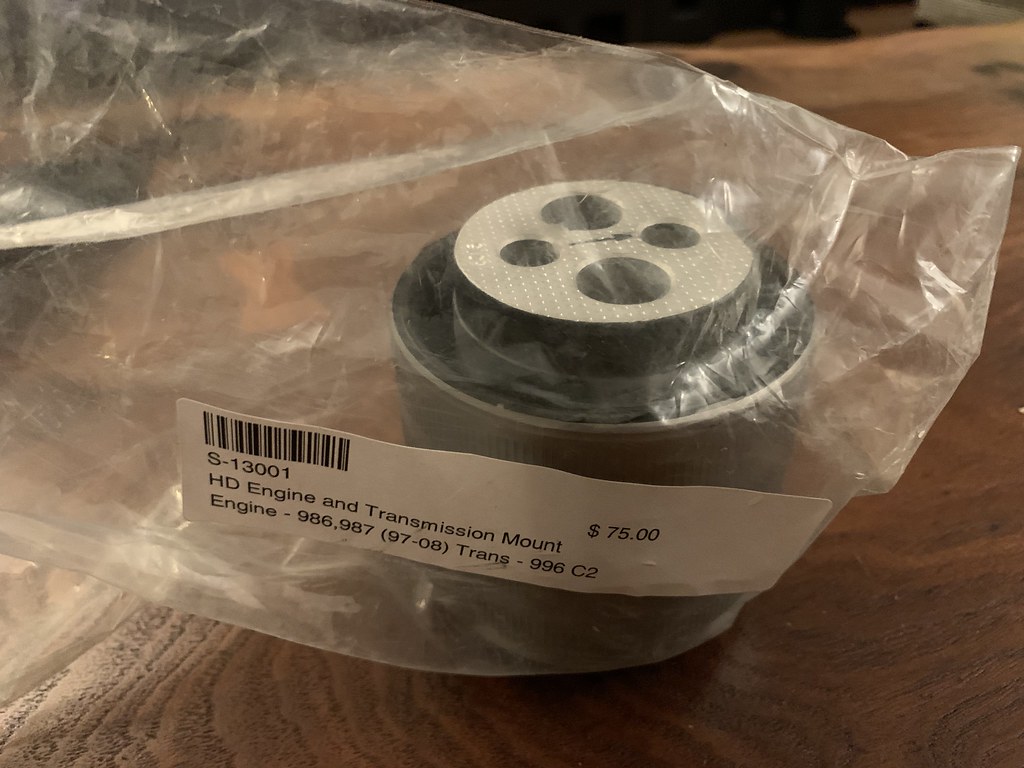 |
| Rennline HD Engine Mount |
For the transmissions mounts, I went with Function First v2 upgraded mounts. These are OEM style but have a bit of polyurethane in them for some added stiffness without creating too much NVH. This combo is also perfect. The engine feels tight. There's some vibration transmitted to the cabin via the steering wheel and pedals but they are of the good race car variety but slightly reduced so as not to be annoying and ruin comfort.
 |
| Functon First V2 Upgraded Transmission Mounts |
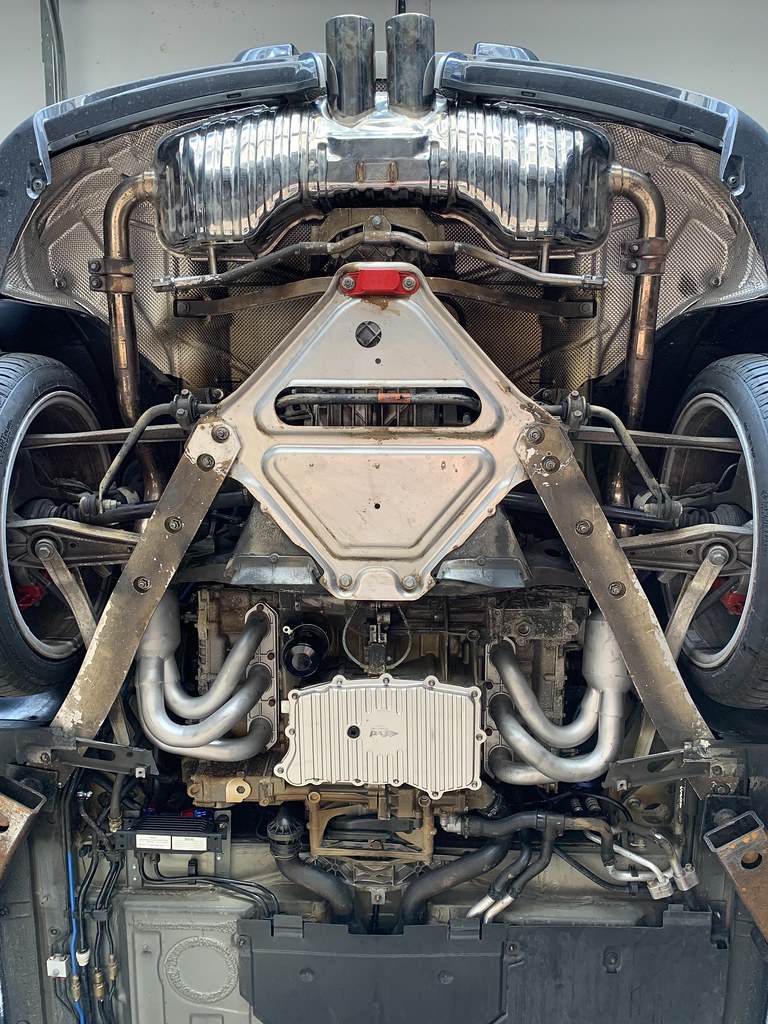 |
| Everything installed underneath including FVD Exhaust 12/27/2018 |
One thing about the 987 that I'm definitely not a fan of is the shifter feel. Even with the factory short shifter, the shifter feels a bit lazy. Since I've been driving S2000s for years, that's been my benchmark for shifter feel. With this in mind, I picked up a Numeric Racing short shifter for a more rifle bolt like action. The change is very noticeable. The shifts are short, precise and there's a real mechanical feel to it. This is one of my favorite upgrades. It makes a massive difference and it's incredible how excellent the shifts feel now. Each change of gear results in a satisfying and positive engagement. This alone made the switch to STU worth it.
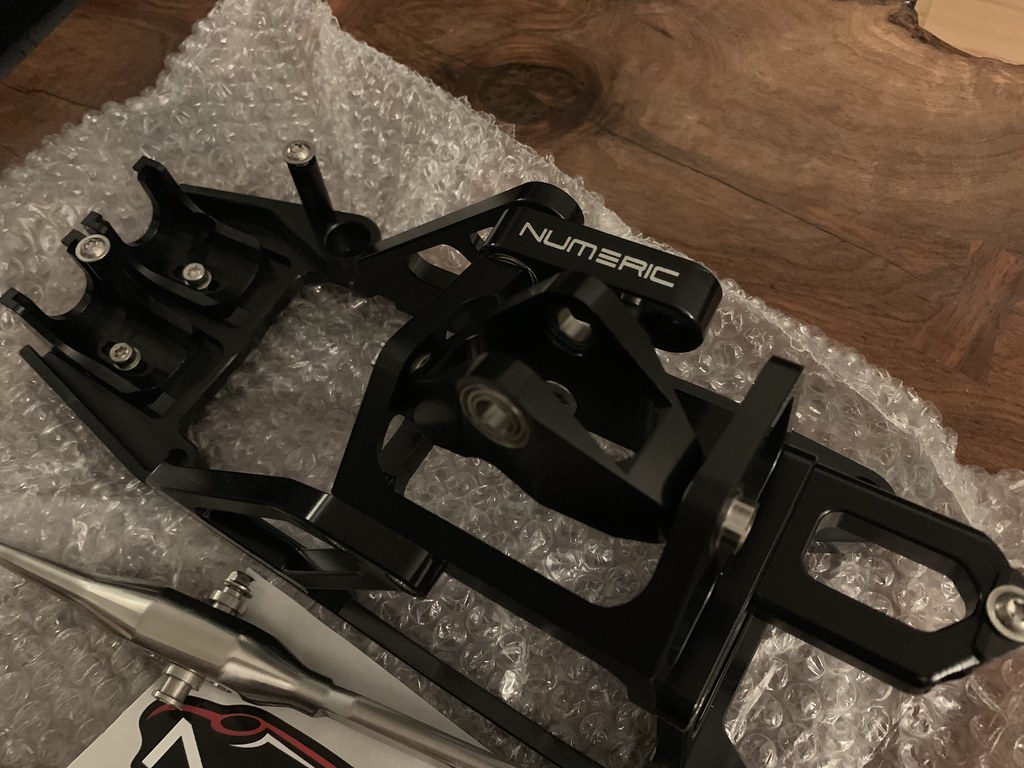 |
| Numeric Racing short shifter |
Numeric Racing short shifter installed - 12/27/2018
I'm also a big fan of Alcantara steering wheels despite the extra maintenance needed to keep them clean. Luckily, I was able to find a used one for sale and added that to the list of little interior improvements. The wheel feels great, making it easier to grip the wheel and I think adds a nice visual sports car touch to the interior.
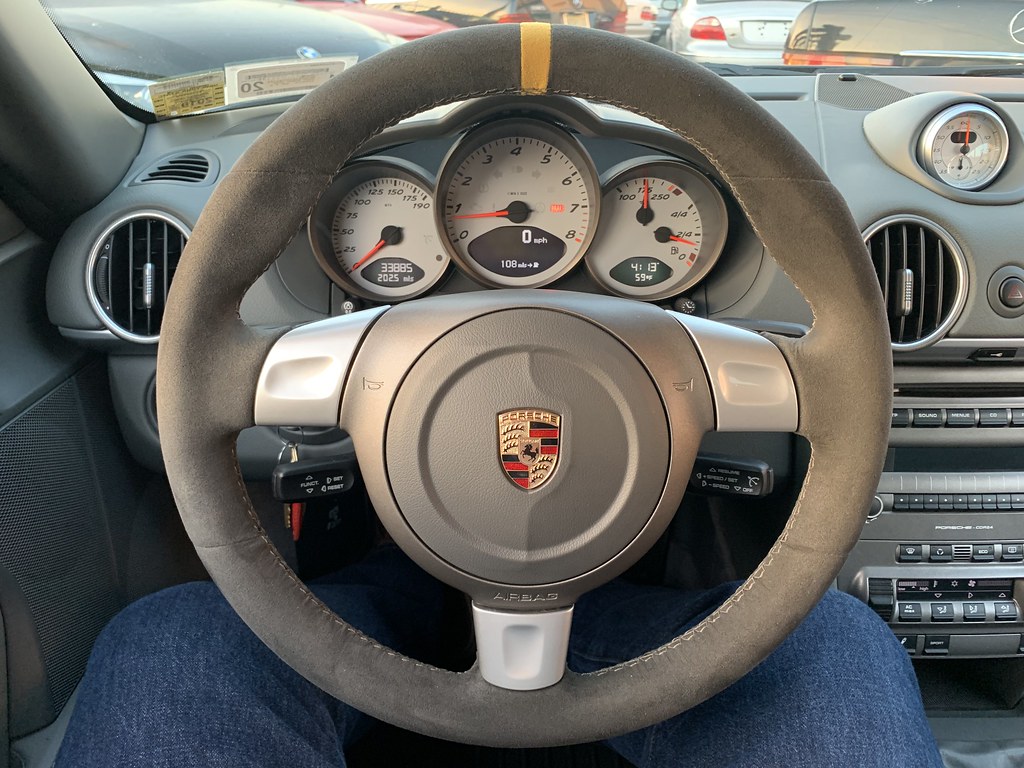 |
| Alcantara Porsche Sport steering wheel - 12/27/2018 |
Quick drive / Audio recording - 12/29/2018
Next step from here will be to install the tune and fit the suspension on plus a few interior goodies. Big thanks to Lee Nieto at Hybrid Motors in Fairview, NJ for getting all this sorted with an impressively fast turnaround before the New Year.
Maintenance Updates:
Mileage: 33,885
- Oil change - 8.75 quarts Joe Gibbs DT-40, Napa Gold oil filter
- Top off power steering fluid - Pentosin CHF-11S
- Replace radiator hoses (preventative)
- Replace radiator hoses (preventative)
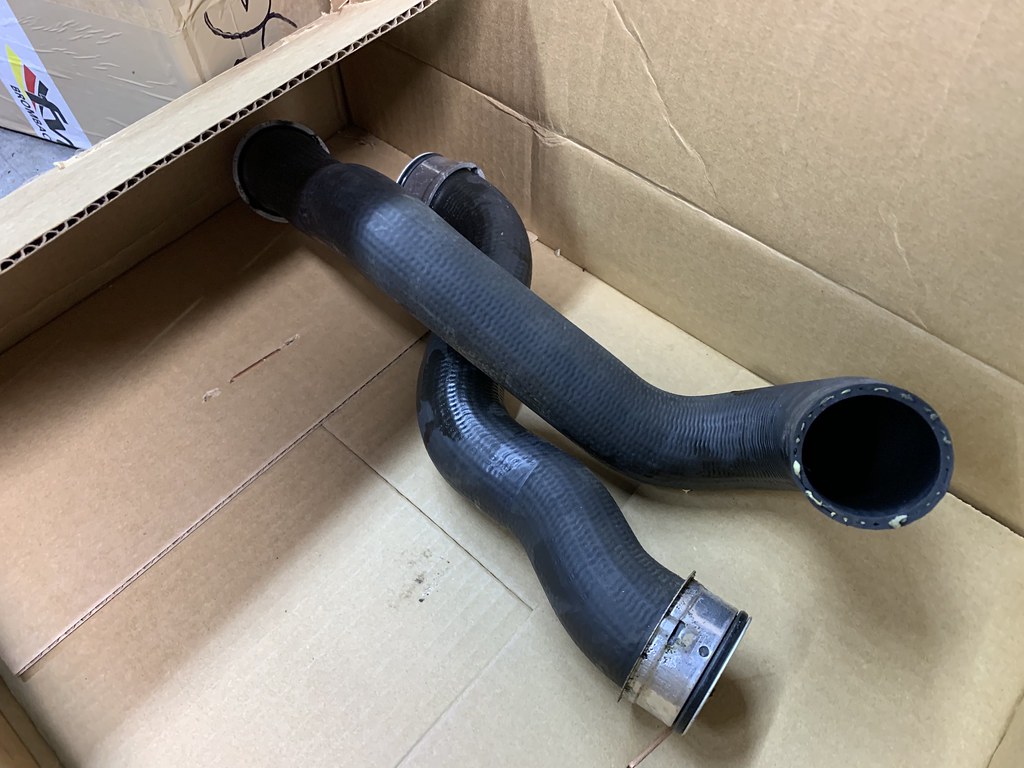 |
| Old radiator hoses |