I know it's probably weird but I've been wanting to build a sleeper hot hatch for some time now and the MK7 Golf GTi checked all my criteria. I've been going back between a GTi and a Golf R but eventually felt the GTi was probably the more appropriate choice. It's less "special" and I therefore don't have to feel so precious about it. I've been on the hunt for some time now and I was really hoping to find one that was a 1-owner private sale where I could really talk to the current owner so I could get a real feel for how the car was used, and more importantly, taken care of.
2016 Tornado Red VW Golf GTi - "Chili" - 9-21-2019
After several months of randomly seeing what was out there, I found this one perusing the forums. It's a 2016 Tornado Red Golf GTi 6MT with Performance Pack (LSD + Golf R brakes), Dynamic Chassis Control (DCC - Electronic shocks) and Lighting Package with just over 50K miles. It isn't stock but the modifications were ones I'd likely have done myself. Curious, I contacted the seller, Mike, and we had a really good chat on the phone where it was very clear to me he was a real car enthusiast. Not only was he able to tell me the entire history of the car since buying it new but when we talked about each mod there was a clear rhyme and reason to everything. I may have gone a slightly different way in some areas but for the most part I understood his choices. This was his daily driver and his modification were in the direction of a reliable, performance daily. It was also very obvious to me that we had similar car maintenance philosophies. He had done lots of preventative maintenance, replacing weak parts with better ones when the opportunity presented itself.
PPI - 9-18-2019
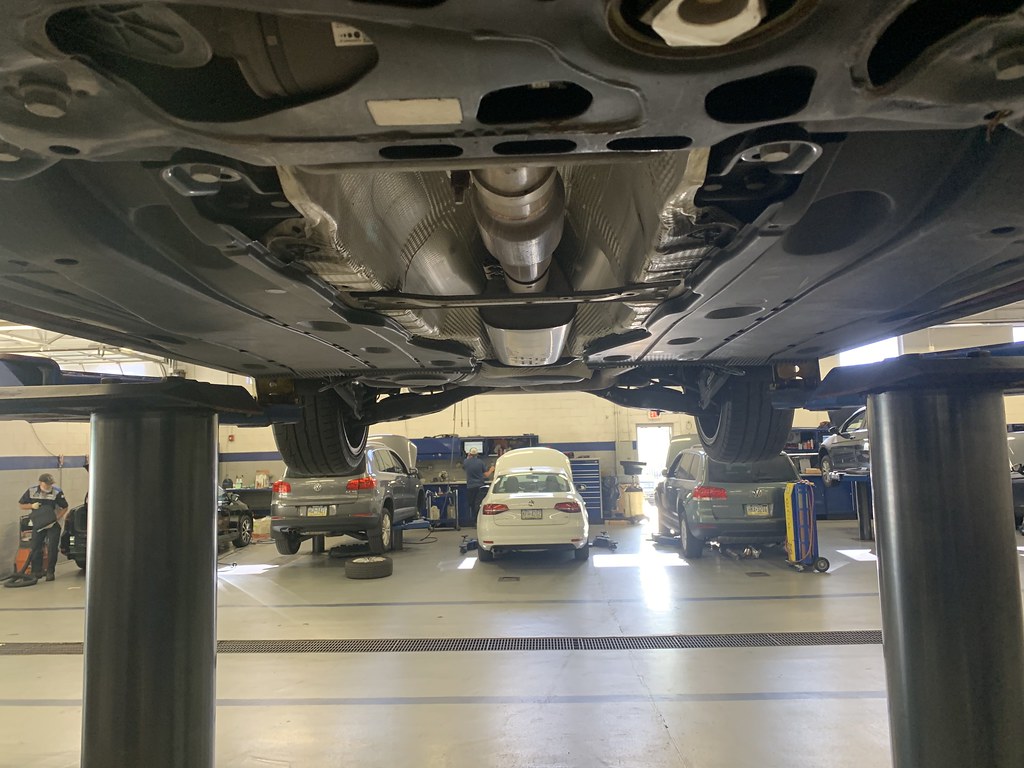
Since he lives in PA, I scheduled a time for a test drive for this weekend and during the week we continued to chat about the car and I had him get a PPI done out of due diligence. As expected, the car passed with flying colors. The only item of note was that the rear brakes would need replacing in the next 4-5K miles which Mike already disclosed to me before the PPI. Otherwise, for a daily driven car, it was in really great condition. It has some very minor cosmetic flaws like a few rock chips on the bumper but nothing of major concern. After driving it today, I was sold. Everything felt tight, the upgraded clutch felt perfect and the power delivery smooth. I don't think the car "needs" anything right now but as you might expect from me, I've already got a build sheet going though I may execute it more slowly. The list of current installed mods are:
Power/Engine:
APR Stage 1 - 93 octane low torque profile
CTS downpipe with high flow catalytic converter
CTS turbo inlet
CTS turbo muffler delete
Forge turbo blanket
034 Motorsports Dog bone insert
APR spherical pendulum mount
ECS silicone air intake duct
Dv+ diverter valve
Audi RS 3 ignition coils
Billet rear main seal
Transmission/Suspension:
ECS adjustable short shift kit
ECS Bleeder Block
Eibach 25 mm rear sway bar
Super pro polyurethane rear endlinks
Sachs ZF performance clutch kit (stiffer pedal feel over stock, pressure plate from an Audi TT-RS)
Cosmetic/Other
Mud flaps
Whispbar roof rack
Alzor 349 wheels with BBS center caps - Firestone Indy Firehawk 500 tires
Stock rims with Falken snow tires
15% full wrap window tint Gloss black mirror
This car will eventually replace my Touareg TDI as my primary vehicle. I'm going to have to make some adjustments to the window tint due to NY's stricter tint laws and have a few minor cosmetic / usability / reliability tweaks of my own to add as my first step but for the most part the exterior will remain mostly stock looking. Since I'm going for the full "sleeper" vibe, major changes will remain largely under the hood or very subtle. Ideally I just want someone walking by to just say "oh that's a cute Golf" and continue walking not knowing what lurks underneath. I only drive my primary vehicle 5-6k miles a year so while I am still going to make sure things are reliable, I can do a few things to spice things up for some spirited drives but this car will not be set up for any form of racing. It may or may not end up being the fastest straight line car I own haha.
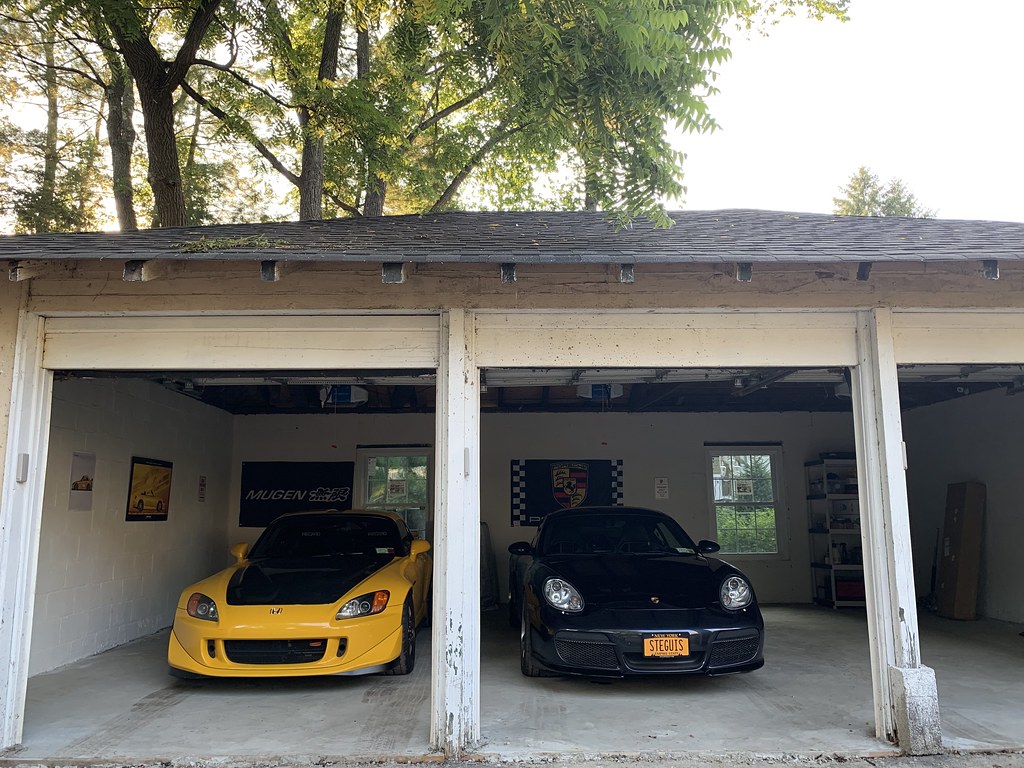
Historically I've kept separate blogs for each car in the Steguis Motorsports fleet but that after a few years now that's started to make less sense. There's content I want to write about that's not specific to an individual car. New cars might get added and sometimes there's stuff going on between multiple cars so I decided to simply combine the blogs all into one place, all under the Steguis Motorsports flag.
If you're new here, then welcome, and if you're an old-time reader of my blogs, then I hope you'll find it convenient to see all the content in one place once and for all.
Our final track day for the year is coming up in under two weeks so I wanted to get the last annoyance sorted on Bumblestook. While she's generally "good to go", I developed a weird suspension knocking sound on the right rear after the last track day that I initially thought was the diff but turned out to be wear on the rear upper control arm. The solid bushing wore just enough that at low speed (say below 5mph and especially when reversing) I would hear a noise coming from under the car. This wasn't detrimental to the handling but it was annoying me and frankly sounded embarrassing when moving around a parking a lot.
New rear upper control arm with rubber pushed taken out - 9/15/19
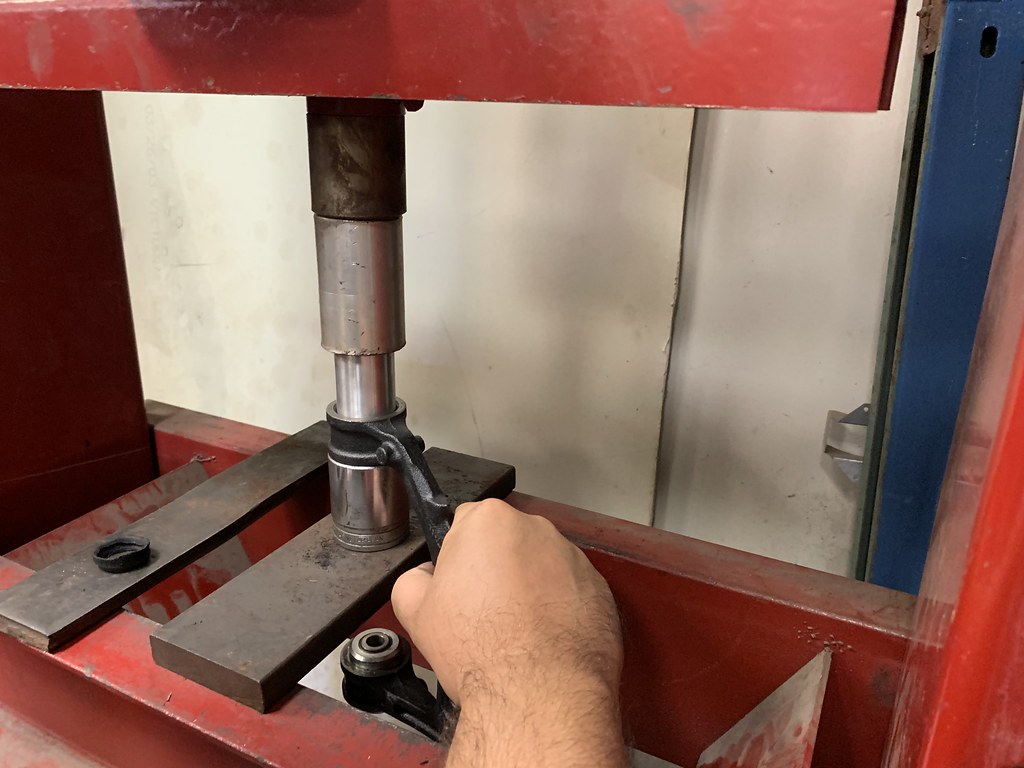
Bumblestook is always sorted and I hate leaving things unsettled so I ordered a brand new OEM rear upper control arm and had SJF take out the OEM rubber bushings so we could press in a fresh set of solid ones from Ballade Sport (same as the one I had on my arm). Luckily, Brad had an extra set lying around that he wasn't going to use so I bought it off him and so today I went to SJF Performance and he pressed the new bushing in and swapped it into the car.
New solid bushing getting pressed in - 9/15/2019
New upper rear arm installed - 9/15/2019
Mmm....fresh ball joint - 9/15/2019
Old upper control arm
I took it out for a test drive and everything is now tight again and no more annoying noises. Also, we finally put loctite on that driver side rear damper bolt that keeps backing out on its own. The passenger side, that already had loctite, hadn't moved at all but this one worked its way loose again since the last time I tightened it.
Loctite on driver rear damper bolt - 9/15/2019
Just as an extra precaution, we also put it on the alignment rack to double check the alignment and as expected it's all still good. We didn't expect it would move but I don't like question marks so taking the extra time to double check is worth it in my book.
Back on the alignment rack - 9/15/2019
I spent the rest of the day driving her around to make sure everything was feeling good and she's perfect again ready for some fun times with S2K Takeover at NYST.
Since there was so much concrete dust around paddock during SCCA Nationals, I decided it would be a smart move to replace the air cabin filter and air intake filter. I probably didn't really need to do but it was good precaution.
Ne cabin air filter (in box), old filter shown - 9-14-2019
Changing the air filter should be pretty easy, it's just in a weird spot in the Cayman. Removing the access panel and the air filter cover is the easy part, the most annoying part is trying to squeeze the old filter out. I "upgraded" to an aFE filter last year when I bought the car and put a new one in today but sometimes I almost feel I should've kept the OEM paper filter as these aftermarket filters, while they do flow a bit more air, are a bit more tricky to get in and out of the tight air box.
Engine exposed to replace air filter - 9-14-2019
old filter (left), new filter (right) - 9-14-2019
The old filter was definitely quite dirty for being in there for only around 6k miles so I was glad to put the new one in.
New filter in place - 9-17-2019
Maintenance Updates:
Mileage: 39,414
- New air cabin filter
- New air intake filter
Well after months of prep and car setup, it was finally time for the big show. This was my 7th trip to Nationals and one big difference from past years is that this time I was going to drive there in the competition car and not tow.
SCCA Solo Nationals - 9-5-2019 Photo by: GotCone
The first leg of the trip was pretty intense. We had so much rain that at one point I couldn't even see the car in front of me through all the spray even with my wipers at full speed.
Crazy rain - 9/2/2019
Eventually though the clouds cleared and we got to Iowa and it was nice and sunny. I convoyed out with James who was trailering his car and he was kind enough to bring my competition wheels/tires for me on the trailer so I could drive out on my OEM wheel with Continental DWS so the rain was no big deal.
Clear skies in Iowa 9/2/2019
We finally got to Lincoln, Nebraska, on Tuesday late afternoon. I was so tired that I just had a quick meal and got some rest. The next morning, I went to the nearby car wash to get her rinsed off. The ceramic coating is still doing wonders. A quick soap and rinse and she was back to being nice and shiny again.
Washing the car near the hotel 9/4/2019
My plan was to swap wheels and get tech inspection out of the way first thing in the morning so I could put the remaining required decals on the car before heading to the test 'n tune but it turned out that tech wouldn't be open until 1 pm so I ended up getting some practice in first. The only adjustment I need to make was an increase in front rebound by 1 click stiffer and upped the pressures to 32 psi front, 35 psi rear. She was feeling really neutral and controllable. I did an afternoon session too but failed to improve on my time. I couldn't tell if it was because of the car or all the concrete dust I was picking up in grid. Either way, I felt that doing more practice wasn't going to be helpful so that wrapped up the final day before competition.
Dusty test 'n tune grid - 9/4/2019
Day 1 of racing had us on the West Course. In grid, we had a nice variety of cars in STU which included EVOs, STIs, Focus RSes, Caymans, Corvettes, M3s and even a Mazdaspeed Miata. This is probably one of the most diverse grids at Nationals. The West Course was fun but didn't play to our strengths. There were quite a few 180 degree turns that were fairly slow and despite the Cayman having a good amount of torque, it wasn't as much compared to some of the competition. Combined with the taller gearing, I just couldn't accelerate out of corners like they could. The day ended with me sitting in 15 out of 27. The final trophy spot was 7th but the spread between 7th and 15th was only half a second so there was still a chance to move up on Day 2.
STU Grid - Day 1 - 9/5/2019
Day 2 of racing had us on the transition heavy East Course. This is where I could potentially make up time since if there's something a Cayman does well, it's transition. I coned my first run early on so I used the rest of the run to test for grip, slightly overdriving to feel where the limits were. On the 2nd run, I opted to do a safe run so I improved from run 1 only by a modest half a second but this time it was clean. For the final run, I was ready to give it everything I had. The first half was feeling really good. I felt my car placement was where I wanted and I was carrying more speed. Then, I misjudged my corner entry on the back left-hander. The car turned in almost too well and I went straight into a cone. There was no point in pushing the car further after that so I slowed it down and I'd have to end the day on my 2nd run's time. I did manage to move up a few more spots to 12th but still well out of trophies which was my goal for this event.
STU Grid - Day 2 - 9/6/2019
Was I upset or shocked? No. Frankly I'm even surprised I'm above mid-pack in an underdog car for the class. Also if I have to be honest with myself, unlike previous years I've been really chill all year. I've only done a handful of events and despite doing well in those including the ProSolo win earlier this year, I really didn't give it my all and practice and prep the way I normally would. The funny thing is that results aside, this has been my most fun Nationals to date. I truly enjoyed the drive out and back (who would'v thought GT2 bucket seats would be that comfortable) and with no real expectations for myself, I had no stress so while I'm disappointed I didn't do better, I'm also not heartbroken. Solo (autocross), is such an incredible sport. The level of skill you need to develop to be fast in only 3 runs each day at the national level can only ever be understood by those who have participated in it and I have massive respect for those that have done so successfully.
SCCA Solo Nationals - West and East Course run
The drive home was generally smooth but I did have two issues while I was out there. First, the frustrating P2196 and P2198 CEL is back. It seems to only happen if I let the car idle for a while. If I start the car and drive immediately like I did on the way home, I could go 1300 miles and never see the CEL go on. I suspect I have an exhaust leak again. The exhaust note has changed and I'm definitely hearing something different by passenger side header. I put the car on the quickjack but didn't see anything obvious so I'll have to have to shop look at it when it goes in later this month. The other issue was more of an annoyance than a real issue. The brake pad wear sensor light came up which I knew was total BS since I just got the brakes replaced on all four corners in June. Well, it turns out that the driver side rear sensor was routed behind the shock instead of over it which meant it was touching the axle boot and it eventually wore through and caused the open circuit that triggered the light. Since I'll probably be switching back and forth between street pads and track pads in the future, I opted to just bypass the sensor since track pads don't support the sensor anyway.
Doing a post-event inspection under the car - /9-9-2019
Brake pad wear sensor looped, soldered and heat shrink wrapped
I took all the decals off the car right after my final run but left the yellow stripes. Over this past week, it grew on me so I've decided to leave it on for now. I like that it adds a bit of character to the car without looking too over the top. Today, I also put back the ducktail spoiler, my LED tail lights and the RS-style yellow door pulls.
Ducktail and rear lights re-installed - 9/9/2019
Yellow door pulls reinstalled - 9/9/2019
I also had PeeJ do a full hand wash to get all the nasty road grime off the paint. I don't think I remember seeing the OEM 19" Carrera wheels look that clean before. I don't plan to autocross Kay for the rest of the year so I'll probably leave these wheels on for the winter while I go and remove the OPR from the Advans.
So Clean...Thanks PeeJ! - 9/9/2019
So where do we go from here. Well, later this month she's heading back to Speedsport Tuning in CT to make her track "capable". I'm specifically saying "track capable" and not turned into a "track car" because it's not my intent to make a dedicated track car.. I want to have to option to be able to take her out to a PCA DE for fun anytime I want but I fully intend on still enjoying driving her everywhere else I want to go including autocross, mountain driving, road trips or whatever I feel like. There are just too many fun ways to enjoy driving and I choose not to have the option to not limit myself.
Since bringing Bumblestook back to road-legal status early last year I've been itching to drive her with the top off. Don't get me wrong, I love the Mugen hardtop. It's great for cold and hot days, track events and of course, it complements the looks really well but the S2000 is a roadster and on really nice days, nothing beats driving her with top off. The Mugen top itself isn't very heavy, it's only about 34lbs, but it's too big to safely remove and reinstall on the car by yourself. Now that I've moved to a garage with a higher ceiling, I finally got the opportunity to make this a reality by putting together a hardtop hoist so I can get the top off myself anytime I want.
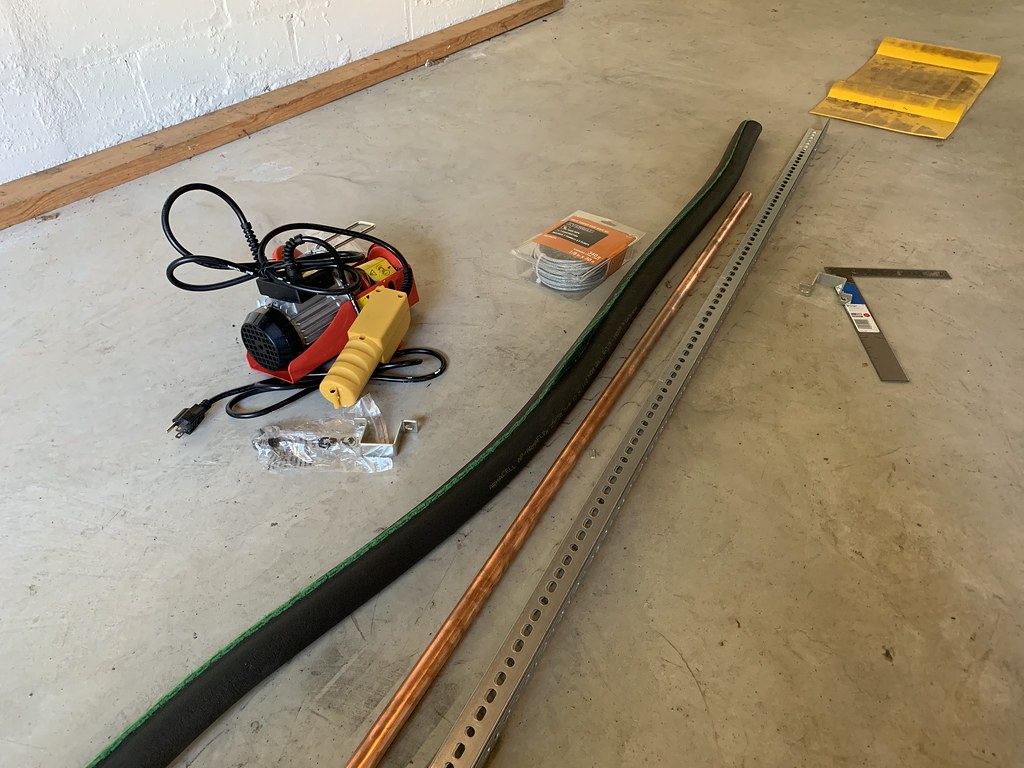
Starting materials for the hoist - 8/25/2019
I picked up the smallest electric hoist I could find. It was a simple 220lb lift capacity hoist from Amazon (https://www.amazon.com/gp/product/B07FPN64Z9/). I used two pieces of 6ft 90-degree angled aluminum from Home Depot to make sure it was going to be rigid enough to support the weight of the hoist and the hardtop. Since the hoist is mounted via square brackets, this worked out nicely since I can slide the hoist left or right to center it on the car as needed.
Hoist mounted - 8/25/2019
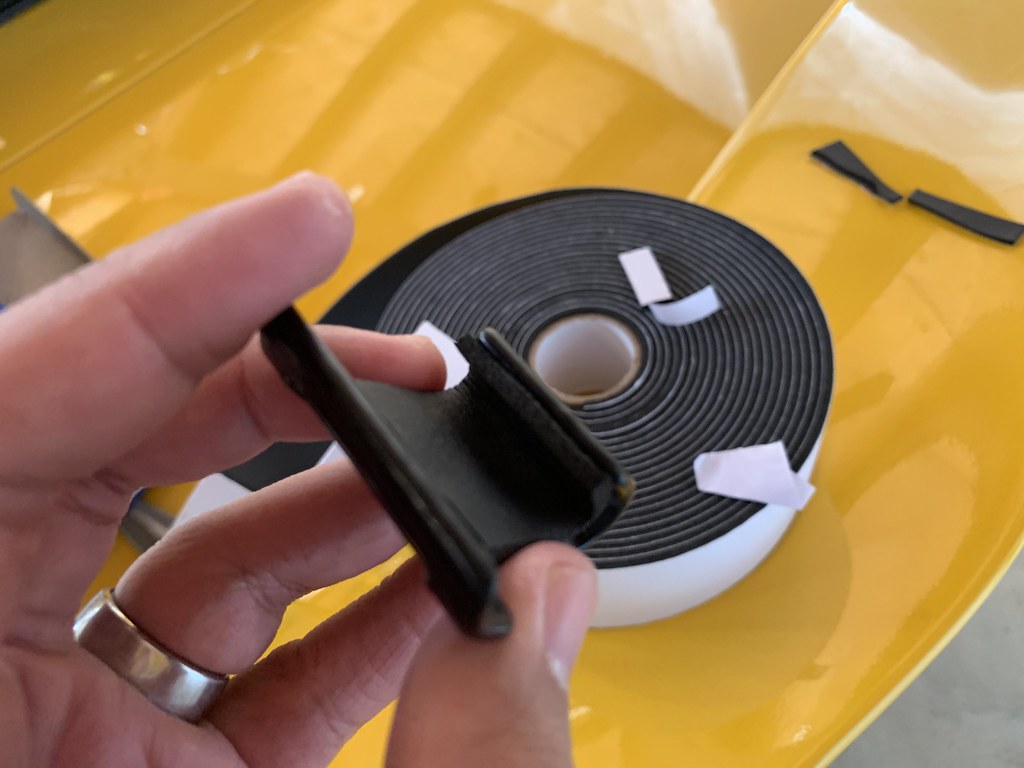
To support the front half of the hardtop, I used 5ft of 3/4" copper pipe wrapped in 3/4" foam insulation. Through it, I threaded 1/8" x 30ft of vinyl coated steel wire rope and attached it to the hook on the hoist. I obviously didn't use all the 30ft so I cut it to size once I was content with the height of the bar. The only problem left was to figure out what I was going to use to hook the back of the hardtop. I couldn't find anything in local stores last week so I only finished the hoist this week after buying a set of Rightline Gear car clips (https://www.amazon.com/gp/product/B007WR25KW). These are coated flat hooks that can hook over the rear of the hardtop without scratching it. I added some foam tape to further protect the hardtop from any marks.
Flat hook - 8/31/2019
Flat hook with foam tape - 8/31/2019
To attach the hook to the rest of the rig, I got a set of 16ft 1-inch tie-down straps (https://www.amazon.com/gp/product/B07FM4WGW2). The ones I got had an extra flap to prevent the buckle from contacting the hardtop.
1" wide tie down straps - 8/31/2019
Finally, to connect the strap to the hoist hook, I used a pair of aluminum carabiners (https://www.amazon.com/gp/product/B07KTXLKWL) so it can easily be detached when I'm not using the hoist.
Carabiner to hold the tie down strap - 8/31/2019
Now the moment of truth, with everything hooked up, I pressed the button to raise the top and it did so very easily. I held the top with my other hand to help guide to make sure it didn't swing or spin around but for the most part it actually didn't move much laterally and I had plenty of room, fully raised, to clear the Mugen wing in the rear.
Top off - 8/31/2019
Top off - 8/31/2019
I forgot how awesome it is to drive her through some mountain roads with the top off. You really get to use all your senses. The incredible sound of the engine and exhaust as it screams through all the revs, the feeling of the chassis as you bomb through the corners, the joy of looking up and seeing nothing but sky and getting blasted by the smell of fresh cool air. This is truly the essence of the S2000, what Shigeru Uehara called the "Open Sports Car Concept", and it is what really makes this car so special to drive each time. VTEC + Open Top + Open Road = grinning from ear to ear for miles on end.
Finally, Top Off...it's been a long time coming! Seven Lakes - Bear Mountain - 8/31/2019
Since I'm driving to Nationals instead of towing out this year, I had originally not planned on putting any decals on until I got there. However, after considering it some more I realized the last thing I want to do when I get there is to fiddle with vinyl outdoors in unpredictable conditions. I figured if I did it in the garage now I'd have plenty of time to make sure things lined up properly and give it adequate time to dry and stick properly. I got in touch with Mike Snyder and he made me a bunch of vinyls for me including some racing stripes that I thought would give the car a more aggressive look for photos.
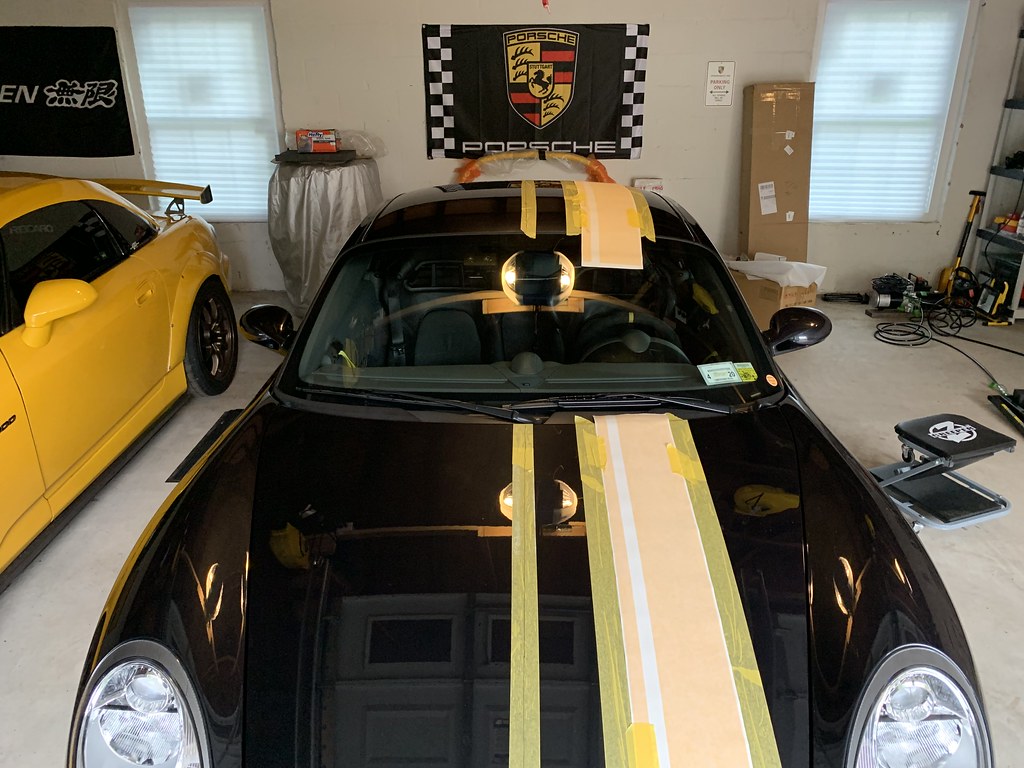
Aligning the racing stripes - 8/18/2019
The first thing I did was to mark up the centerline for the car by laying down some painter's tape, measuring from both sides then drawing a line as my guide. I then started from the back, making sure I'd clear the "Cayman S" emblem and then making the exact spacing from center which was around 7 inches. Once I laid out the exact position, I sprayed the car with water so I could reposition the vinyl as needed. Normally you'd use soapy water but with the car fully ceramic coated, nothing really sticks to it so a spray of water was sufficient.
Laying down the stripes - 8/18/2019
I trimmed the edges with a blade and then wrapped it around so I'd have a clean edge. I think it came out ok, certainly good enough for photos. All these graphics are coming off when I get back from Nationals anyway so they just have to survive the next 3 weeks.
Stripes applied all the way to the rear hatch
The other decals were applied with equal care. I always get annoyed when I put on my magnetic numbers and they move around from hitting cones so they're all crooked in photos. Switching to vinyl for Nationals means I just won't have to worry about it. All I need to apply now is the SCCA front decal and Solo Nationals 2019 side decals and I'm good for tech. I'm glad I took care of this now though. It took a total of 4 hours to get the livery on the way I wanted and wasting that amount of time in Lincoln just wouldn't have been smart.
Fully livery on
Fully livery on
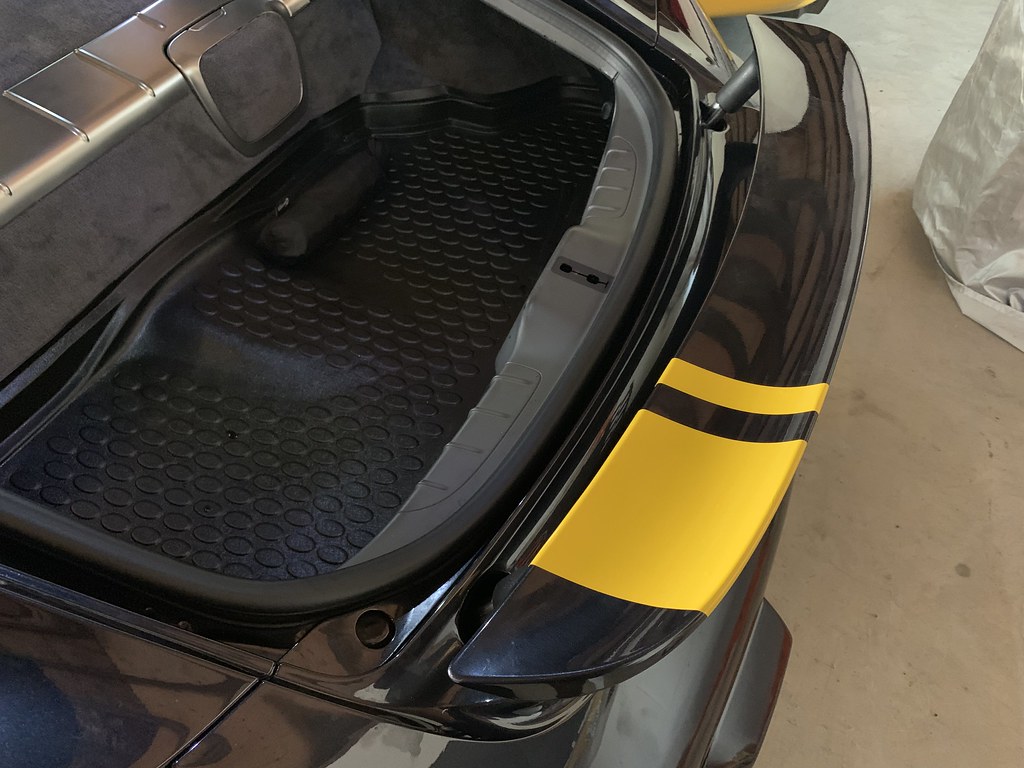
I also had to also return a few things back to stock to be fully legal to STU rules because they're not explicitly allowed. The major item was the duckbill spoiler. It looks good but unlike the other things I have to put back to stock, this one could be argued to actually provide an advantage (even though it really doesn't). Since I had the spoiler off anyway, I figured I'd extend the racing stripes to it as well so the rear is fully coherent.
OEM spoiler vs Duckbill
OEM spoiler re-installed with racing stripes applied
The remaining two items are trivial but I just didn't want to open myself up to protest. These are the door handles which I had changed to RS style door pulls and my tail lights which I had "upgraded" to LED ones purely for cosmetic reasons.
OEM tail lights back on the car
OEM door pulls once again
Since I was already working on the car, I finally installed a dashcam that I'd been meaning to install. I did a separate write up for it here so I could share it separately as an easy DIY.
Dashcam installed
Lastly, it's probably a bad idea driving out there on my "competition tires" just in case something bad happens on the way like getting a flat. This is especially true this year since the Advan A052s aren't heavily stocked so replacing them won't be that easy. I'm convoying out with James and he's trailering so he's conveniently bringing my Advans for me. I put on the 19" OEM Carerra wheels wrapped in Continental DWS. I don't really care if these wear out anyway since I don't plan to drive the car during the winter and they can double as my rain tire.
Back on OEM Carerra wheels for the road trip
With all these things take care of the only thing I have to do is load up my luggage and helmet and go. Only 15 days and counting until we depart...can't wait!