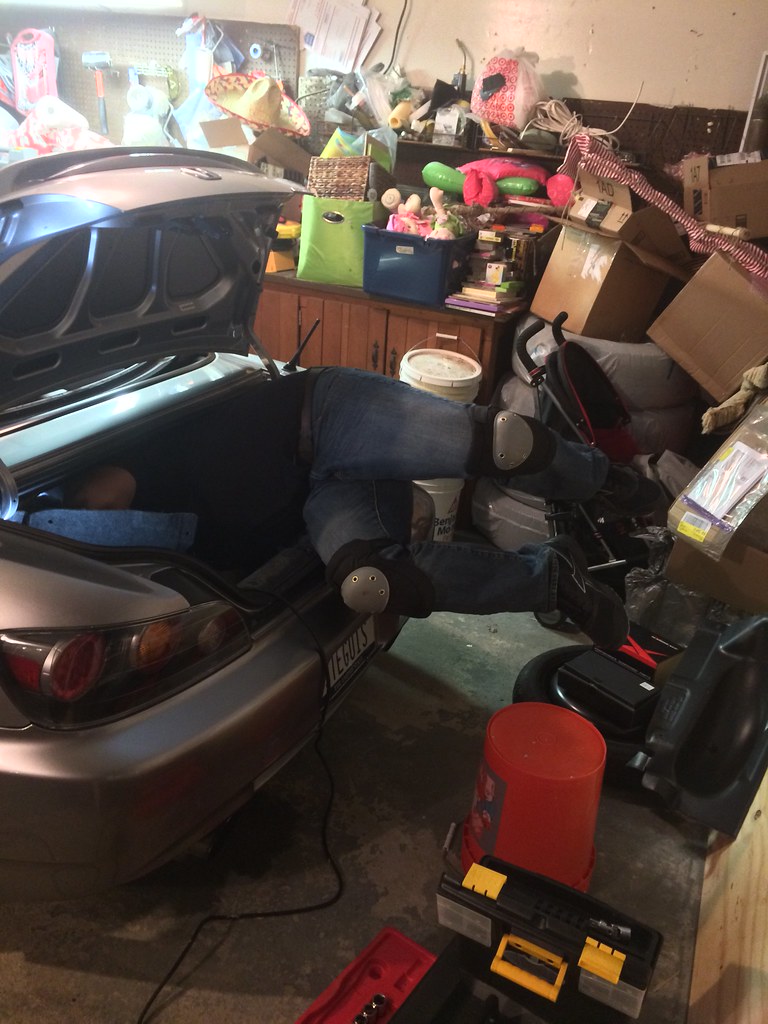
Several weeks ago I decided the best way to supplement my seat time with Bumblestook would be to have a streetable race car I could take to more local events and not have to trailer all the time. Having two S2000s, the natural choice was to prep Lupa for the SCCA Street Touring Roadster (STR) class. I ordered all the necessary parts and this past weekend, Rad was kind enough to let me stay over at his place and help me work on her in his garage. Since I arrived Friday night and we needed the engine to cool before working on any power adders, we spent the evening working on the electrical parts of the modifications. First up was the Modifry Seat Belt Lock (SBL). It's a really neat mod that allows you to engage the seat belt lock with the flip of a switch by applying a magnetic force on the seat belt spool. It's fairly easy to install with the hardest part being having to squeeze into the trunk to attach the magnet on a bolt you can't see and cutting out a small hole in the console for the switch.
Uncomfortably trying to locate the bolt to install the SBL 6/19/2015
The bolt is all the way in there - 6/19/2015
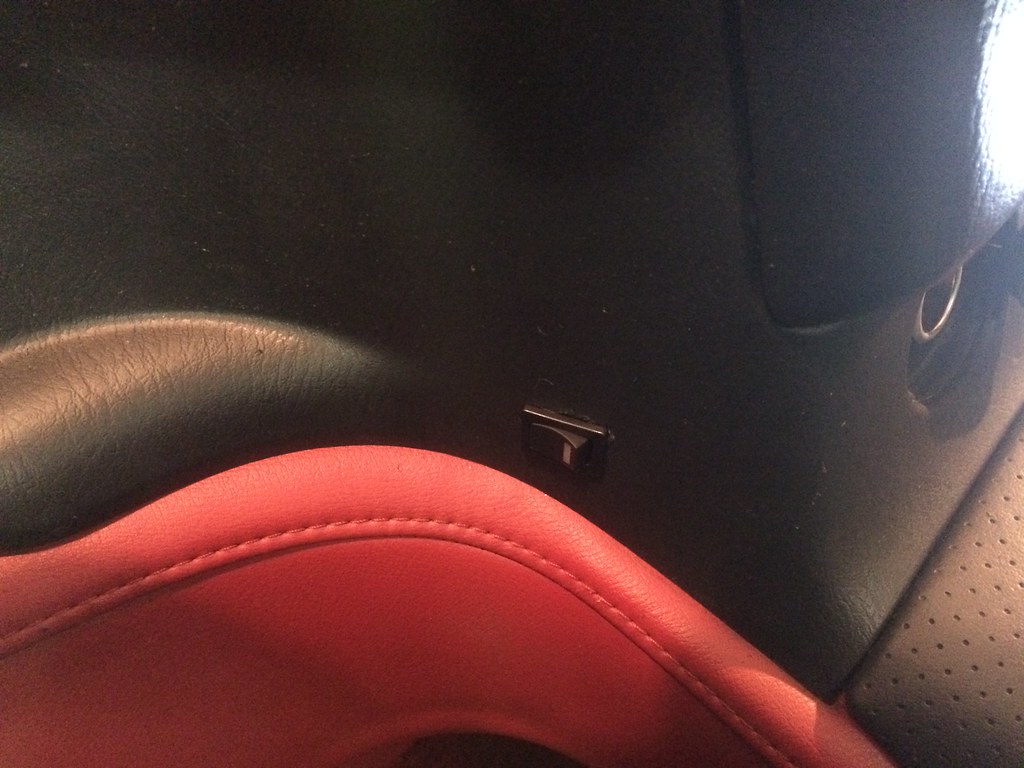
Switch for the SBL installed - 6/19/2015
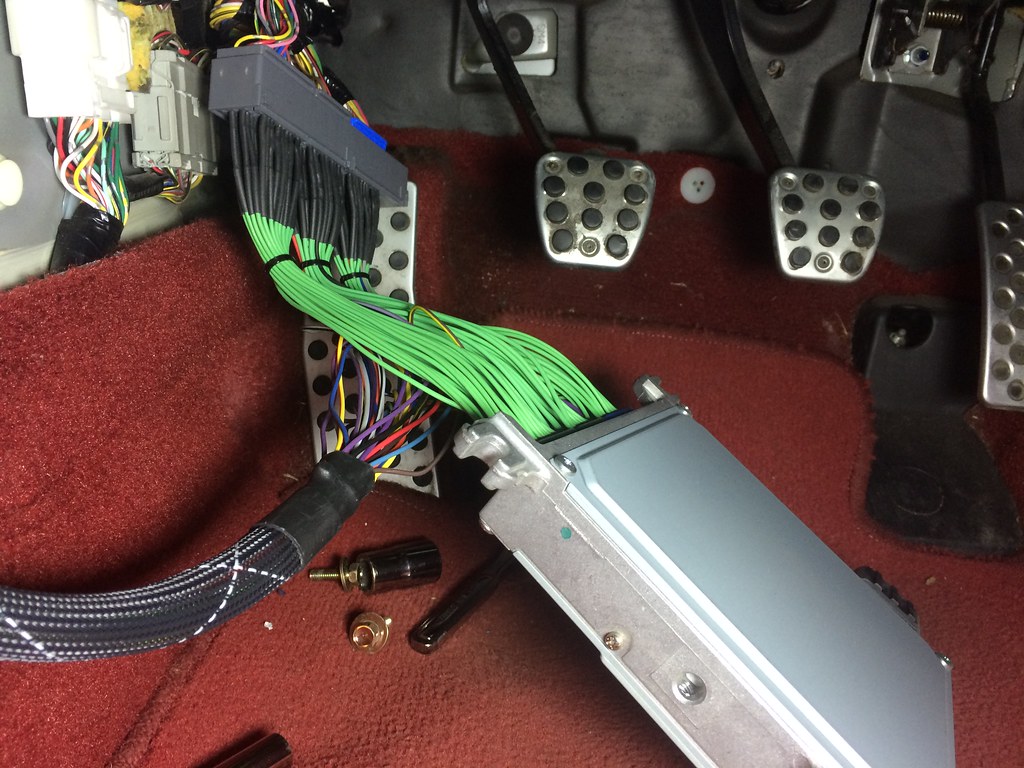
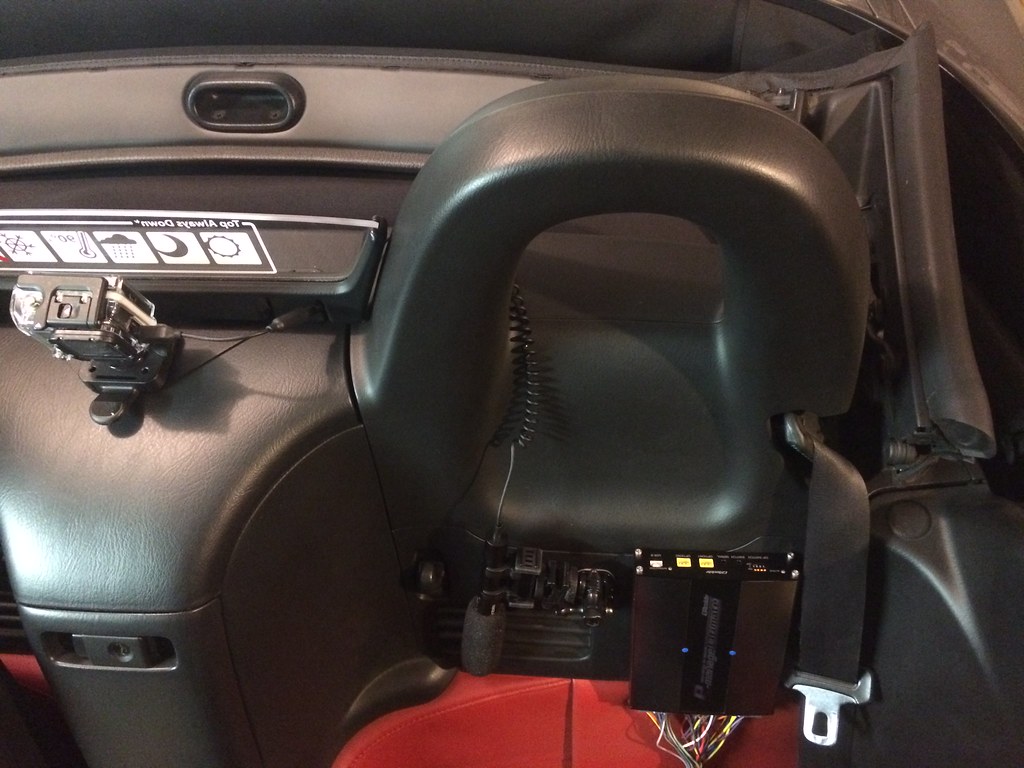
The second thing we wanted to tackle that evening was the installation of the GReddy Emanage Ultimate piggy back EMU with the Karcepts modified Boomslang harness which already had the Karcepts STR base tune preloaded on it. The rules of STR state that you can't replace the ECU so for a pre-06 S2000s, the only choice is a piggy back and Brian Karwan of Karcepts figured out how to make it all work a few years ago. With pretty much everyone in STR running the same or very similar mods, he developed a very good base tune that gets you most of the performance (with the requisite mods of course) without having to dyno tune (although a dyno tune is always preferred/recommended).
Stock ECU with Karcepts modified boomslang harness on - 6/19/2015
OEM ECU back in its location with the rest of the harness tucked away behind it - 6/19/2015
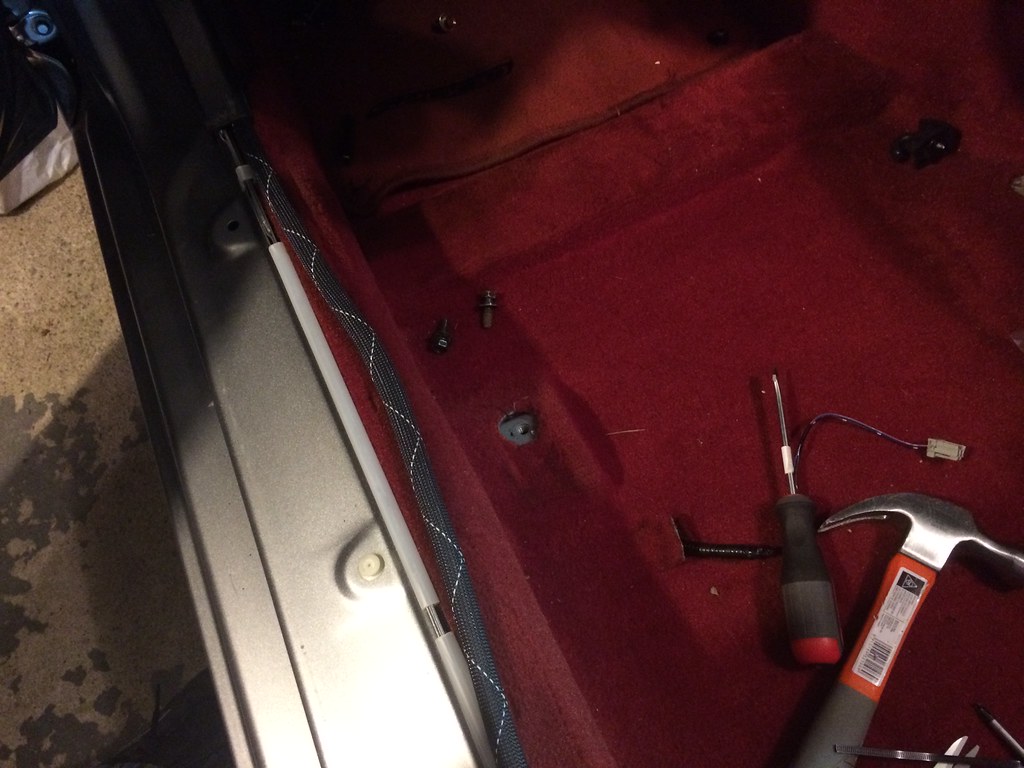
Rad had figured out when he installed the same EMU on his car that the best place to put it was on the panel behind the driver seat and drilling holes so it could be mounted using machine screws. We then ran the harness underneath the driver door sill. The new generation Boomslang harness seems to have much thicker insulation that what Rad got a few years ago so he had to dremel out some of the plastic "fins" to make it sit more flush (S2000 people like clean installs). Similarly, I had figured out that the best place to mount my Azden SMX-10 mic for my GoPro was on the same panel making for a perfect pairing behind the driver seat.
Rad cleaning up the doors sill for better clearance - 6/19/2015
Routing the wire for the EMU - 6/19/2015
GReddy EManage and Azden SMX-10 mic mounted - 6/19/2015
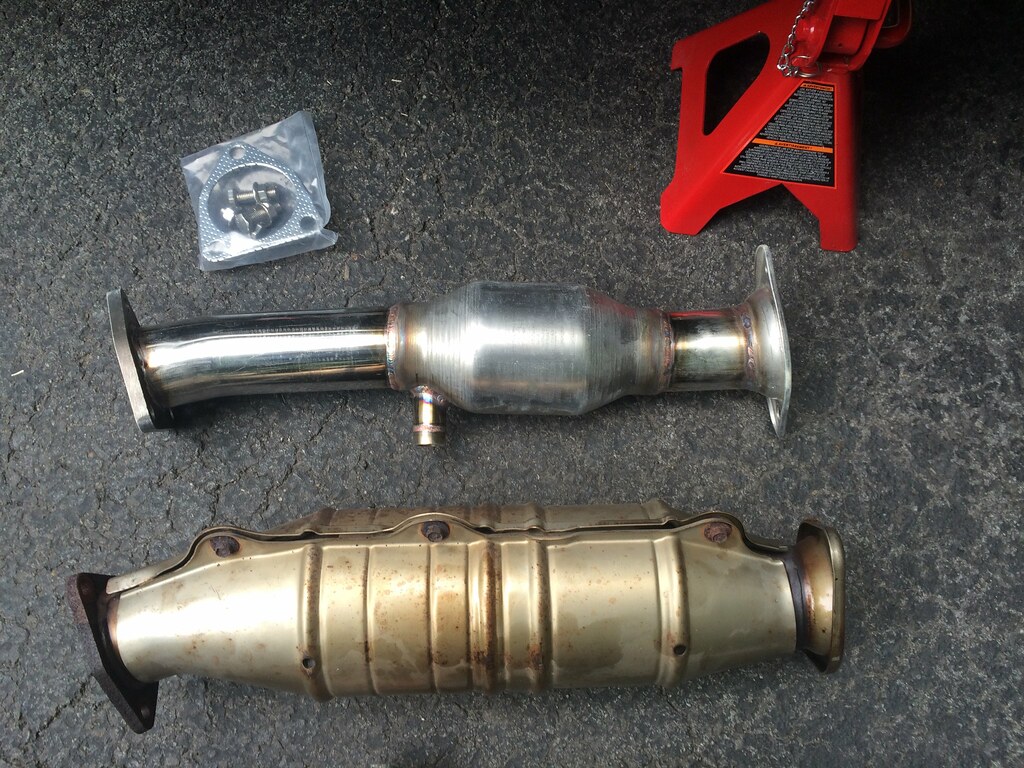
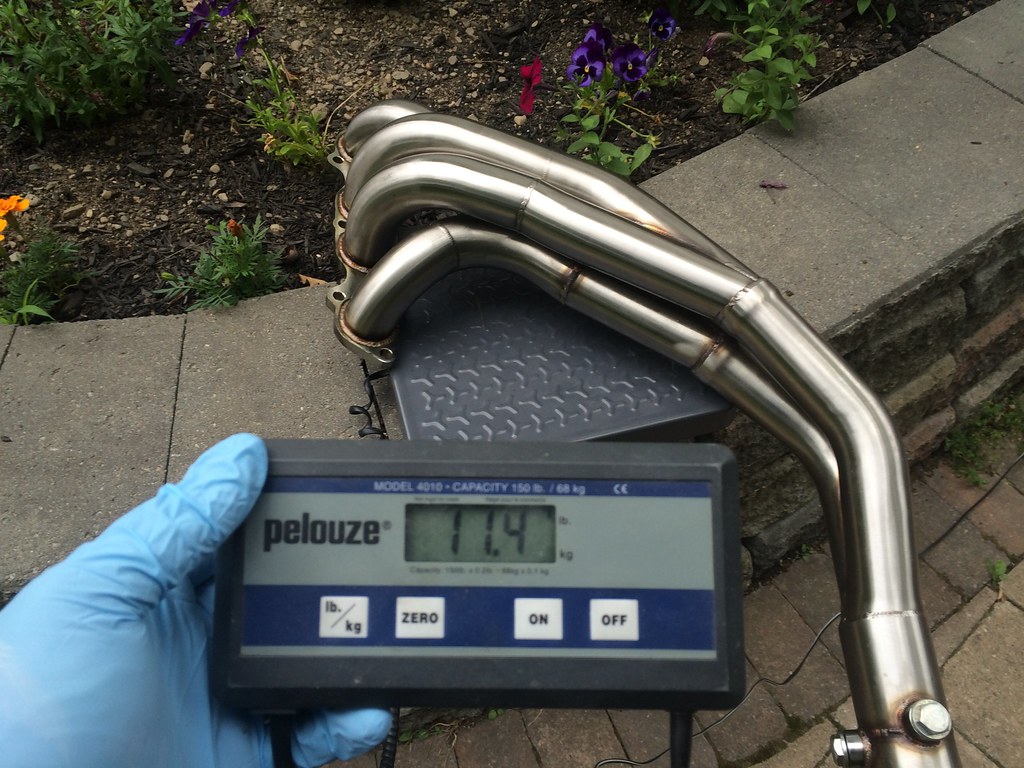
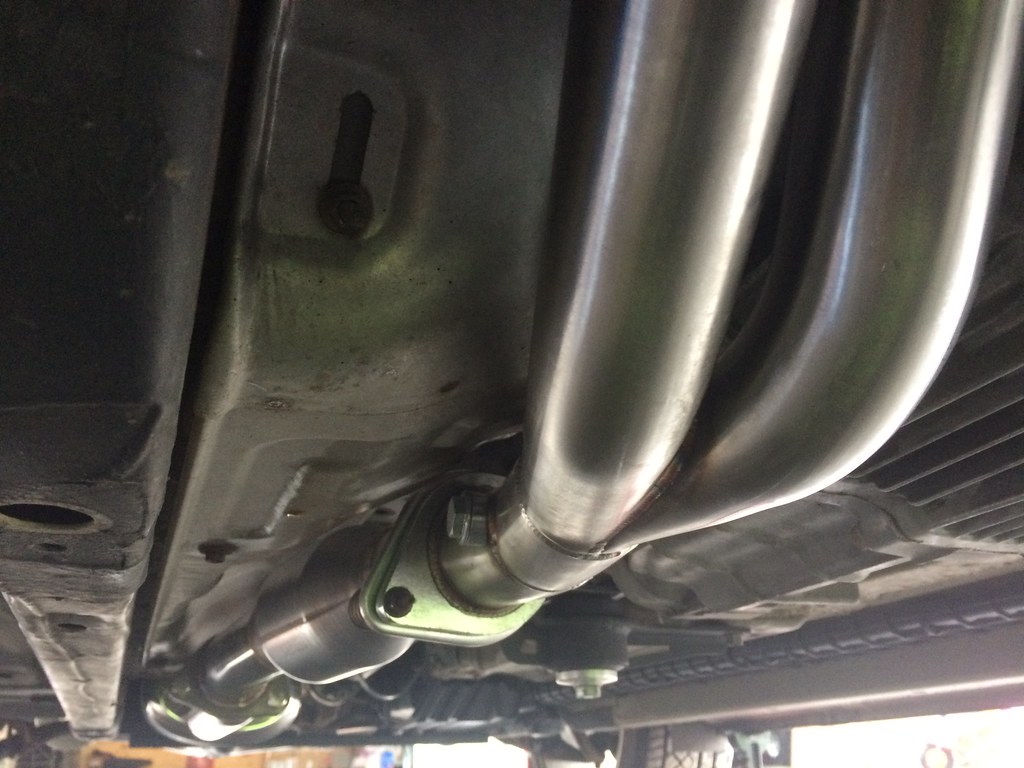
That's all we really felt like tackling that evening so it was off to bed for an early start for some real wrenching the next day. The STR power formula for STR S2000s is fairly straight forward, intake (most of us run the K&N FIPK), a header for power and weight reduction (lots of choices here but the PLM is the cheapest option that yields the best power), Berk high flow cat and an exhaust of your choice. I already had the Mugen titanium sport exhaust on Lupa which is 63.5mm so I went with the Berk 63.5mm high flow cat. Most STR guys run a 70mm cat and exhaust but really the power difference is negligible (at least in my book). I do understand I'm running with more weight though since I have a dual instead of a single exhaust but the Mugen is oh so sweet so you'll have to kill me first before I give that up.
Berk HF cat above, stock below - 6/20/2015
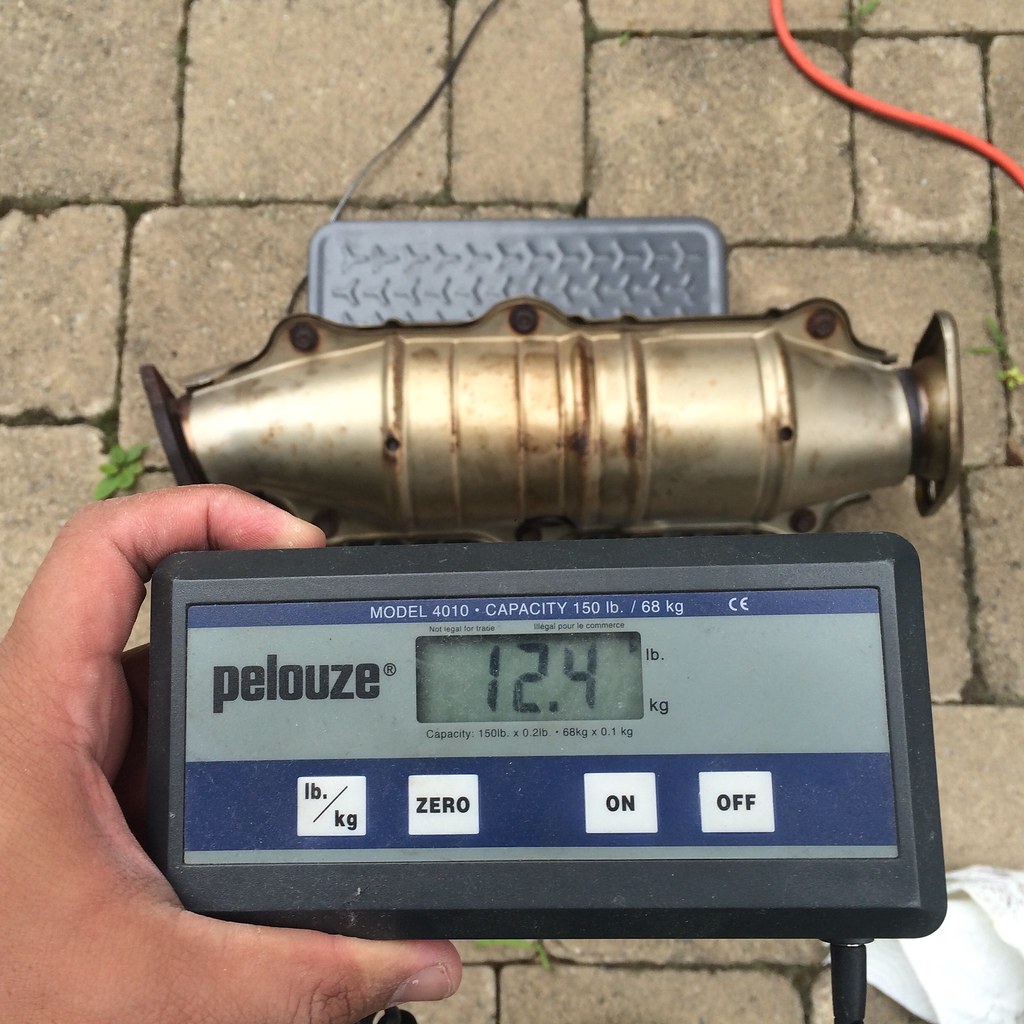
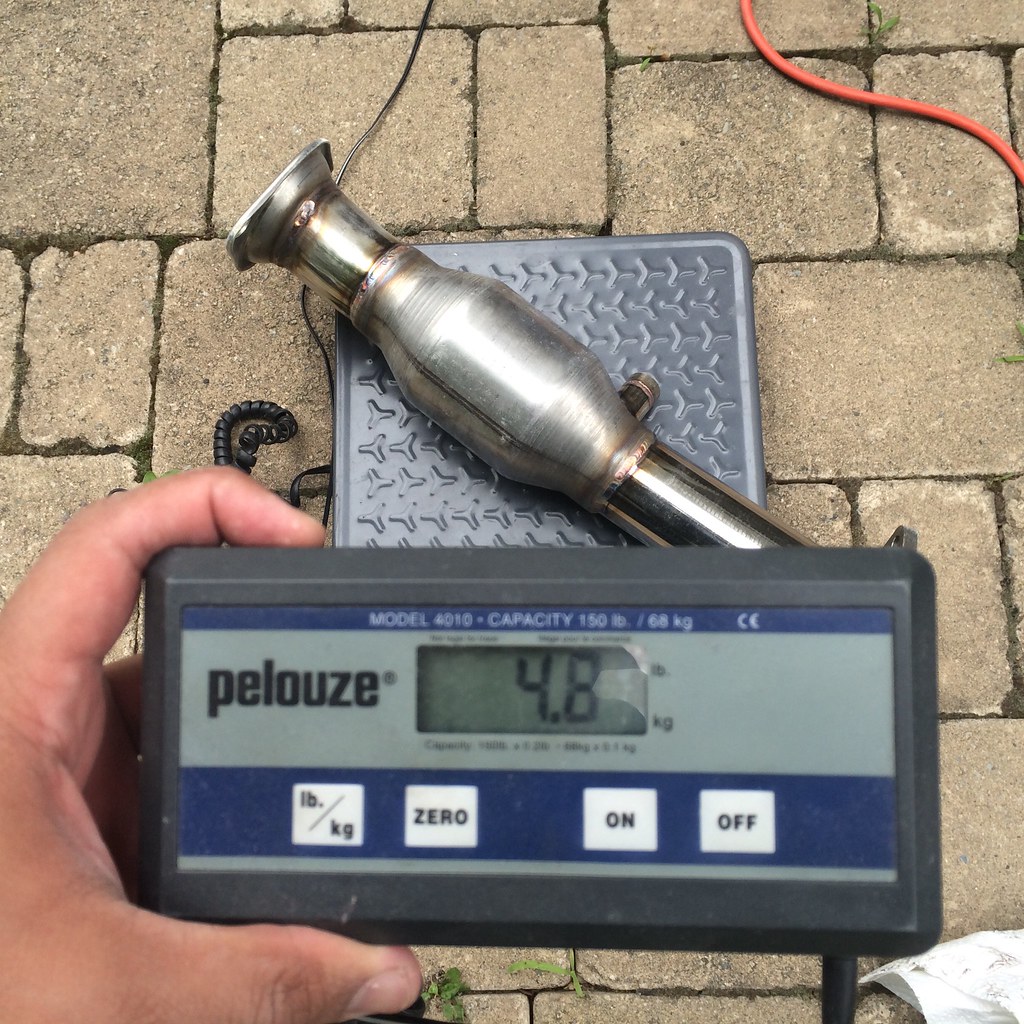
Stock cat - 12.4lbs - 6/20/2015
Berk 63.5mm HF Cat - 4.8lbs 7.6lbs of weight savings - 6/20/2015
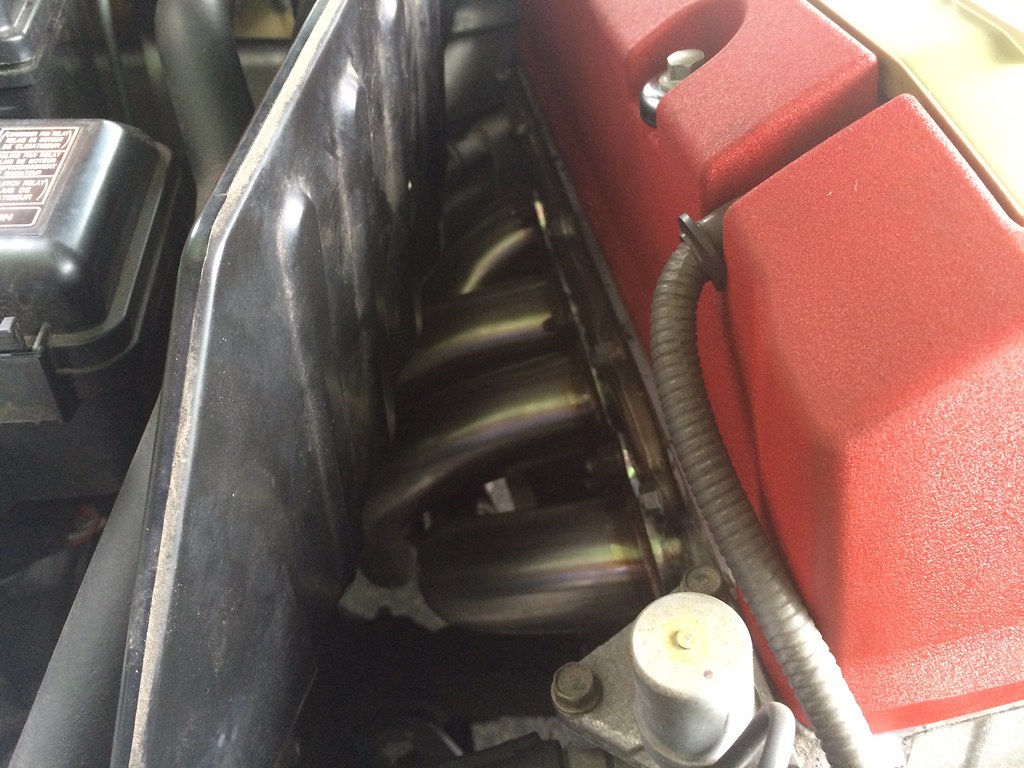
The cat is easy to swap out. Pull out secondary O2 sensor, the 2 bolts going to header, and 3 going to exhaust and done. The header is a bit more complicated but still very doable albeit annoying thanks to the location of certain bolts. Remove the black heatshield in the engine bay, remove the header heatshield, remove the nuts going to the block, remove the primary O2 sensor, remove the bolt holding it to the bracket supporting it to the body and with enough shifting around and turning the end of the header towards the driver side, pulls right out from underneath. The PLM header which I got, doesn't have a heatshield making it a bit easier to install. It also has 2 bungs on it for a wideband if you want it but since I don't have/need one, I just left that plugged. The black heatshield in the engine bay had to go back in though to be compliant with the STR rules. Of course, I used new OEM header gaskets to make sure I have a nice tight seal.
We then got her off jack stands to take her for a quick spin to make sure all the power mods and tune were working well and thankfully everything felt great. No leaks, power was very smooth and noticeably stronger, no check engine lights and I was also able to test out my new audio setup for my GoPro. STRRrrrrrrr!!!
First drive with the STR power mods - 6/20/2015
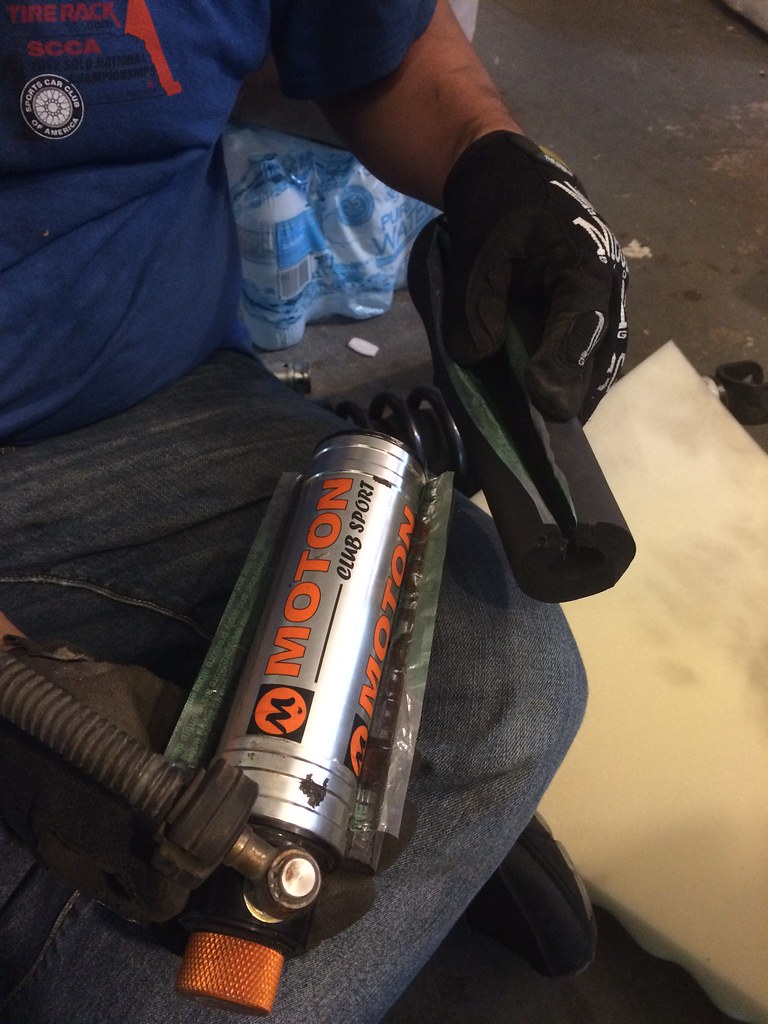
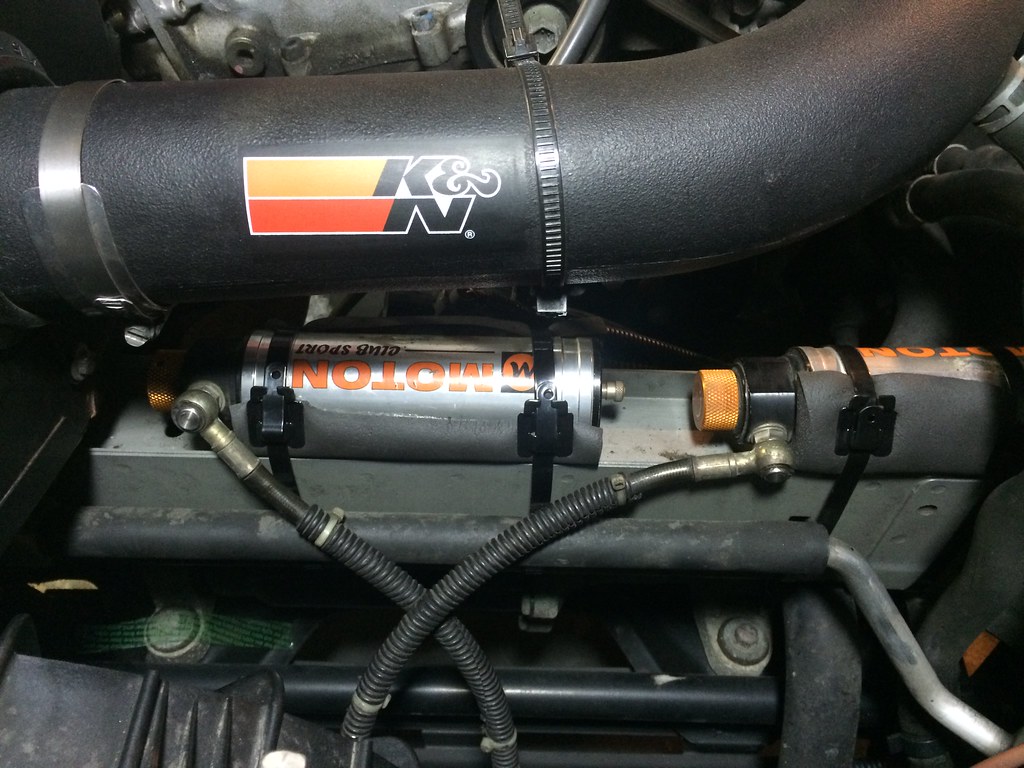
This was really all we had planned to get done this weekend but since we ended fairly early, we (ok more like "I"), said we should be able to get the shocks installed with plenty of time to spare (wrong haha). When the opportunity came to buy Bumblestook's old Moton Clubsports back, I jumped at the opportunity. I paired it with 850lb 2.5" ID x 7" Hypercoil springs up front (donated by Rad) and new 750lb 2.5" ID x 7" Hypercoil springs in the rear. All four shocks were topped off with the Karcepts spherical upper shock mounts for maximum performance.
Old school Moton Clubsports rear - 6/20/2015
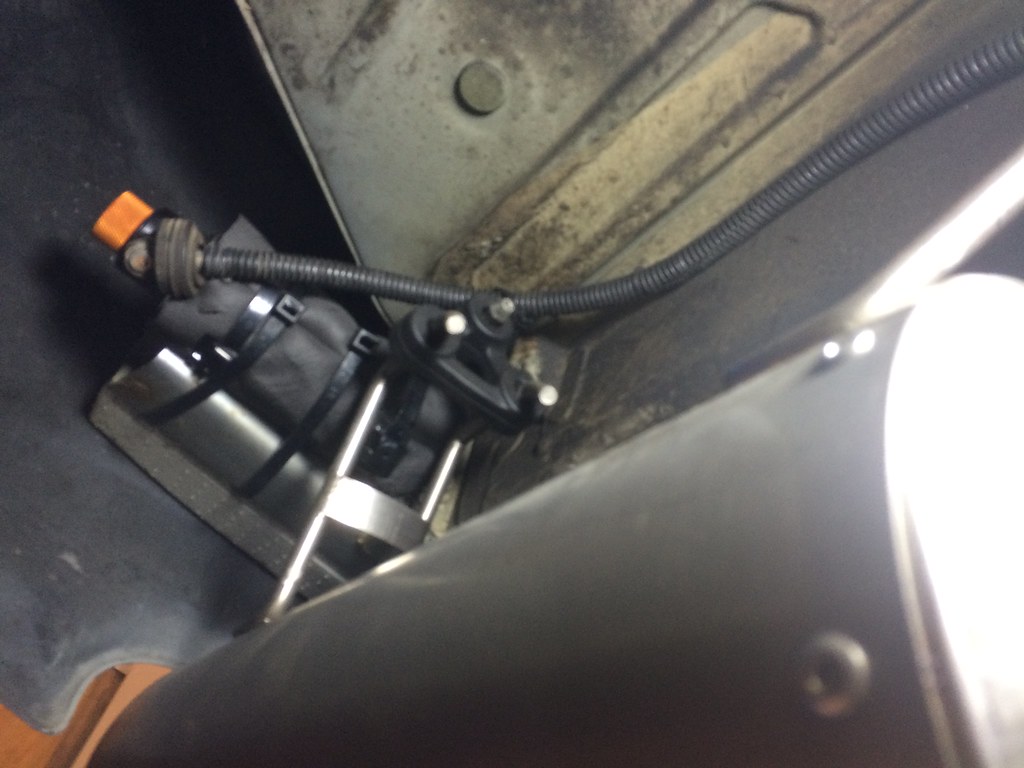
We tackled the rear first since that would be the most difficult with the fuel filler pipe in the way. It ended up being relatively easy pulling it off but we did spend time trying to figure out where to put the external reservoirs since I didn't want to drill a hole in the body. After some thinking, we settled on placing it behind the rear bumper support but in order to protect the canisters we needed to pad it somehow. Luckily Rad had some 1/2" foam pipe insulation that we cut to size and joined together to provide the ultimate protection.
1/2" pipe insulation is perfect - 6/20/2015
Shock reservoir padded and secured using Nylon coated stainless steel zip ties - 6/20/2015
Canisters mounted behind the rear bumper support - 6/20/2015
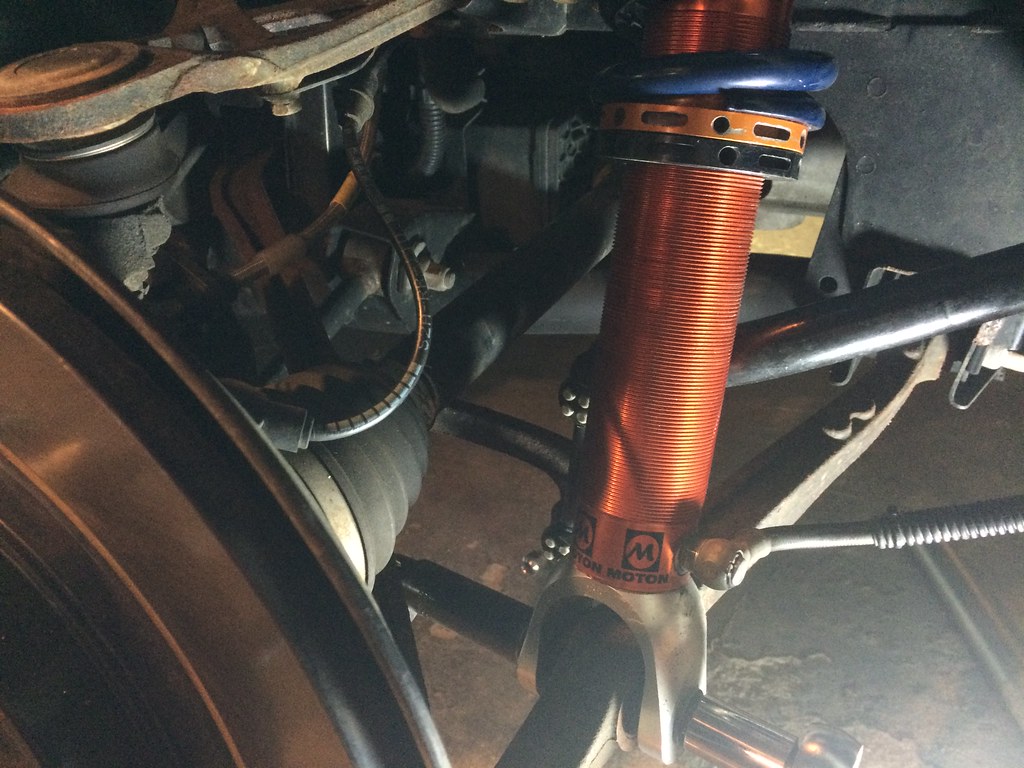
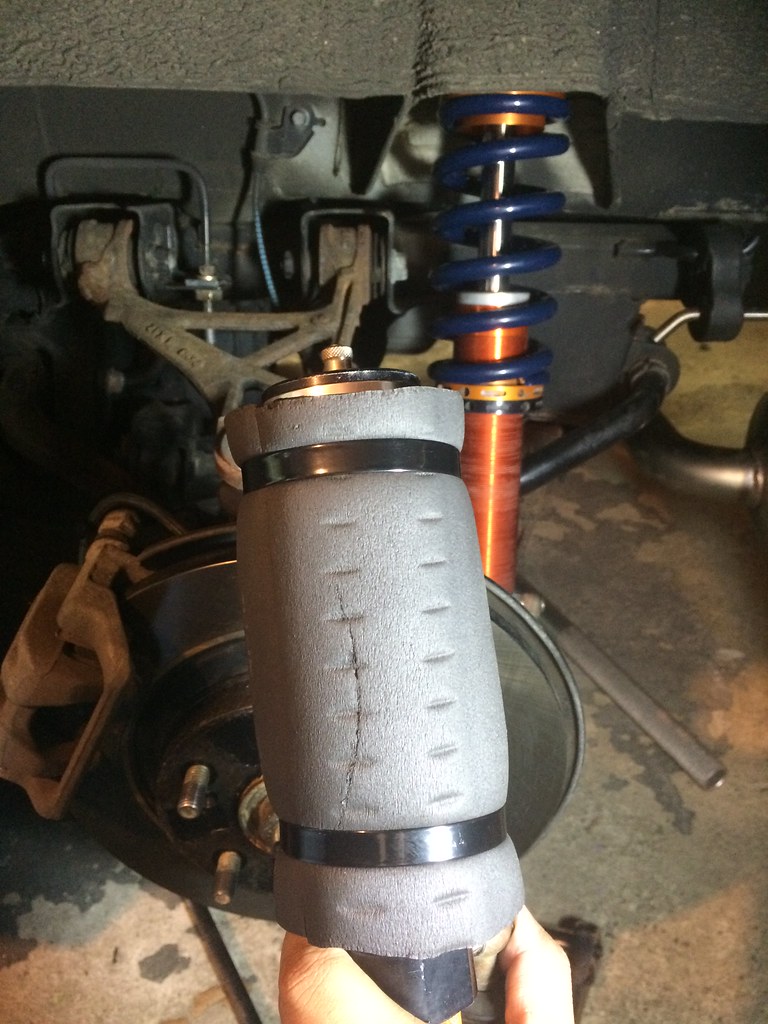
The front should've been easy but it turned out we didn't have the bolts for the bottom so we just had to reuse the OEM bolts but we didn't have a nut that fit (OEM shocks have a captive nut on the shock body itself). Luckily we were able to find some at Lowes. The correct size being M12-1.25 for future reference. The actual mechanics of removing the shocks were easy...2 bolts up top, 1 bolt at the bottom, disconnect the upper control arm, disconnect the brake line bracket and done.
Front shocks in - 6/20/2015
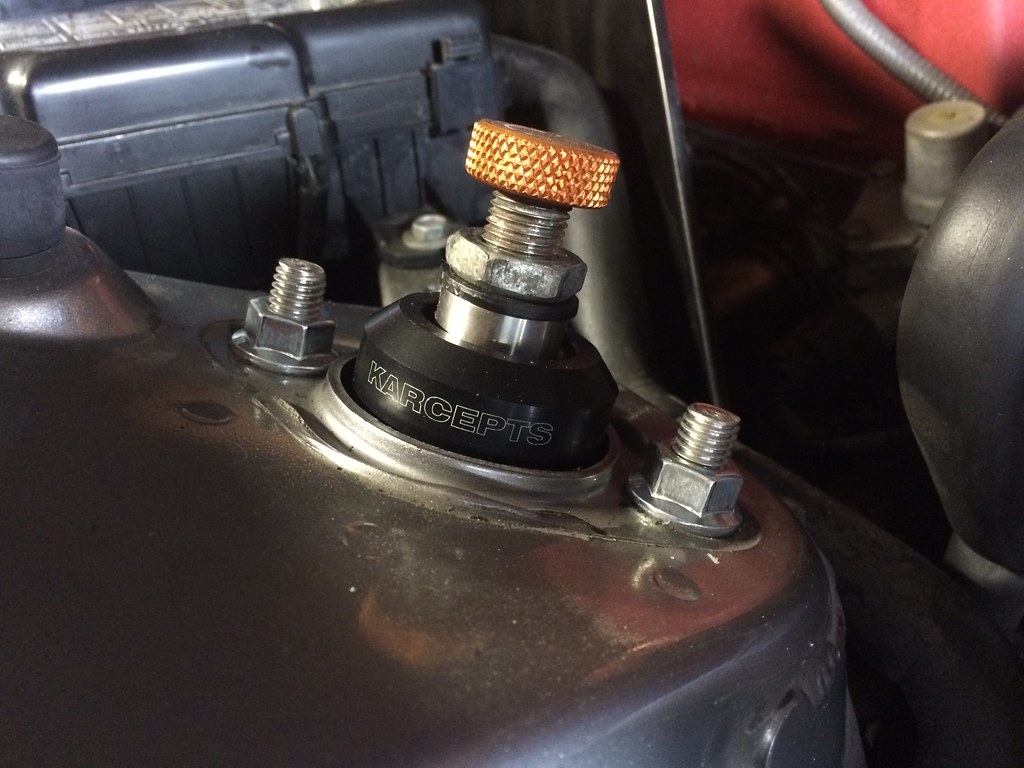
Karcepts spherical upper shock mounts - 6/20/2015
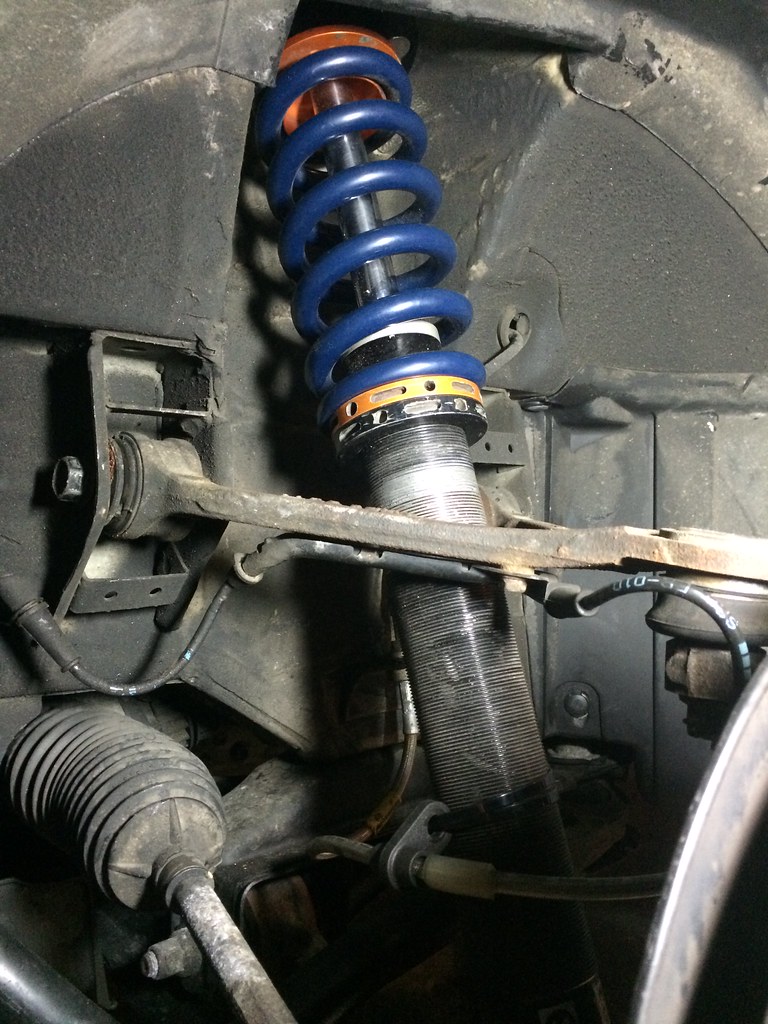
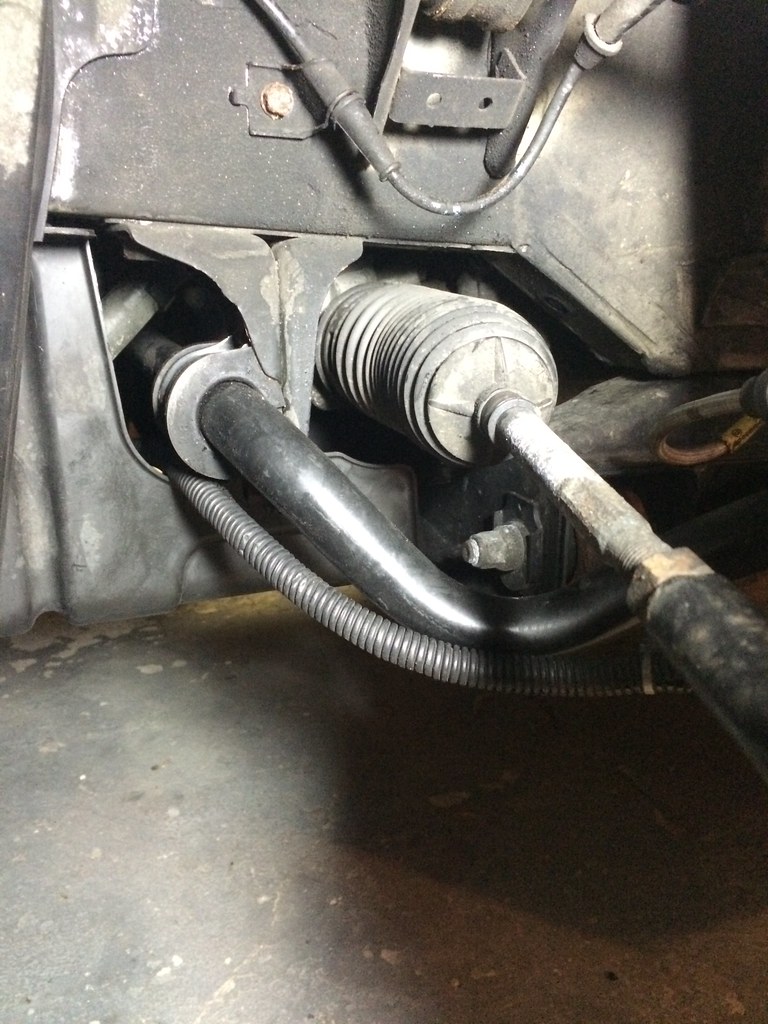
The next problem would be the canister locations. On Bumblestook I have it mounted above the plastic air deflection shield between the front bumper and the hood but this time I decided to try Rad's setup of placing it on the crossbeam. In order to pad the canister, we used 3/4" foam pipe insulation this time to get something underneath so we wouldn't have metal to metal contact and then routed the hose by the swaybar.
Front canister hose routing - 6/20/2015
Front canisters mounted on crossbeam - 6/20/2015
With it getting late and everything buttoned down, we finally got her off jack stands to behold the 4x4 stance and I drove her home. We didn't bother adjusting the ride height since I'm going to have to drive her a bit to get the springs to fully settle and I'm still debating on whether or not to add helper springs since dropping the ride height will introduce slop in the spring when fully unloaded. It's definitely interesting driving on the street again on a highly sprung car but the Motons do a tremendous job of keeping it in check. More work still needs to be done but the first major steps are out of the way. Big thanks to Rad for the help in getting it all installed with me. We definitely ran into more than our fair share of annoying bolts and nuts but in the end we were able to back out a lot in a little more than a day. More to come soon.