Thursday, January 31, 2019

Painted Interior Panels and Seat Belt Guides

We're getting closer to installing the new shocks but in order to adjust them once installed I'll need access to the adjustment knobs which unfortunately sit under the rear speaker panel. Since the main directive in this build is that everything has to be reversible, I didn't want to cut holes in the original panels. I picked up a set of used rear speaker panels but they were black and not stone grey like the rest of my interior.

Painted speaker panel - 1-31-2019
With a bit of research I found that the Rust-oleum Chalked ultra matte paint in Charcoal was a very close fit. I picked up a can and dropped the panels off at K2 Auto Body since they did just a great job on Bumblestook and had them painted for me so it could be done at the right temperate in their booth. The match came out really well I think. We can cut up this panel all we want now and at least from a color perspective won't stick out too much.

Porsche Stone Grey interior matching paint
One other issue that was bugging me that I wanted to fix was that the seatbelt on the GT2 seats were just off to the side and rubbing against the seat bolsters when not in use. This is likely going to cause unnecessary wear. I've been using these Jade Seatbelt Guides designed for Recaros on my Recaro Pole Positions and thought they might work with the GT2 seats as well. Surely enough they did so now the seat belt is secure in the appropriate spot and any use of it will just wear the seat belt guide and not the seat itself.

Jade Seatbelt Guide on GT2 Seats

Sunday, January 27, 2019

Performance, Comfort, Uncompromising Safety

When I first saw a Cayman R a few years ago, I was blown away by the GT2 carbon seats it had inside. I always wanted one and since I can change the seats in STU I went hunting for one as part of the build. They come up for sale every now and then but often only sold locally as they're hard to ship and expensive to insure. Luckily I found one being sold by NOLA Sport that came out of 997 Carrera 4S and jumped at the chance.

GT2 Seats, Schroth GT3 6-pt Harness installed - 1-27-2019
Dylan from NOLA Sport did a fantastic job making sure they'd arrive to me undamaged. The seats were bolted onto palettes, wrapped, boxed then trucked from Louisiana to a depot in New Jersey where my friend Alex and I picked it up during the coldest day so far this year.

Seats packaged ready for shipping

Unboxed
Weighing in at 35lbs each with rails they're not the lightest race buckets I could've gotten but they still shave off almost 15lbs each from the rather heavy stock seats.

Unwrapped
Mmm Carbon Fiber
The incredible carbon fiber backs aside, they are direct bolt in and have integrated thorax airbags and passenger side occupancy sensors so they retain all the extra safety for street driving. They are upright and don't recline but can fold forward so I can get behind them if needed. The bolstering is perfect and I fit in them like a glove and have integrated seat belt receivers. One reason I wanted these was so that I could run a harness to hold me in when autocrossing. I was just going to get 4-pt harnesses for this but it turned out that the Schroth GT3 specific 6-pt harness was on sale and much cheaper than the 4-pt so I ended up pick one up. The best part about this seat is that it has existing mount points for the lap belts that mate up to the GT3 harnesses. You can read more about the details of this seat in this blog (https://www.autoblog.com/2007/11/16/2008-porsche-911-gt2-introduction-the-worlds-best-seats) when they were first introduced in late 2007.

Schroth GT3 6-pt harness
Lap belt mounted to integrated mount points
I also picked up a Brey Krausse R-9032 Sub Strap that bolts right up to these rails so I don't need to drill anything for the crotch straps either.

Brey Krausse GT2/GT3 sub bar
It wasn't difficult to swap in. The most time consuming part was getting the harnesses set up correctly and I think it really completes the interior. These seats combined with the alcantara steering wheel and the Numeric Racing shifter have really changed how she feels. Everything feels comfortable, supportive and precise. As a driver, these are the three things we interact with the most when in the car and I feel it's really important to get these right. It's the difference between liking a car and loving a car and I'm really loving Kay right now. She's slowly becoming a car that's unmistakably a "Steguis build".

GT2 Seats, Schroth GT3 6-pt Harness installed - 1-27-2019
With the interior done, we only have to finish up the suspension and increase rear traction and we'll be fully STU ready. Big thanks to Alex for not only helping me pick these up but also helping me install these today in his garage. Also thanks to his wife for letting me keep the seats, on palettes, in their house while I waited for a chance to put them in. 

Saturday, January 12, 2019

Harness Bar

One of the most crucial things I feel that makes a big difference for any performance driving is being able to use your hands for steering only and not for holding yourself in place. Good seats will do that, and something is on its way, but for now, I wanted to install the DMC harness bar I picked up used online. I was lucky enough that the previous owner had the same interior color as me so he sent me over pre-cut trim panels so I wouldn't have to cut any holes in my original ones. This fulfills my main criteria that anything done on the car needs to be reversible. 

DMC Harness bar installed - 1-12-2019
It's held on nicely with bolts attaching to where the stock seat belts mount up to as well as in the middle where the stock "grab handle" (I have no idea what the piece is called) bolts down to so it's really secured nicely.

DMC harness bar with camera mount - 1-12-2019
The bar is also the perfect diameter to clamp the RAM Mounts small tough claw for the GoPro too. The stock bar that used to be there was a bit narrow and made the camp not work as well as I'd like.

DMC Harness bar installed - 1-12-2019
Overall it was a really simple job once you get the holes lined up which was a bit difficult since there's no play whatsoever (a good thing). I'm still waiting on a few parts so the build is at a bit of a stand still but any progress is good progress in my book.

Sunday, January 6, 2019

Tuning for More Power

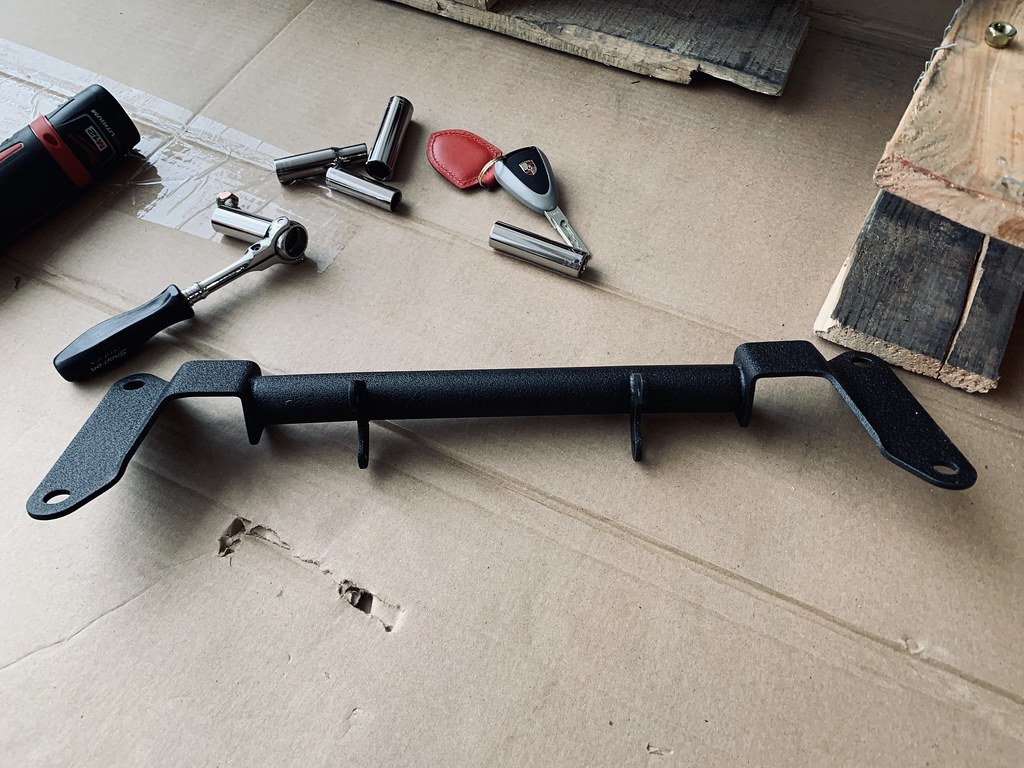
Now that all the power mods have been added, it was time to get a tune. I was initially trying to find  a place that would dyno tune the car rather than eTune but it didn't seems like shops were interested unless I also had a bunch of other stuff done there (just an assumption since I got no responses back). Since I have pretty basic bolt-ons on the car I figured going with a reputable eTuner would be sufficient and so after much back and forth I ended up going with FVD Motorsports in Germany.

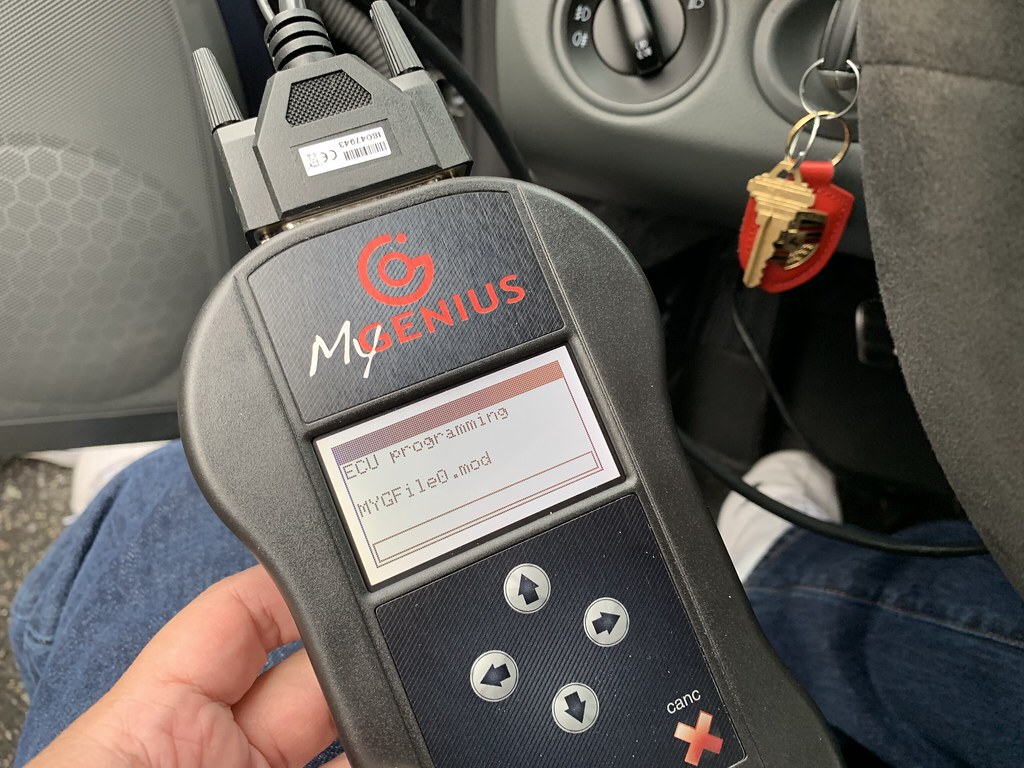
FVD Tune Loading - 1-6-2019
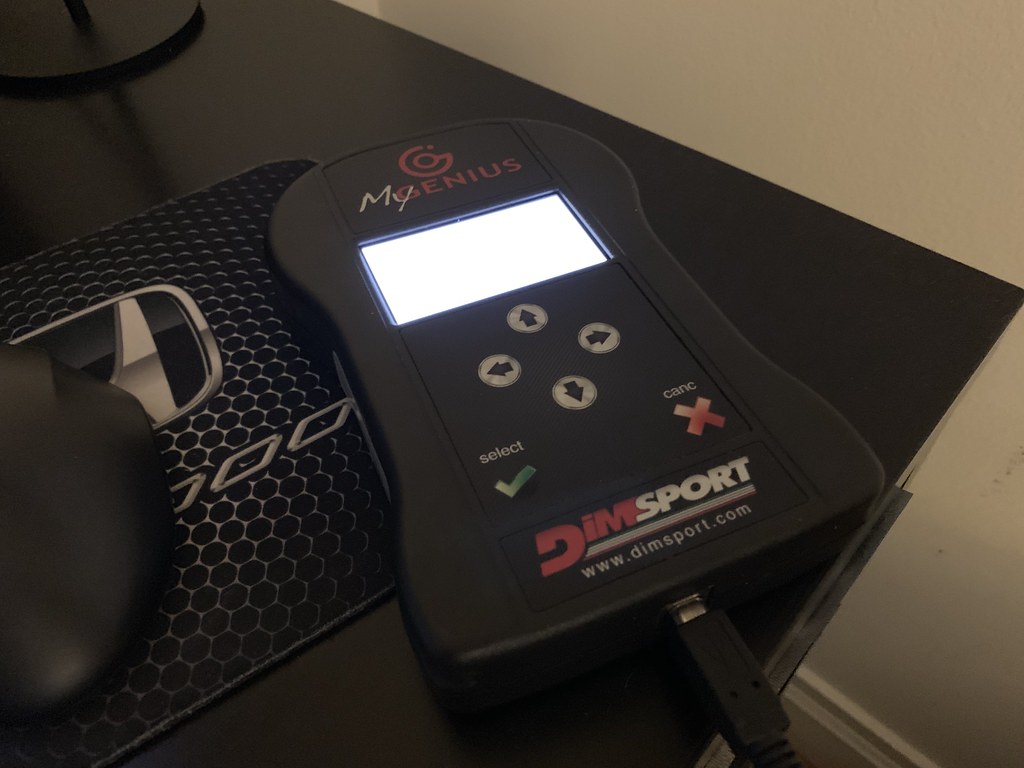
I had dealt with them before and both their Sales person in the US and their engineering folks were exceptionally responsive. The last thing I want to deal with are vendors that can't even be bothered to give you updates and the FVD folks were far from it. They were always upfront and answered all my questions and concerns promptly and to my satisfaction. The FVD experience was superb and I never felt worried. They even offered a full 30-day money back if I didn't like their tune. The process was pretty painless. I paid for the tune and they shipped me the MyGenius device. This comes with a USB cable to connect to your computer and an ODB2 cable to connect to your computer.

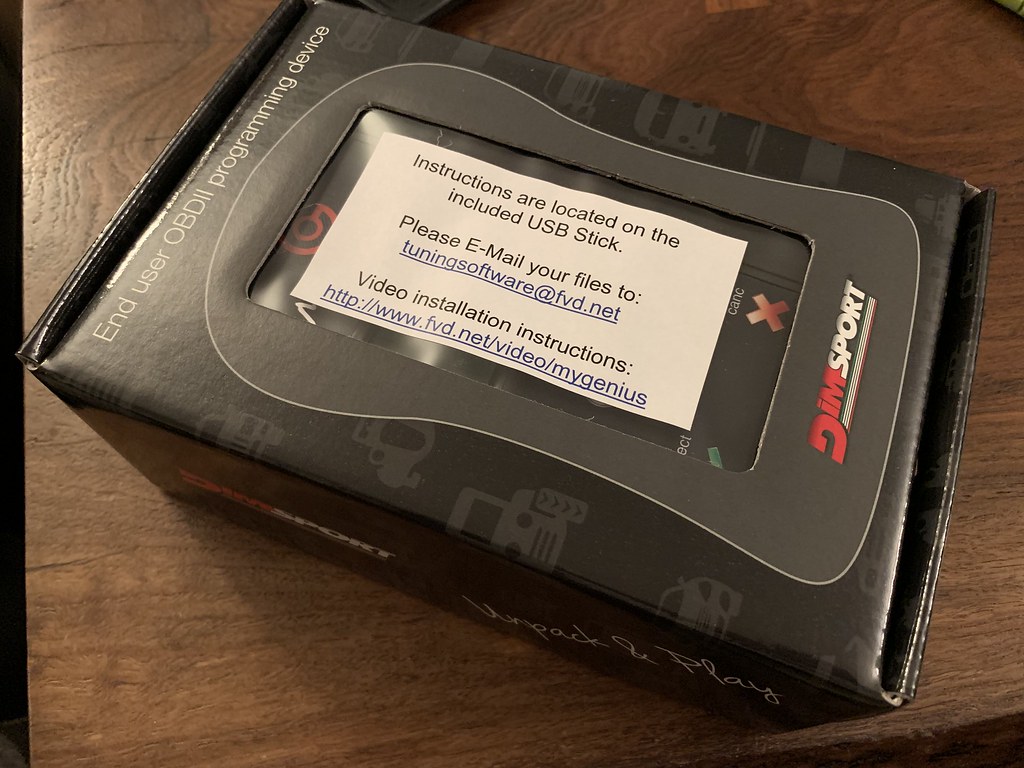
MyGenius tuning device received - 12-27-2018
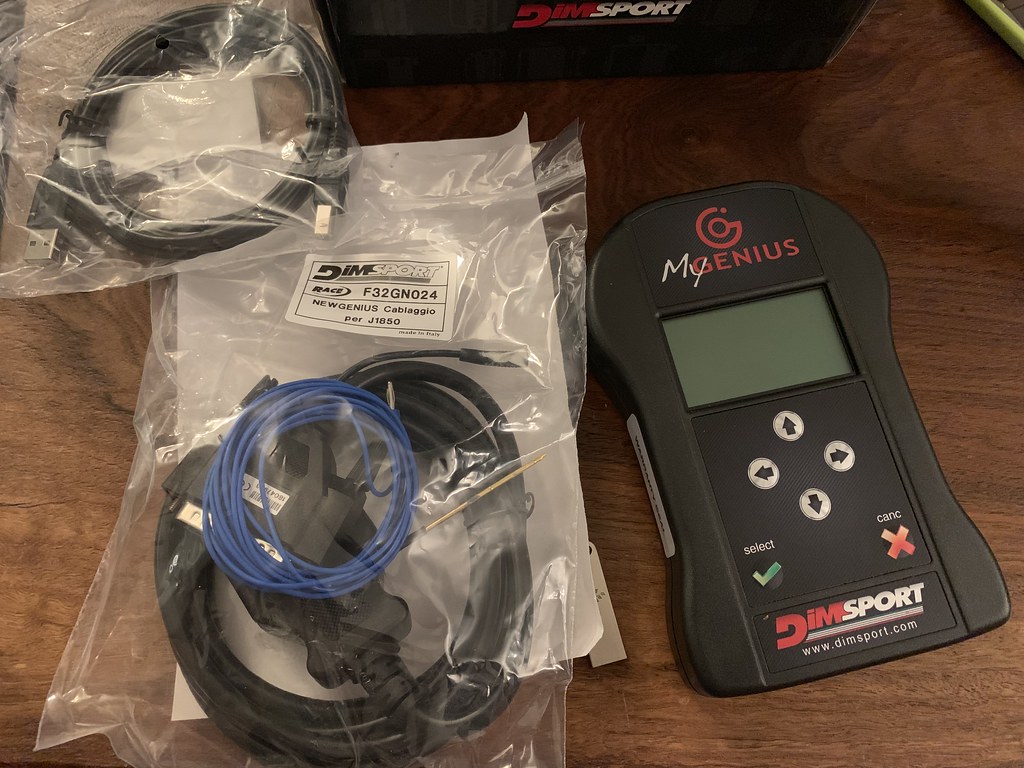
Unpackaged - 12-27-2018
The first step was to just install the MyGenius Client software and update it over the Internet. Then you connect the MyGenius device to the PC to update it to the latest revision.

Updating the MyGenius device from the computer - 12-27-2018
Then you hook the MyGenius device to the ODB2 port of the car and have it read the ECU. For the 987.1, it doesn't support downloading the tune from the ECU so all that it grabs are the identifiers needed to marry the tune to the device. I then download the file from the device back to my computer and emailed it to FVD along with the list of modifications, intended purpose and anything else I wanted them to do. Since it was the holidays I didn't hear back from them until after the new year but as soon as they got into work again, I was promptly emailed my tune. The tune also included a stock tune in case I ever wanted to go back to stock. I copied the file over to the device and then uploading the tune to the car. They noted that during this process, the car should be connected to a 15A battery tender. This is the first time I've ever had to do that for a tune but it made sense once I was doing it as the fans kicked off while the tune was uploading and it took about 10 minutes to complete. You probably don't want a dip in voltage while you're flashing your ECU. The last thing you want is a bricked ECU.

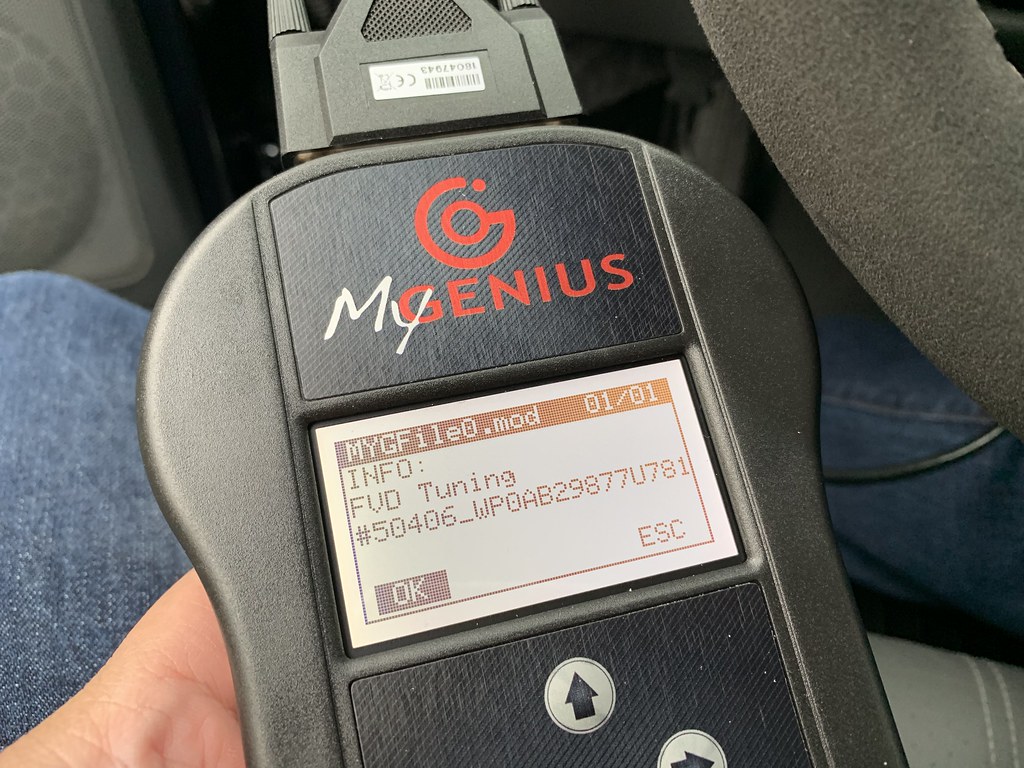
Selecting the tune to upload - 1-6-2019
Overall it was pretty simple to do minus the half a dozen times you had to turn the key on and off for the programming to complete. During this time all kinds of errors pop up on the dash and at the end it asks if you want to reset all the errors and so I did.

Engine startup was smooth and power delivery excellent. I asked that they sharpen up the throttle, and perform the usual 300rpm increase in rev limit (from 7200 to 7500) which puts the top of my 2nd gear at around 73mph on 265 tires. The throttle is a lot more responsive now even out of Sport mode. Unlike the stock Sport mode which is often makes the throttle a bit too sensitive for normal stop and go traffic, they adjusted it perfectly where I get the response without loosing low speed drivability. I also asked to maximize my mid-range power. I can definitely feel a marked increase in how hard she pulls from 3000rpm and up. The power is linear and super smooth all the way to redline. It's really woken up the car and as a bonus, with the engine running leaner than factory, it should also yield better fuel economy. Since I drive the car once a week at most, I guess I don't really care about fuel economy too much but it's always nice to have.

So far I'm really impressed. Car feels great, I got no errors driving around and the engine performance, I think, is as good as it'll get in STU trim. Maybe later this year I'll pop it on a dyno to grab some graphs but the numbers aren't too important to me right now. I'm definitely glad I went the FVD route and would recommend them to anyone else looking to do something similar.

Thursday, December 27, 2018

STU Build - Power Adders and Engine Safety

After much deliberation, I decided to abandon the idea of staying in BS and proceed with a full-tilt STU build instead. A lot of factors drove me in this direction but the biggest factor was fun. Yes, Kay had all the special combination of options to be competitive in BS but the rest of the time she felt a bit underwhelming. It's a great car out of the factory but I think just a few improvements would really make her outstanding and more importantly even more fun both in and out of competition. As I compiled the list of things I wanted, I found that everything fell neatly into the allowances of Street Touring. That combined with the timely release of products I had been waiting for led to the natural decision to forge ahead and so here we are at the beginning of the STU build.

The main objectives for this build are:
  • Make her fun and enjoyable both on the street and at autocross events
    • Enhance the visceral and aural experience
  • Use the STU rules allowances to increase her reliability
  • Everything needs to be reversible 
    • No cutting holes in body or fenders
    • Any trimming of interior panels needs to be done on replacement panels (keep original ones mint)
  • Make the car as nationally competitive as possible to the limit of the rules
    • ...understanding full well that a 987.2 PDK would likely be the stronger version of the 987 platform in STU trim

Stock oil pan removed ready for baffled pan installation
12/26/2018
The upgraded Porsche Motorsports air oil separator we installed in a few months ago helps quite a bit with reliability but the M97 engine can still suffer from oiling issues under heavy lateral load. While I'm not terribly concerned at local events on asphalt, I'm a bit more concerned running on longer, faster courses on concrete. One way to help the engine out is by installing a baffled oil pan with increased oil capacity. I picked up an FVD Motorsports baffled oil pan that also adds another 3/4 quart of oil capacity. The engine was then refilled with a fresh 8.75 quarts of Joe Gibbs Driven DT-40 oil. 

FVD Motorsports baffled oil pan
Although not completely necessary for autocross purposes, overheating power steering fluid is a known issue on the 987 platform under sustained high rpms. Installing a power steering fluid cooler is a relatively simple fix that offers extra peace of mind. They're not terribly expensive and we're already doing work on the car so adding a simple cooler won't really move the needle much on the project costs. Although a bit finicky to install, the location of the included Mocal radiator places it in a nice spot underneath the chassis for easy access. 

TunerRS Motorsports power steering fluid cooler kit installed
The next step is to unlock the power and awesome sound of the flat 6 engine. I was hoping that I could appreciate the sound of the stock muffler but after putting more miles on her I realized that it sounds too muted in stock form. I longed to put the FVD sports muffler back on but with the allowances of STU, I also wanted to maximize the power available to me so I mated it with the newly released Soul Performance long tube street header with HJS 200-cell high flow cats. The sound of this combo is glorious. At idle and low rpms there's just a light rumble, almost like a dog lightly growling at a would be intruder but once you open up the throttle and get above 4500rpms she makes all the glorious deep-throated roars you'd expect from a Porsche flat 6. I can already feel the extra pep and I haven't even put the tune on yet. 

Soul Performance long tube street headers
Soul Performance header installed - 12/26/2018
With an 11 year old car, some things are guaranteed to not be so great anymore regardless of mileage. Top on that list is the rubber in the engine and transmission mounts. These normally wear under regular heavy use and add onto that, years of being on the car, if they haven't failed already, they are likely going to fail in the near future. I wanted upgraded mounts but not anything overly stiff as that can cause issues with false triggers on the knock sensors causing the ECU to go into limp mode. I opted to go with Rennline HD engine mount which is made of a harder rubber.

Rennline HD Engine Mount
For the transmissions mounts, I went with Function First v2 upgraded mounts. These are OEM style but have a bit of polyurethane in them for some added stiffness without creating too much NVH. This combo is also perfect. The engine feels tight. There's some vibration transmitted to the cabin via the steering wheel and pedals but they are of the good race car variety but slightly reduced so as not to be annoying and ruin comfort. 

Functon First V2 Upgraded Transmission Mounts
Everything installed underneath including FVD Exhaust
12/27/2018
One thing about the 987 that I'm definitely not a fan of is the shifter feel. Even with the factory short shifter, the shifter feels a bit lazy. Since I've been driving S2000s for years, that's been my benchmark for shifter feel. With this in mind, I picked up a Numeric Racing short shifter for a more rifle bolt like action. The change is very noticeable. The shifts are short, precise and there's a real mechanical feel to it. This is one of my favorite upgrades. It makes a massive difference and it's incredible how excellent the shifts feel now. Each change of gear results in a satisfying and positive engagement. This alone made the switch to STU worth it. 

Numeric Racing short shifter
Numeric Racing short shifter installed - 12/27/2018

I'm also a big fan of Alcantara steering wheels despite the extra maintenance needed to keep them clean. Luckily, I was able to find a used one for sale and added that to the list of little interior improvements. The wheel feels great, making it easier to grip the wheel and I think adds a nice visual sports car touch to the interior. 

Alcantara Porsche Sport steering wheel - 12/27/2018
Quick drive / Audio recording - 12/29/2018

Next step from here will be to install the tune and fit the suspension on plus a few interior goodies. Big thanks to Lee Nieto at Hybrid Motors in Fairview, NJ for getting all this sorted with an impressively fast turnaround before the New Year. 

Maintenance Updates:

Mileage: 33,885
- Oil change - 8.75 quarts Joe Gibbs DT-40, Napa Gold oil filter
- Top off power steering fluid  - Pentosin CHF-11S
- Replace radiator hoses (preventative)

Old radiator hoses

Saturday, November 17, 2018

Winter Prep

A few weeks ago I switched over to my winter wheel and tire setup (Enkei RPF1s with Continental DWS tires). I don't really plan on driving Bumblestook over the winter but I wanted to get off the Mugen MF10s so I could properly clean and store them so the RE71s wouldn't flat spot. I took the wheels to a nearby self-service car wash, sprayed them down with Adam's Deep Wheel Cleaner, and gave them a nice long rinse to get all the brake dust off so they wouldn't cake over and put them away in my storage.

Cleaning Mugen MF10s - 11-17-2018
I was supposed to take my car to the dyno and for a final car wash this week but the premature winter storm we got on Thursday night pretty much killed that idea. The temps are back to normal but unfortunately, there's plenty of salt on the roads now and it's simply not worth taking her out anymore. I decided it was time to put her away for the winter so I cleaned her as best I could in the garage which was easy since she was washed by the body shop after the recent repairs so the only real issues were the few water spots on the paint. 

Science of Speed car cover - 11-17-2018
I finally got to put on the Science of Speed form fitting car cover in yellow that I ordered several months ago. It fits perfectly on the car even with the CR lip, Mugen wing, and the wide body. It's snug but not overly tight and fully covers the car all the way to the ground if I want. I also took the battery out of since I don't have a battery tender (no power in the garage) and I'm thinking about going with a bigger battery next year anyway since I'm getting sick of worrying about keeping a small battery charged enough to start the car a few times a month. 

Science of Speed car cover - 11-17-2018
Sad to think that I won't be driving her until March at the earliest but I'm happy for all the things we were able to accomplish this year. Looking forward to more fun next year but for now, the winter slumber begins. 

Friday, November 9, 2018

Hood and Hardtop Repair

When I got Bumblestook painted earlier this year I specifically bought extra paint since my plan was to color match the Mugen hood in case there were any issues with the carbon weave upon arrival. You never really know how carbon fiber parts will arrive especially when shipped across the world. The Mugen hood was for the most part super mint but unfortunately, during shipping, the trucking company must've not been particularly careful and despite the box itself being in good shape, the hood was transported with the pointy edge down. This damaged one corner slightly.

Mugen hood shipping damage
I contact King Motorsports and they were amazing. They offered to completely replace it with the only Mugen hood left in the country especially since I had waited 8 months for it. Since the damage was pretty minimal and shipping hoods back and forth would be a big hassle for me, they offered an alternative which was to give me a pretty generous partial refund on the hood. I was ok with this because I knew the hood could be repaired for much less and I don't really care about resale value. Also, a few months ago, my hardtop had an unfortunate accident while off the car. It tipped backward and the corner got chipped pretty badly.

Hardtop damage 
With the season over, it was a perfect time to get the car back to K2 Auto Body in Edgewater where Eric took care of me right away. Unfortunately for the hood, with the incredible tight Mugen weave, just redoing the epoxy wasn't going to make it look right. Instead, we both agreed that the best thing to do to make the damage clean and not noticeable would be to spray that corner with some black paint and clear coat the edge again. The rest of the hood was just too mint to touch if we could avoid it. I obviously could've gone with my original plan to just color match the entire hood but I decided I could always do that at a later time in case the hood sustained any further cosmetic damage. I think it came out really great. If I don't specifically point it out or take a closeup shot, I don't think anyone would really notice.

Hood repaired - 11-9-2018
The hardtop was similarly repaired and the corner repainted and blended. They did an incredible job and I couldn't even tell which part was resprayed.

Hardtop repaired - 11-9-2018
Big thanks again to Eric and his team at K2 Auto Body for making her perfect again. Both the hardtop and the hood was repaired for less than what King Motorsports gave me back so that was a big plus. We've got a dyno appointment next week to see what kind of power (if any) the PasswordJDM intake makes over the K&N FIPK and then she's pretty much getting washed and put away for the winter.