Friday, January 31, 2020

911SC - The Beginning of the Build

It's been almost 2 months now since I bought Scarlett, my 1983 911SC, and if you've been following my IG (@steguismotorsports) or FB (https://www.facebook.com/steguismotorsports/) then you've been seeing me post parts coming in since December of last year for this build. The car finally got delivered to the trusty hands of Speedsport Tuning earlier this month.

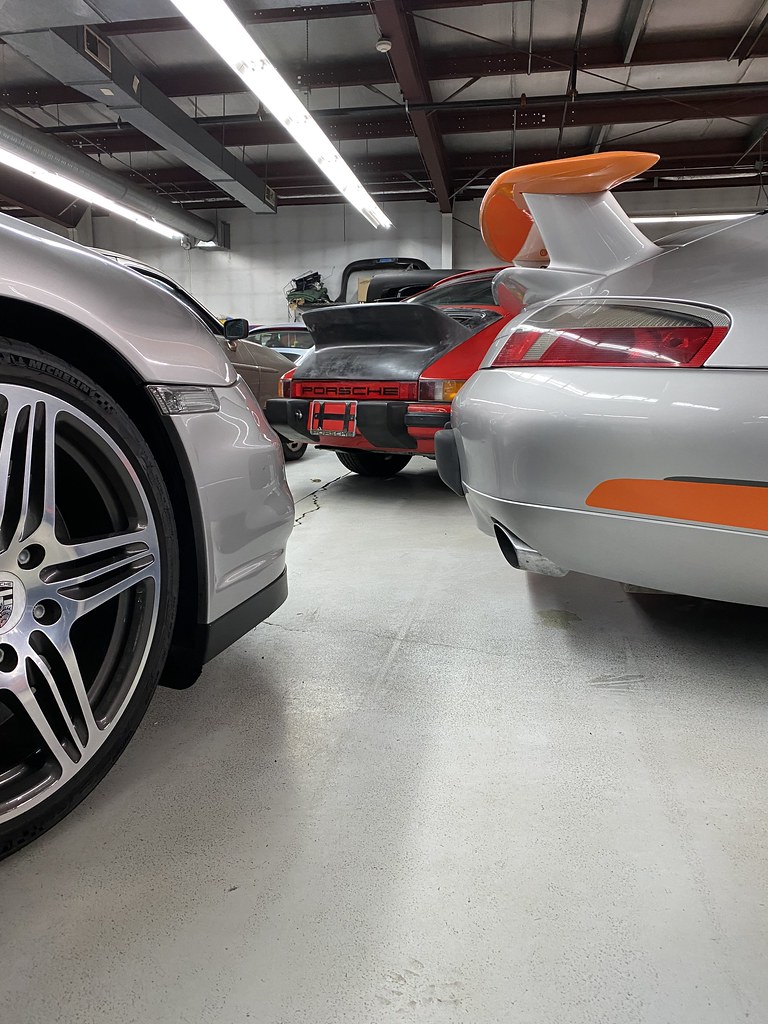
Scarlett delivered to Speedsport Tuning - 1/7/2020
As you'd expect from a shop of this size and caliber, they already had a number of big projects in flight so Scarlett had to wait her turn. Today finally kicked off the first day of the build.

In the air getting ready - 1/31/2020
Speedsport Tuning
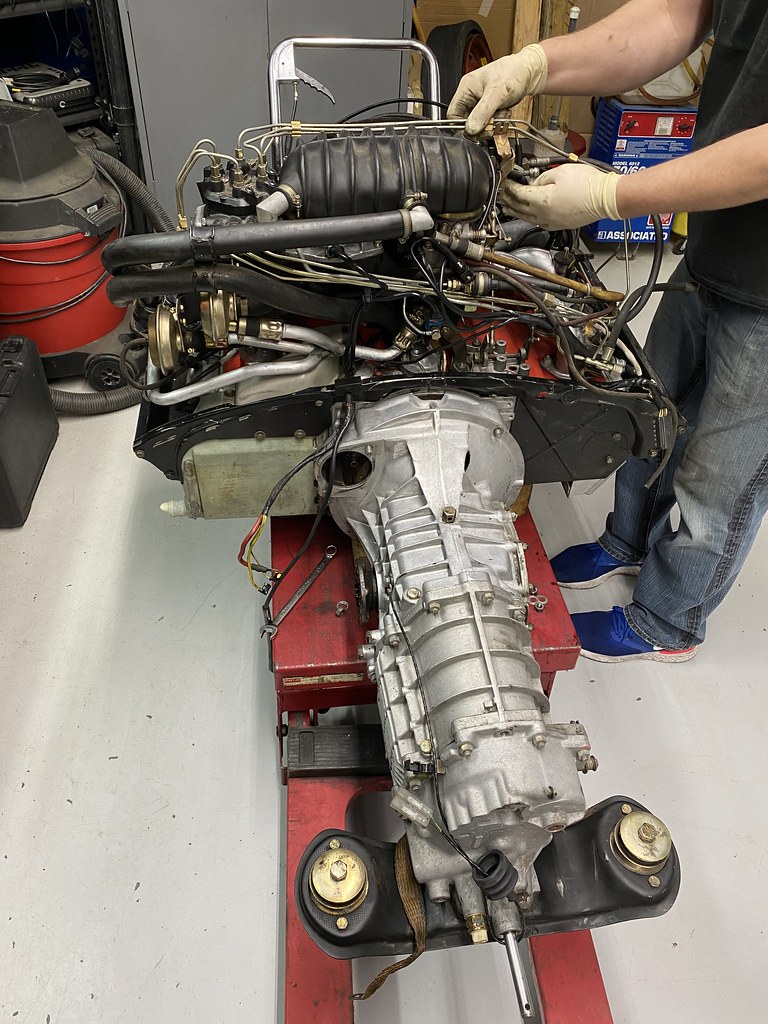
The engine and trans were dropped because we're getting a number of things in and around that area that it's most efficient to work on it this way. Most notable is the EFI conversion and the transmission rebuild.

Engine and trans out - EFI conversion starting - 1/31/2020
The ducktail, which I picked up from Duane (pilot73 on Pelican), is a fiberglass ducktail grafted onto an OEM SC trunk lid. Fitment looks pretty good and because it's on the steel trunk lid, it'll easily support the AC condenser with no issues.

Ducktail installed - 1/31/2020
There's a lot of work up ahead by hopefully everything can get done so she can be enjoyed fully starting this Spring. Thankfully most of the important parts are in but here's a rundown of what I've got planned for this car:

Engine


  • Bitz Racing partial CIS to EFO conversion with Aeromotive FPR and Holley Accel injectors
  • Wevo SS Engine Mounts (black)
  • Heater backdate to accommodate the EFI conversion
  • SSI Heat Exchangers
  • Dansk 2-to-1 sports muffler

Transmission

  • Full transmission rebuild (new synchros and seals)
  • Wavetrack LSD
  • Sachs clutch "power" kit + all new hardware including clutch cable
  • Wevo 915 Classic Short Shifter
  • Wevo PSJ + Billet Clamp
  • Wevo SS transmission mounts (black)

Interior

  • Momo Heritage Prototipo steering wheel with Porsche horn
  • Momo Heritage Targa mahogany shift knob
  • Blaupunkt SQL 46 DAB retro head unit
  • Custom Tach from North Hollywood Speedometer
  • Custom front seats from GTSClassic
  • DAS Rollbar
  • Coco Mats

Exterior/Electrical

  • Audette Collection LED headlight conversion with fluted lenses
  • Upgraded fuse panel with built in headlight relays
  • Ducktail 
  • Euro rear bumper guards
  • Fresh paint

Suspension

  • KWV3 Classic with +19mm raised spindles
  • Refreshed bushings (keeping the rest of suspension mostly stock)
  • Euro ride height

Wheels/Tires

  • 16x7 and 16x8 OEM Fuchs wheels refinished in RSR frosted finish
  • 205/225 tires (undecided)

Sunday, January 19, 2020

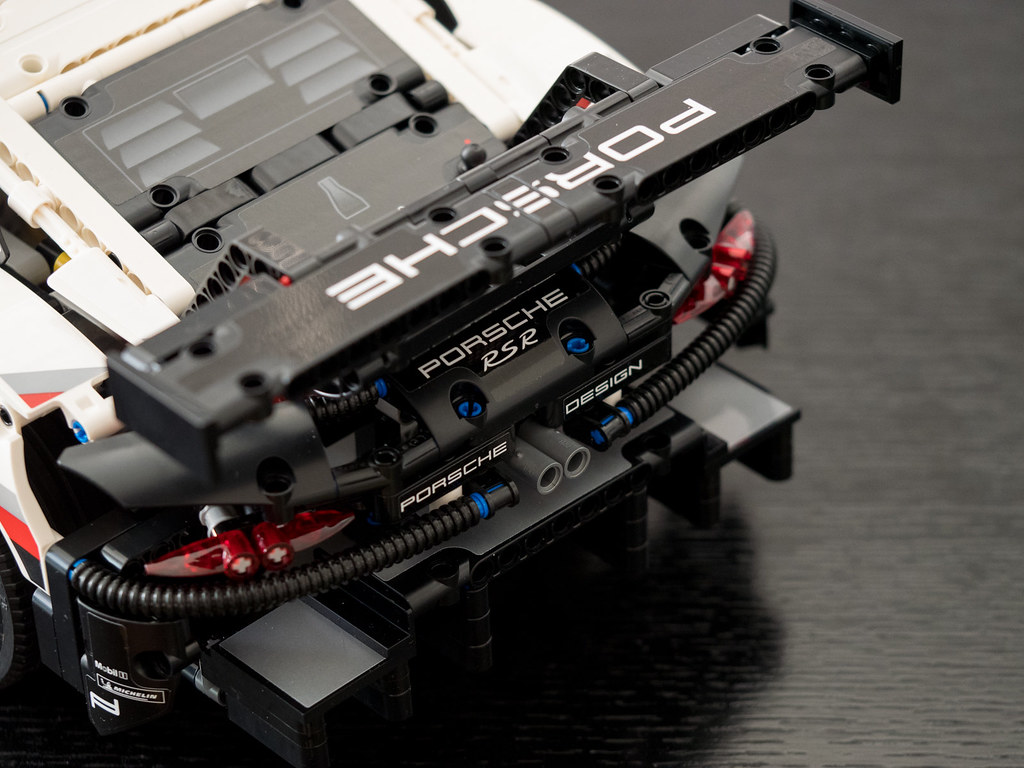
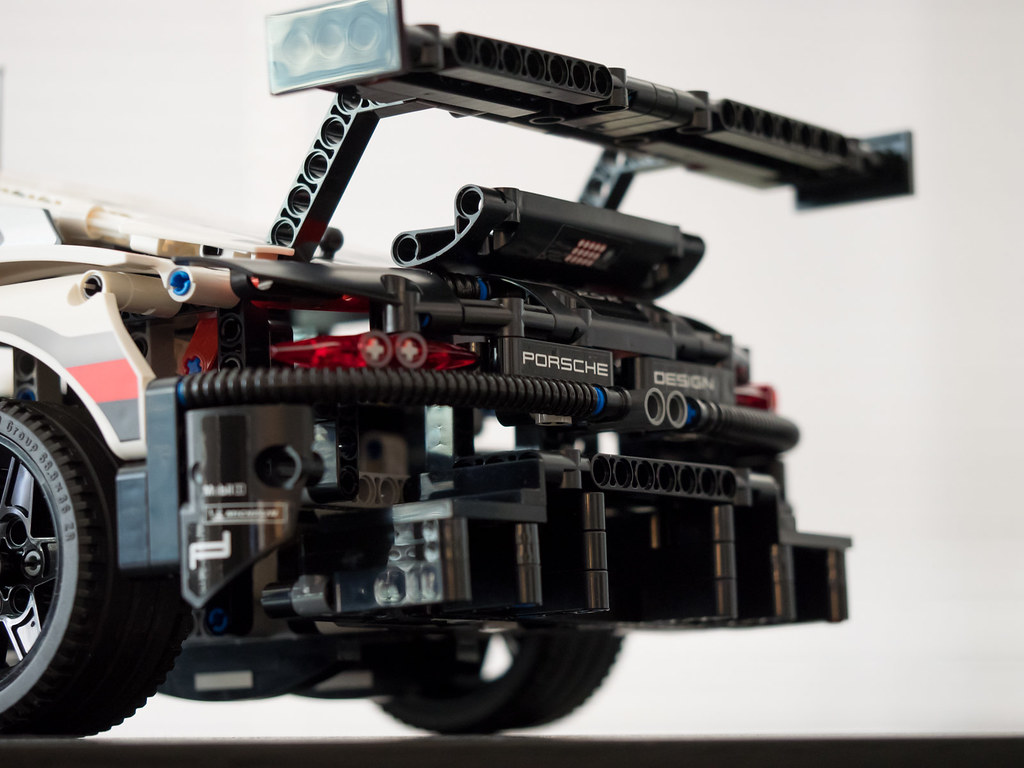
Lego 911 RSR

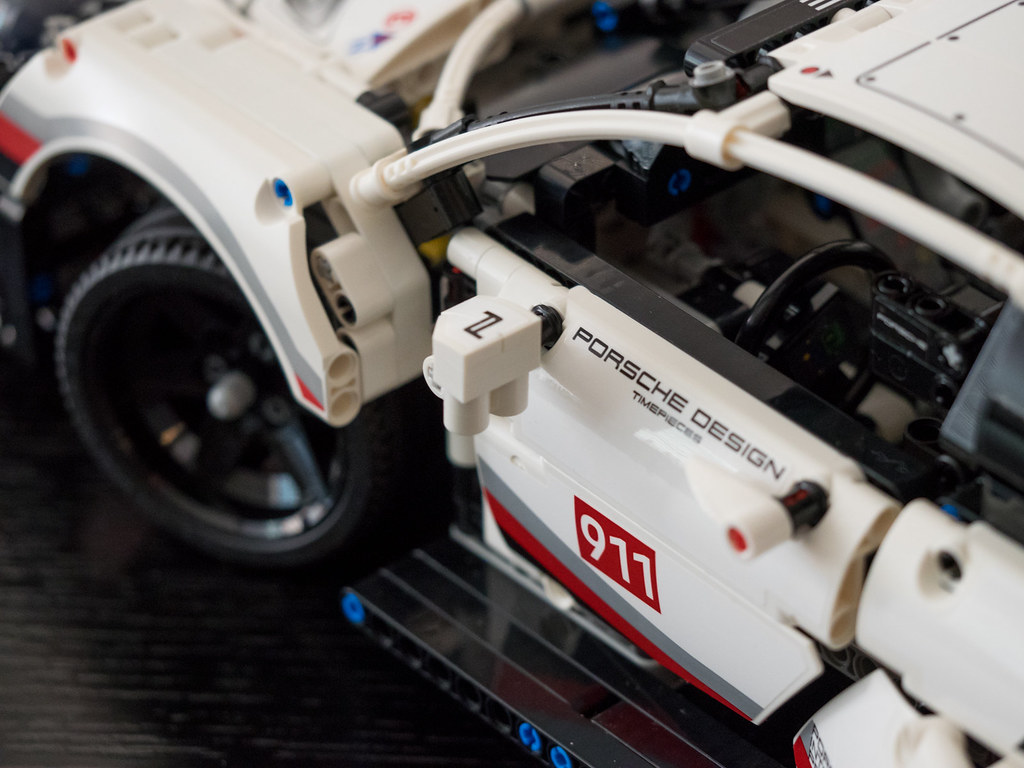
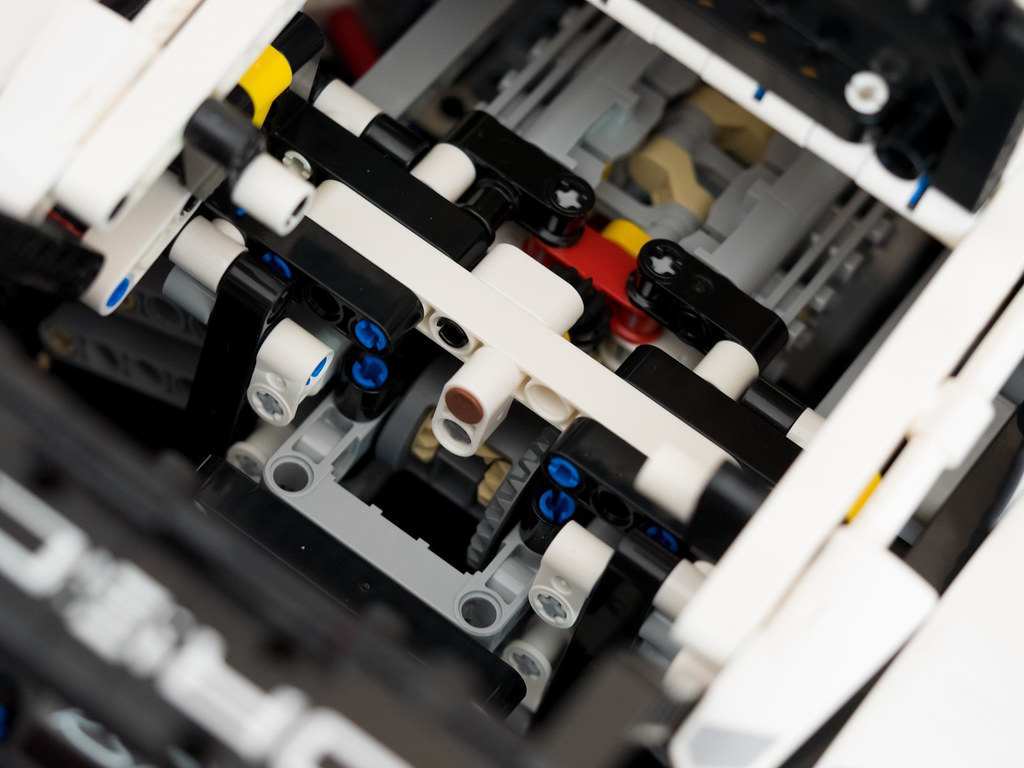
Today's post is a bit different from the usual. My wife bought me a Lego 911 Porsche RSR kit for my birthday last year but put off building it until this weekend since I wanted a "crappy weather weekend" to work on it. This kit is fantastic with a fully functioning suspension, steering rack, differential and even and engine with moving crank and pistons. There were over 1500 pieces and it me around 15 hours to complete. Unlike other Lego kits I've assembled in the past, the parts didn't come in nicely numbered bags to go with parts of the build so you can build a small chunk at a time. Instead, all the parts came in several bags and I had to sift through it all to find the various pieces. Thankfully, I wasn't missing a single piece and once I got a rhythm going, things progressed a lot more smoothly. Anyway, here's the final product (mostly to give me an excuse to bust out the macro lens).

Lego Porsche 911 RSR - 1-19-2020

Saturday, January 11, 2020

Spring in January

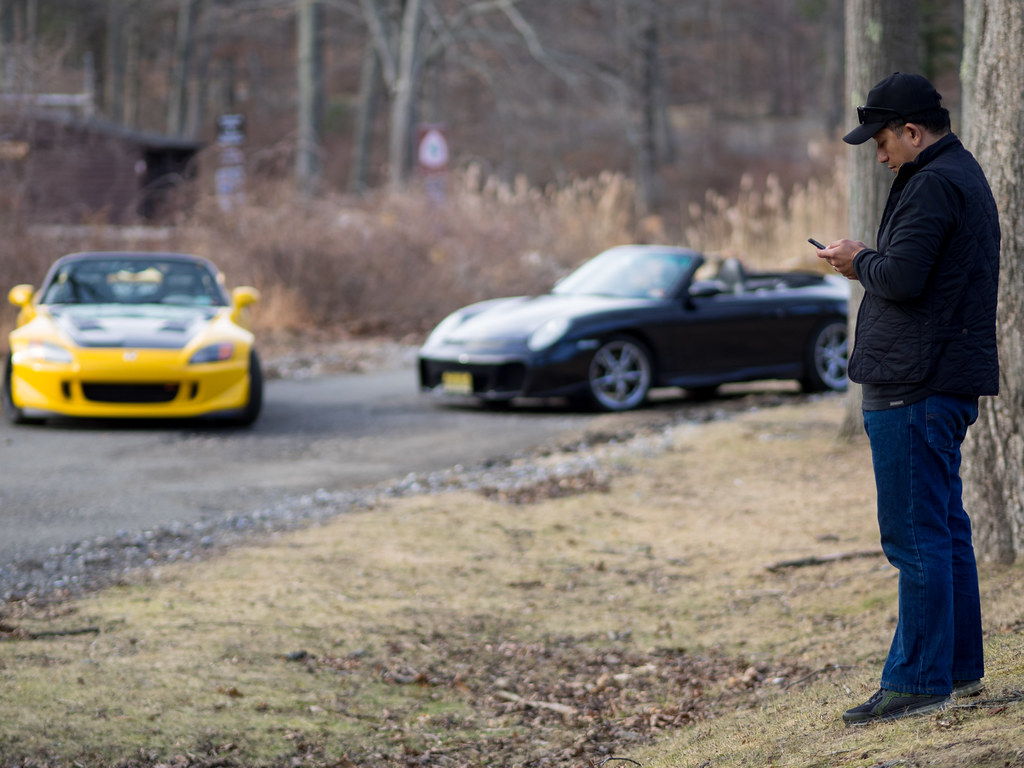
When temperatures touch near 70F in the middle of January, you know we're not staying home! Alex and I decided to take the convertibles out for a fun morning, driving around bear mountain. You can't complain when you can drive around with no top on wearing nothing but a hoodie in the middle of "winter". Of course, I was obligated to do a quick photoshoot to commemorate such a glorious day.

Bumblestook and Poached - 1-11-2020
Alex is probably car shopping again lol - 1-11-2020
Dirty but Happy - 1-11-2020

Saturday, December 28, 2019

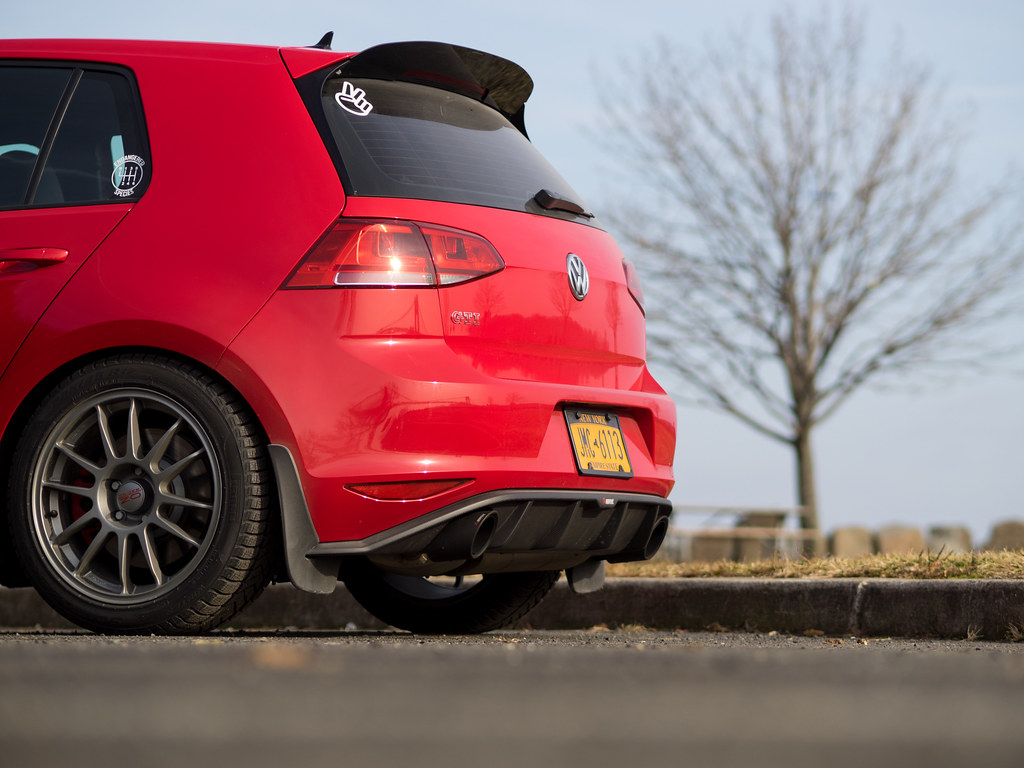
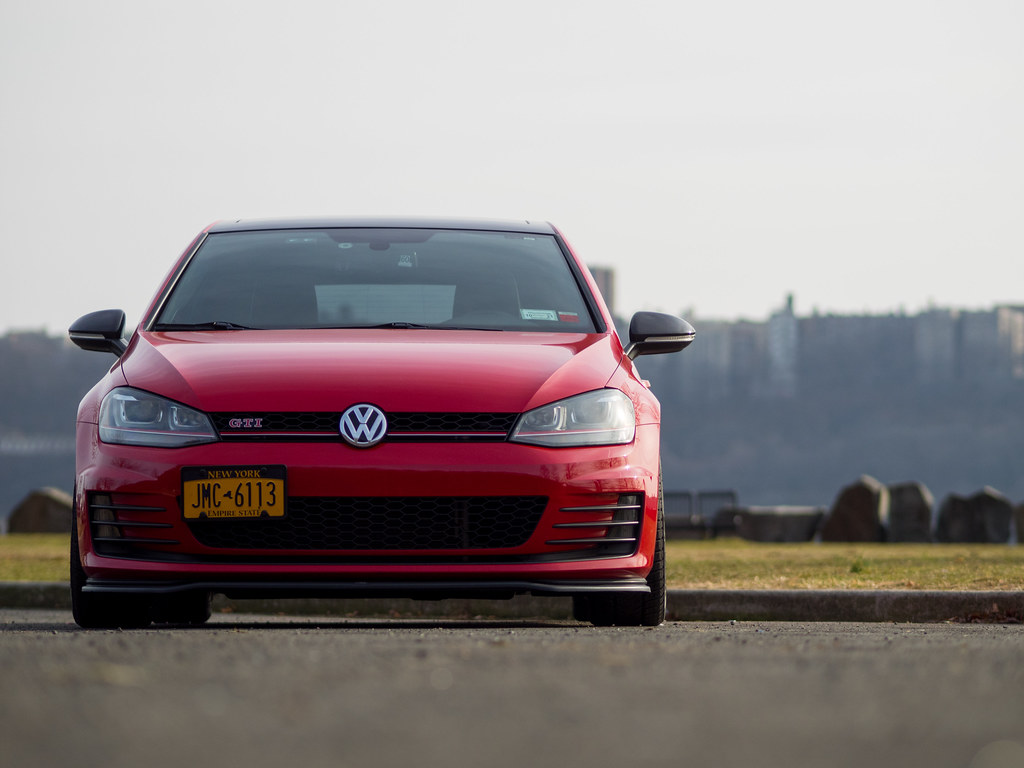
Impromptu GTi Photoshoot

I was driving around today with my "real" camera scouting for random spots for future photoshoots  and figured I might as well take one of the GTi now that she's all done. I have to say I do really miss shooting with a non-cellphone camera and appropriate lens setup (Olympus EM-1 with 75 f/1.8 and 12mm f/2.0). I even got to have a nice chat with a random guy who really liked the car. He was visiting from the Philippines and said they have a local VW Sportwagen club there so shout out to those peeps!

MK7 GTi "Chilli" - 12/18/2019
No detail shots today. The car was actually pretty dirty from all the random salt flying around off the roads but thankfully the red does a good job of masking most of it.

Friday, December 27, 2019

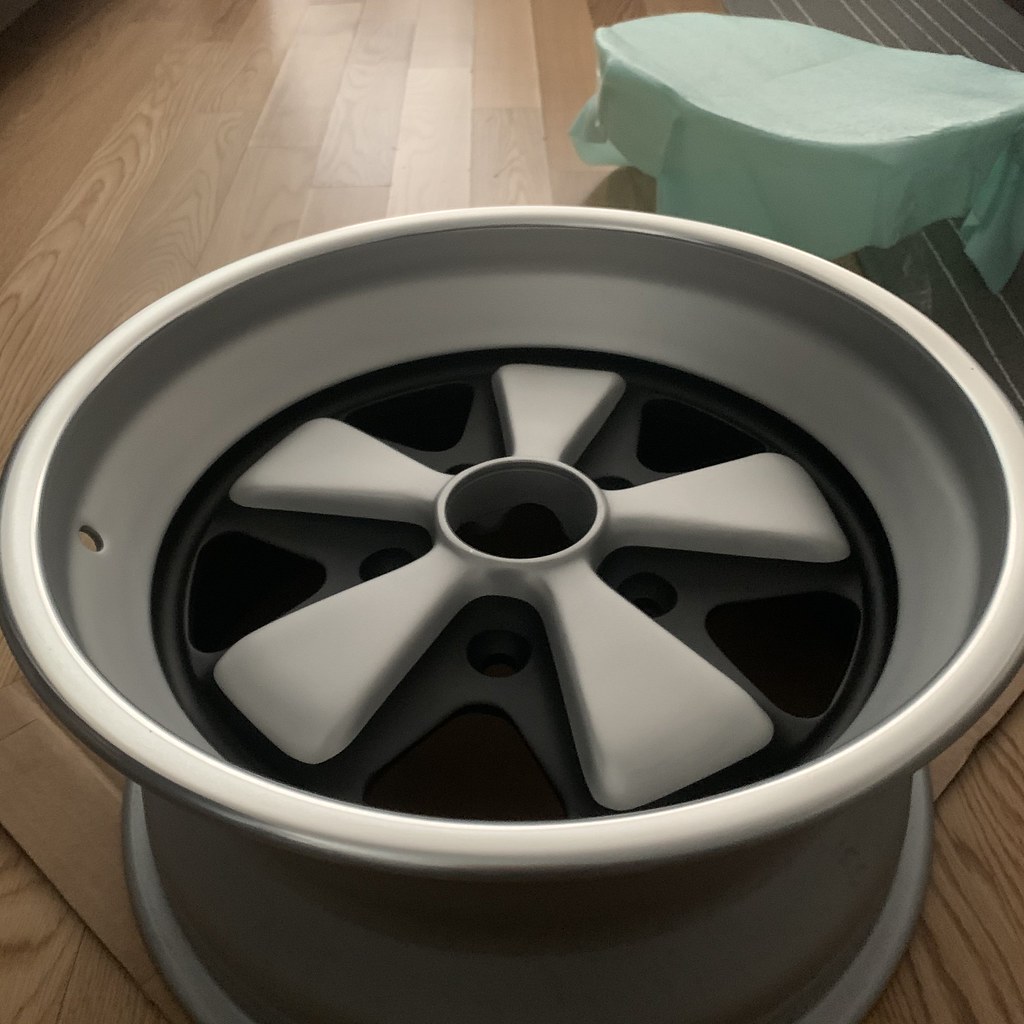
Fuchs RSR Finished Wheels

I wanted to get Fuchs wheels that were not finished in black for Scarlett but didn't want to touch the original wheels since I think those should be preserved. I also wanted slightly wider wheels for better stance and a fatter rear lip (I have the factory 16x6 16x7 optional wheels on the car now).

Fuchs 16x7 16x8 RSR frosted finish - 12/27/2019
I ended up coming across these and they're going to be perfect for the car. They're original (either 1979 or 1982 dated) original Fuchs wheels in 16x7 and 16x8 restored by Peter, a.k.a. "The Fuchs Guy", a.k.a. autoclub911 on Pelican, from SoCal.

Fuchs 16x7 RSR frosted finish - 12/27/2019
The following was done to them and they're absolutely gorgeous period correct wheels:

- Sandblasted
- Polished
- RSR Frosted Prep
- Anodized
- Painted

Fuchs 16x8 RSR frosted finish - 12/27/2019
As these are of course forged wheels, they weigh in at just 13.4lbs and 14.8lbs for the 16x7 and 16x8 respectively. Too bad they'll be tucked away until the end of the build but wheels make or break the look of the car and I'm really glad I finally found the wheels I wanted.


Thursday, December 26, 2019

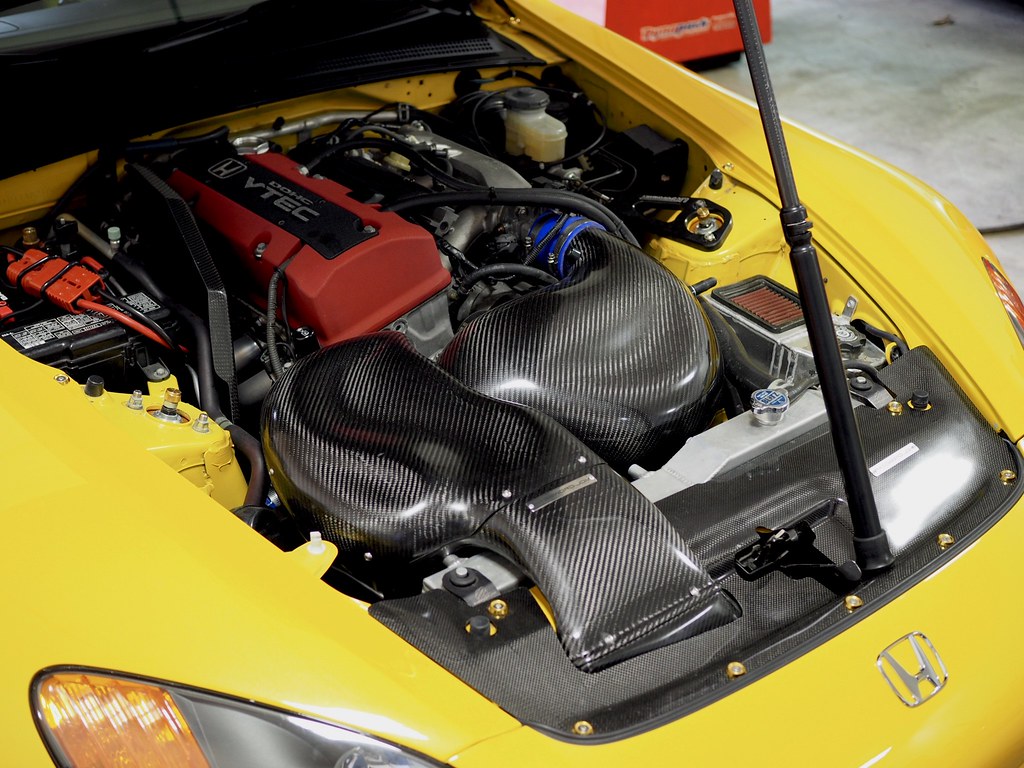
Color correct intake coupler

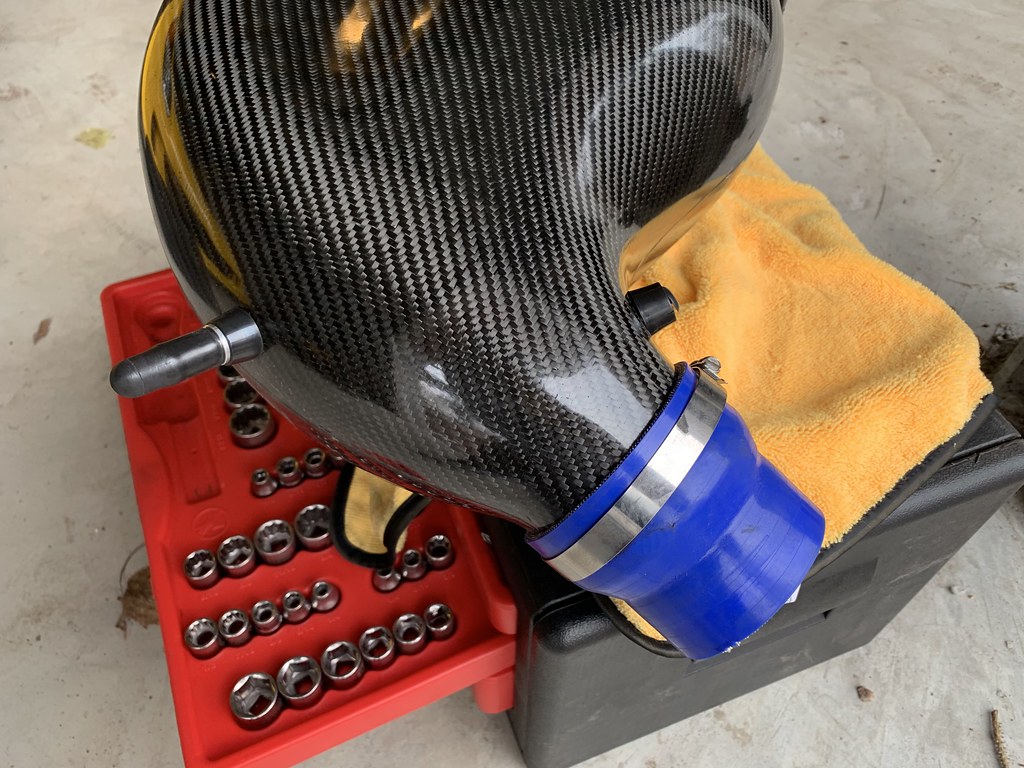
One thing that's been bugging me for over a year now is that the PasswordJDM intake for Bumblestook arrived with a blue silicon coupler. There's nothing wrong with it functionally but it looks completely out of place in an otherwise black/yellow/red engine bay.

Time to say goodby to the blue coupler - 12/26/2019
I picked up an appropriately sized Vibrant Performance black coupler hose earlier this year which is 2.5" to 3.5" ID and 3" long but just never had a chance to put it in. Now that it's winter and there's nothing else to do, I figured the long overdue "fix" had to get done now.

Vibrant Performance black coupler - 12/26/2019
Getting the old coupler off was a bit of a chore as the combination of it being on there for a year and the cold weather meant it didn't want to budge. After a few minutes with a heat gun, the silicon softened enough for me to pull it off then it was relatively easy enough to put in the new one. It did need some coaxing to get the throttle body side on but with some stretching it finally went on.

Much better looking engine bay - 12/26/2019
Older pic with the blue coupler for reference
I know it seems pretty mundane but I'm actually really glad Bumblestook is, for all intents and purposes, "done", so I actually love the fact that all I really have left to do in any given year are small fiddly bits like this and maintenance.

Saturday, December 14, 2019

Akrapovic Rear Diffuser, P3 Gauge and More Maintenance

I received the Akrapovic dry carbon rear diffuser weeks ago but simply didn't have time to put it on. It's the final exterior piece I wanted to change the look of the GTi and to do it right I knew I needed to get it on a lift and enlist the help of SJF Performance. The OEM rear valence was a bit of a pain to remove but mostly because we did the install without removing the rear bumper so getting to some of the tabs was more challenging. Although the rear diffuser had great fitment, the holes for the screws were off by a few millimeters so we had to file them open a bit more. I also have OEM mudflaps that obviously weren't made for having a diffuser so SJF had to trim it down to make it work. The tips were a bit too close to the diffuser which both didn't look great and would probably result in scratches later so SJF used some washers to space them out a bit and now they're at the perfect distance.

Akrapovic dry carbon rear diffuser - 12/14/2019
I think it looks awesome back there with the Akrapovic titanium axle back. It's a subtle design that really doesn't call for any attention but is a nice detail when someone takes a closer look. The craftsmanship is perfect, not a single misplaced weave. It truly sets the bar for quality of carbon fiber pieces for me going forward.

Akrapovic dry carbon rear diffuser - 12/14/2019
There were also two maintenance items I wanted to get done that I've been procrastinating on while all the other work on the car was getting finished. The first was replacing the transmission fluid. I simply didn't have any record of it being changed but the stuff that came out seemed to be fairly clean so someone must've changed it at some point. I just don't like not knowing how old the fluids are in my cars. Whoever changed the transmission fluid previous also did a fantastic job overfilling it so I'm glad we got this done so now there's the correct amount in there (around 2.3L).

Fresh transmission fluid - 12/14/2019
The same was true for the Haldex diff. I didn't want to chance old fluid being in there since the car now has over 52k miles so I picked up a nice diff fluid replacement kit from shopdap which conveniently included a nice bit of fill hose and brand new fill and drain plugs and gaskets. I'm also glad we did this because the drain bolt was hand tight (loose) so that was a big no no.

Fresh diff fluid - 12/14/2019
Finally, I went to go visit Alex and while he was working on his car, I decided I might as well pop in the P3 V3 ODB2 vent gauge I bought during Black Friday. It's a pretty nifty gauge that'll let me see some engine parameters easily. I'll admit I mostly got it because I thought it looked cool but it does have the added benefit of being able to show and clear CEL codes that might crop up...a useful feature for anyone that owns a VAG product. The installation was fairly straightforward since I ordered the unit with a complete replacement OEM vent. I just had to pop out the old vent and run the wire through the side panel similar to what I did with the dashcam installation to run the connector to the OBD2 port.The match in both color and style is OEM so I'm very happy with it.
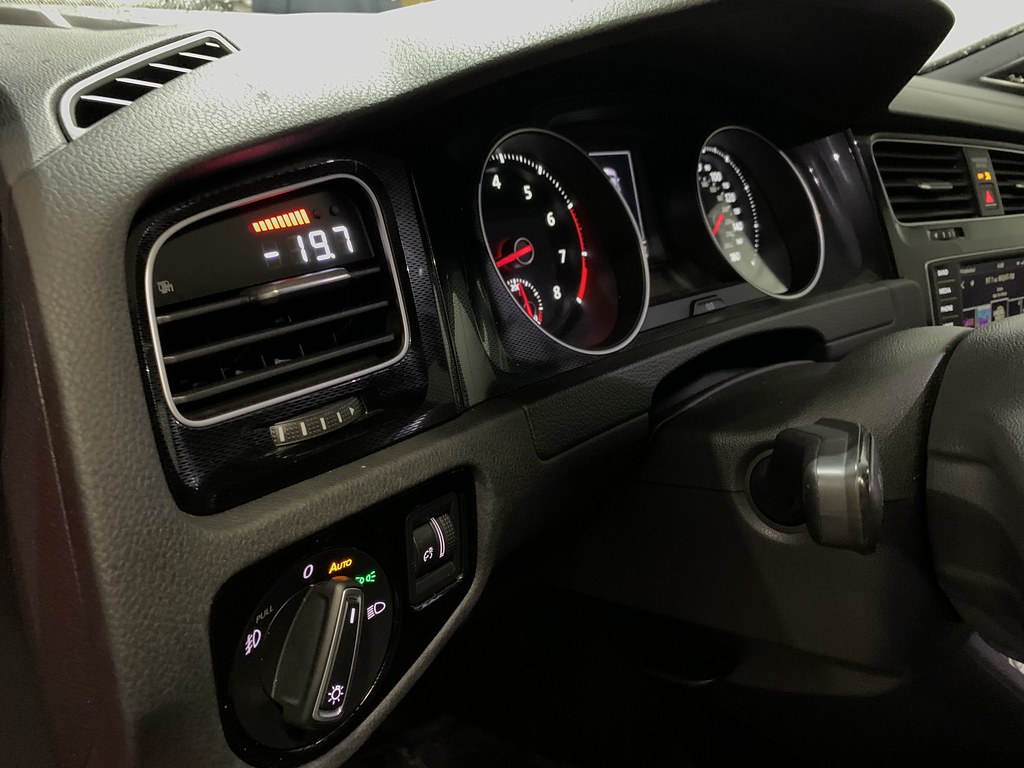
P3 V3 OBD2 vent gauge installed - 12/14/2019
I'm pretty much done modding this car and I'm enjoying driving it a lot. I did finally receive the auto folding mirrors but that's going to be an annoying install so I'll wait until I'm a bit more bored to work on that mini project. Now I can focus all my attention on the 911 when it arrives.

Maintenance Updates:

Mileage: 52,294

- Transmission Fluid Change
- Differential Fluid Change