Wednesday, January 31, 2018

Suspension, Brakes and Exhaust

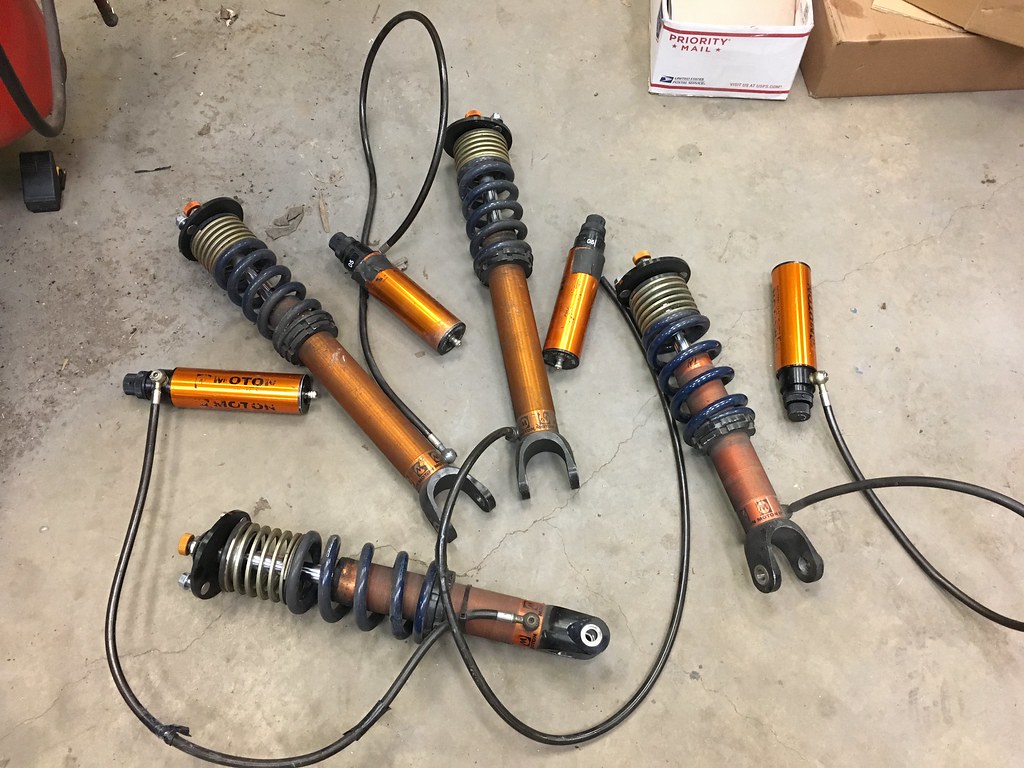
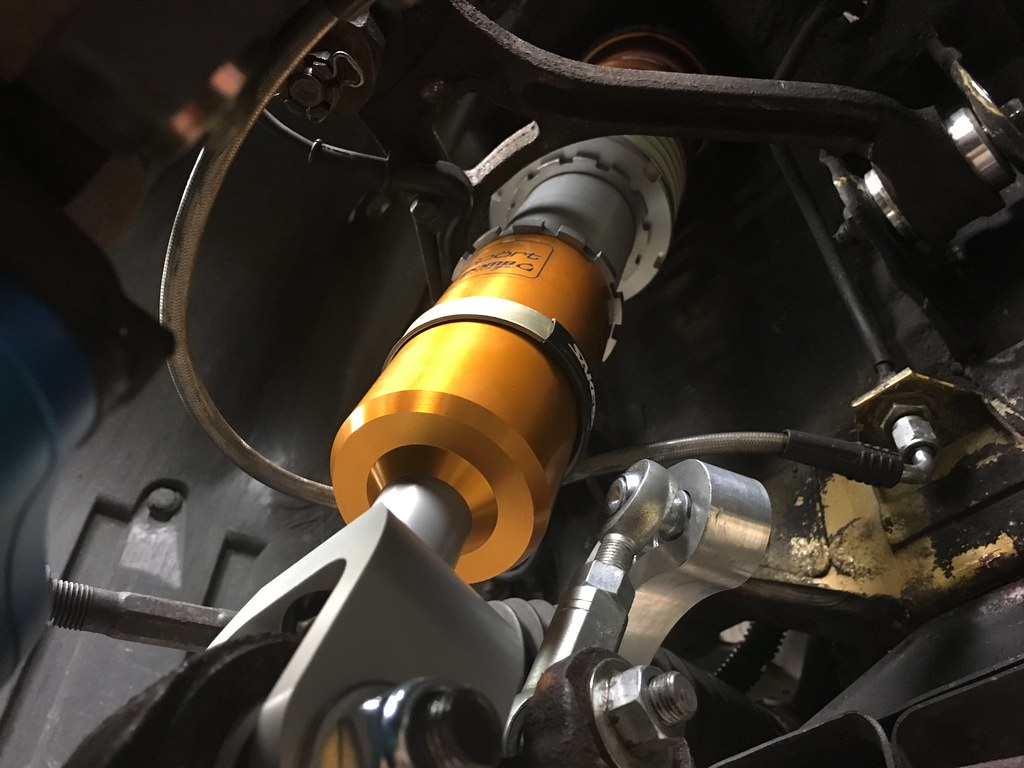
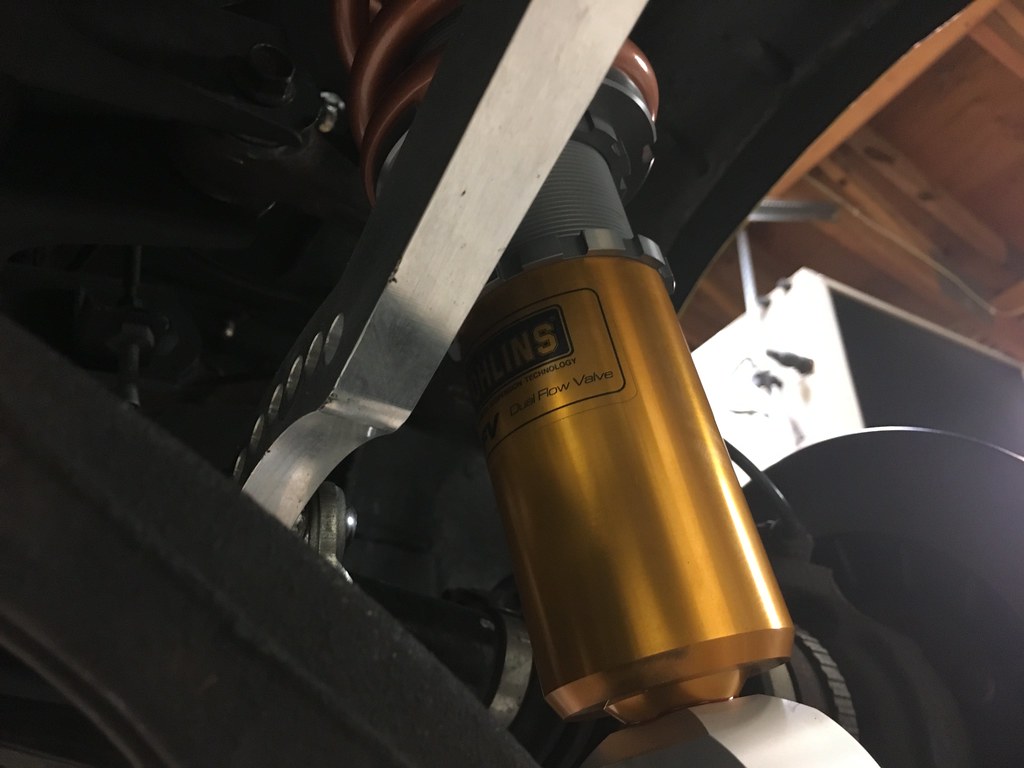
Some more major pieces got put in the car the past few days starting off with the Sakebomb Garage FPSport Spec Ohlins DFVs with Swift springs and remote rear adjusters. The major differences between the standard out of box factory Ohlins DFVs and this set are:
  • Custom valving
  • Custom Billet 6061 aluminum lower mounting forks (stronger and lighter)
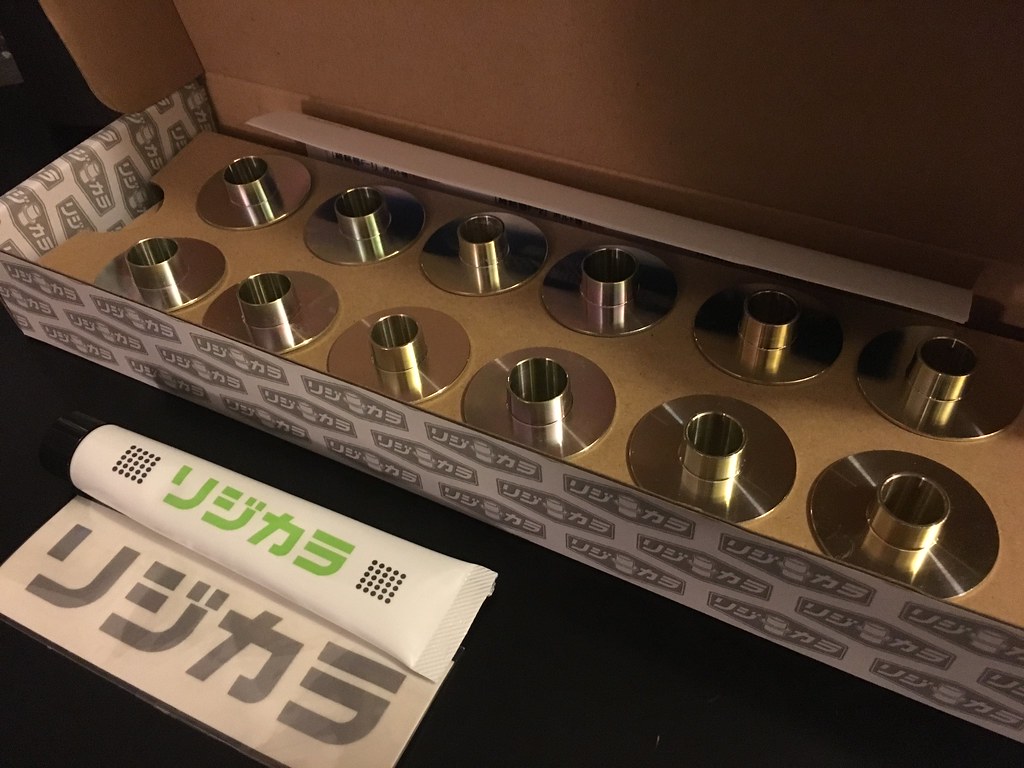
  • Custom Billet 6061 aluminum top hats with spherical bearings
  • Swift 13kg/mm 6" front main springs with 0.8kg/mm helper springs
  • Swift 11kg/mm 8" rear main springs
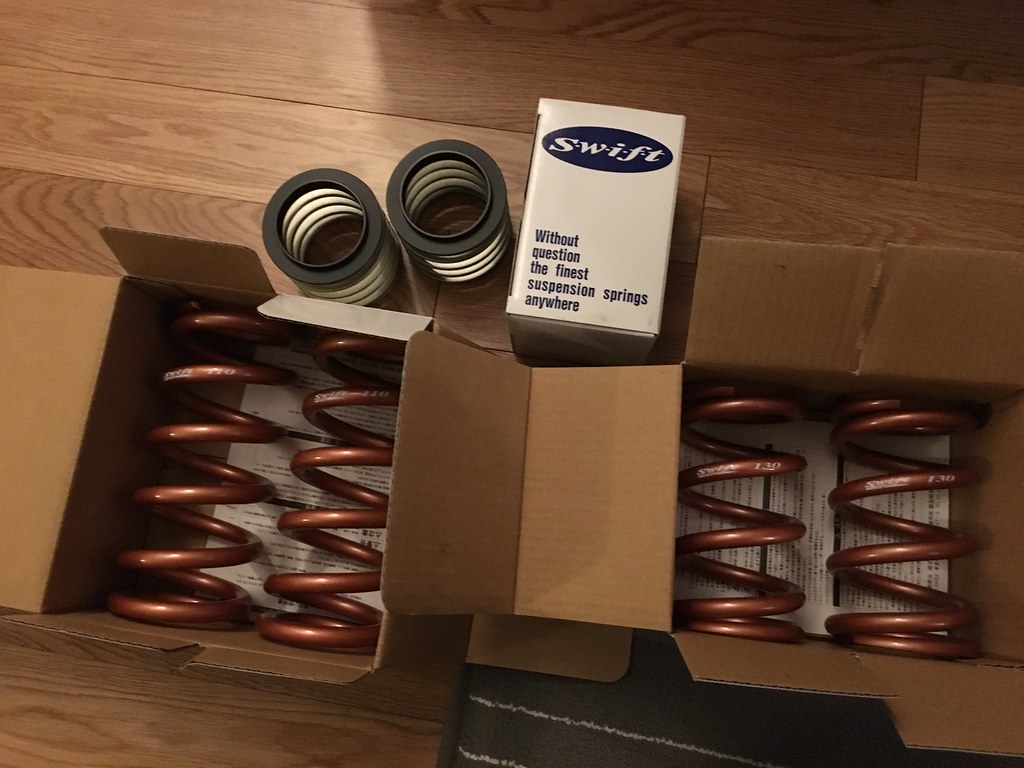
This kit normally comes with Ohlins 11kg/mm springs all around but from past experience setting up my S2000s I prefer different springs rates so I had Sakebomb Garage change it for me in my order. I went with Swift springs because they're able to achieve the same spring rates with fewer coils making for a lighter setup. 

Front shocks and springs installed - 1/31/2018
Rear shocks and springs installed - 1/31/2018

Swift springs and helpers
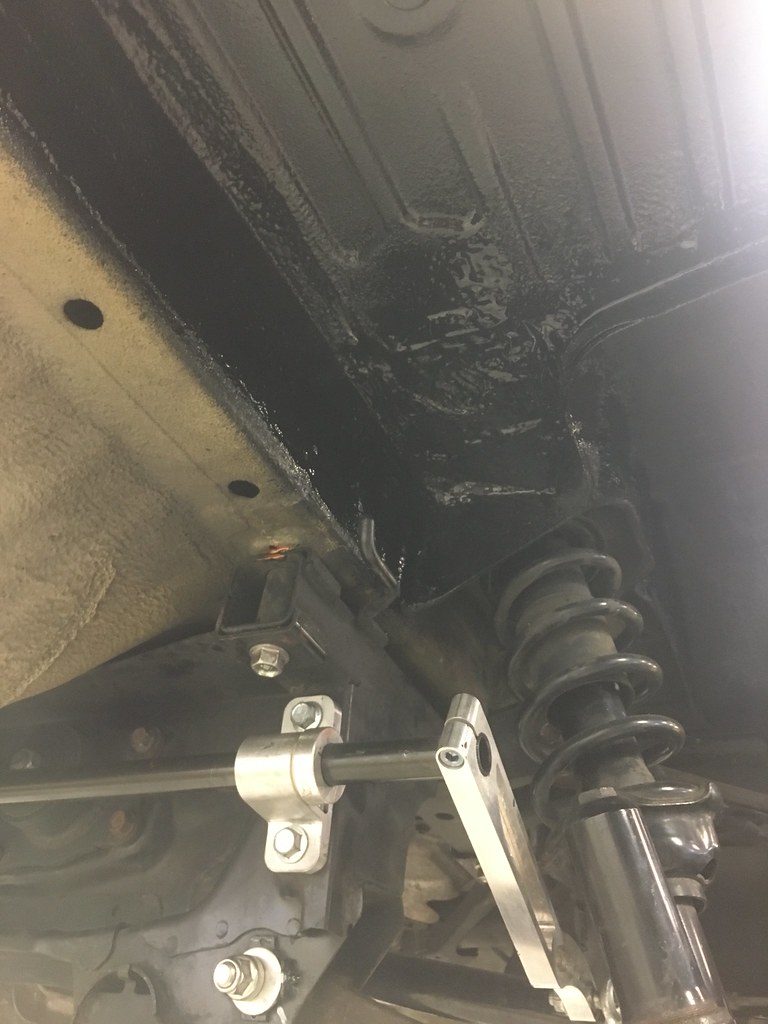
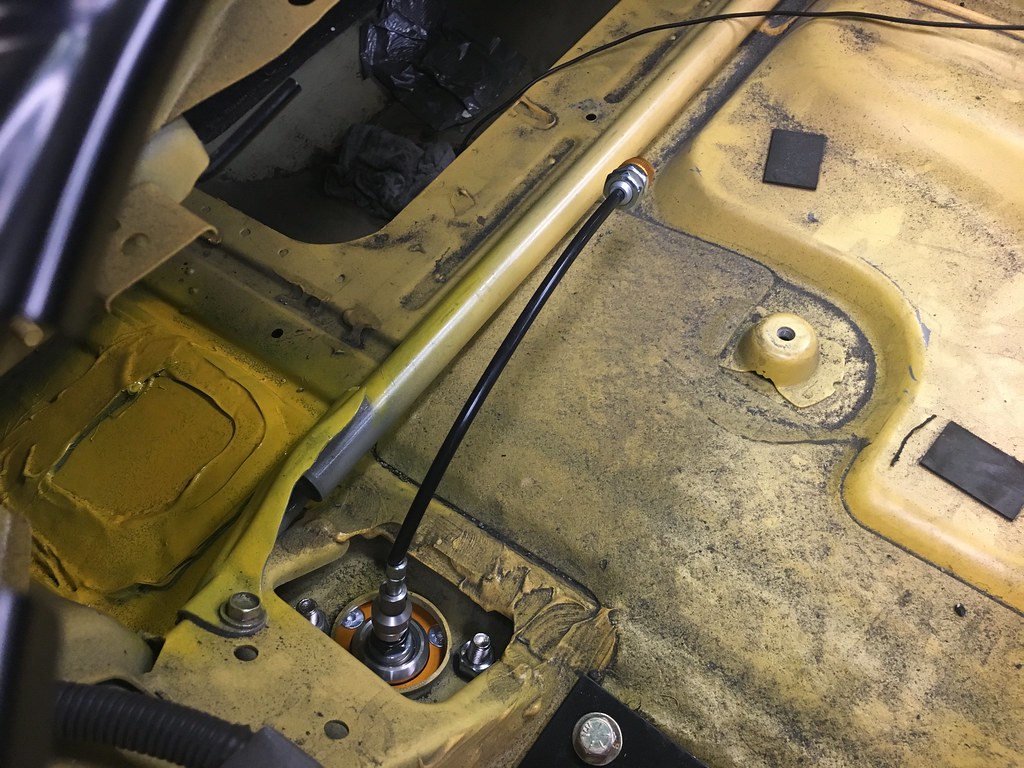
The remote rear adjusters are nice because it means not having to yank the trunk liners in order to make adjustments once I get to suspension tuning later this year. The only issue is that Ohlins apparently changed the diameter of the adjusters on the newest batches of shocks they shipped so the adjusters that Sakebomb Garage makes no longer fit. They offered to replace it but SJF simply widened the hole a tiny bit in order to make it work. If it works, it works!

Remote rear adjusters installed - 1/31/2018
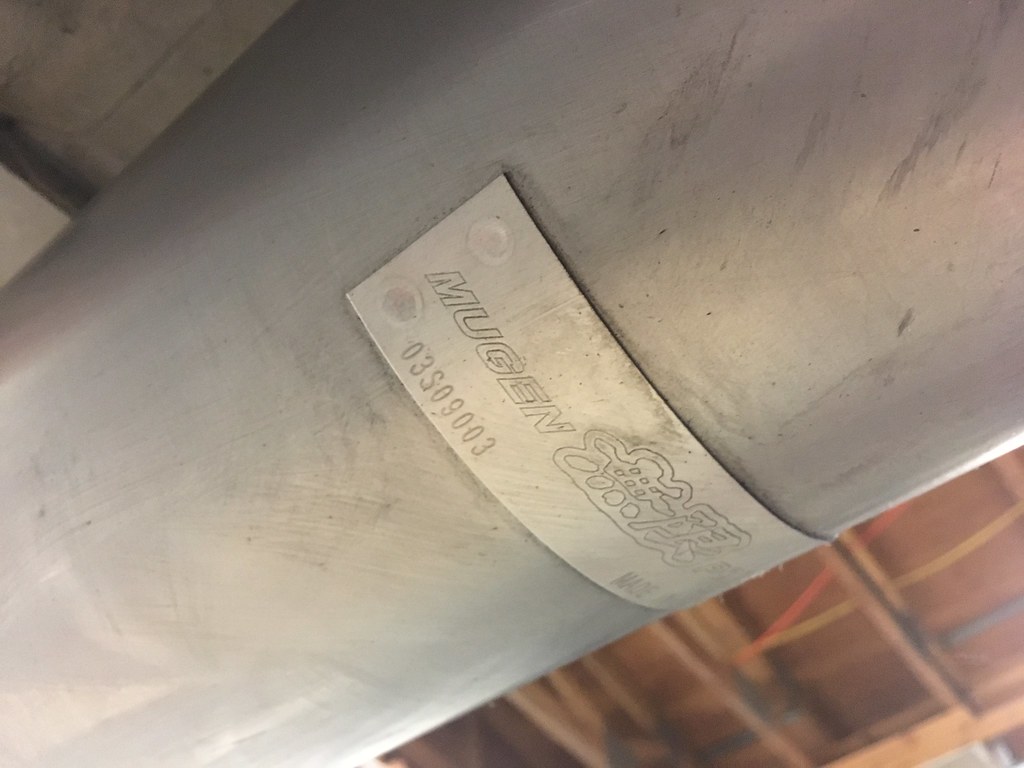
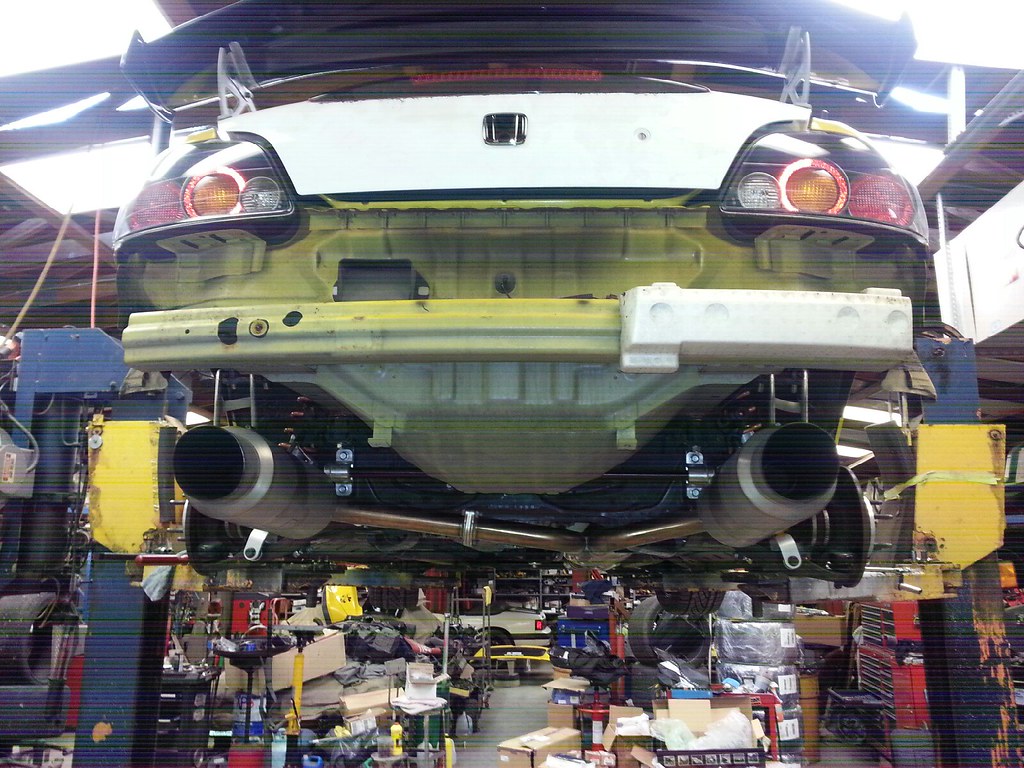
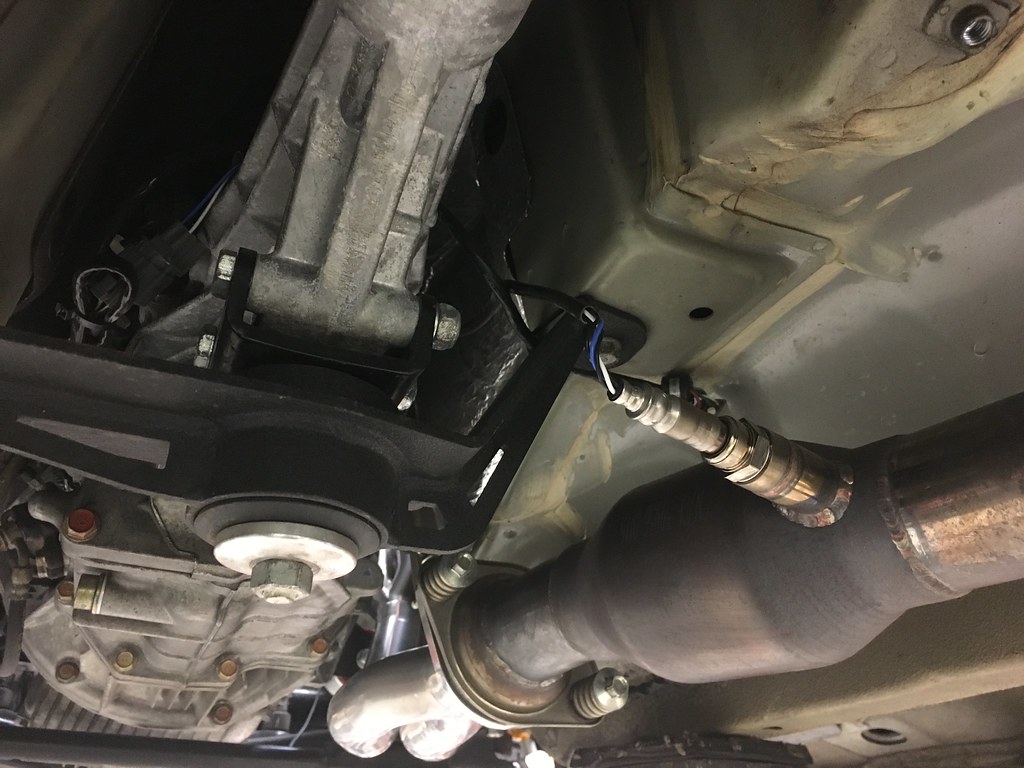
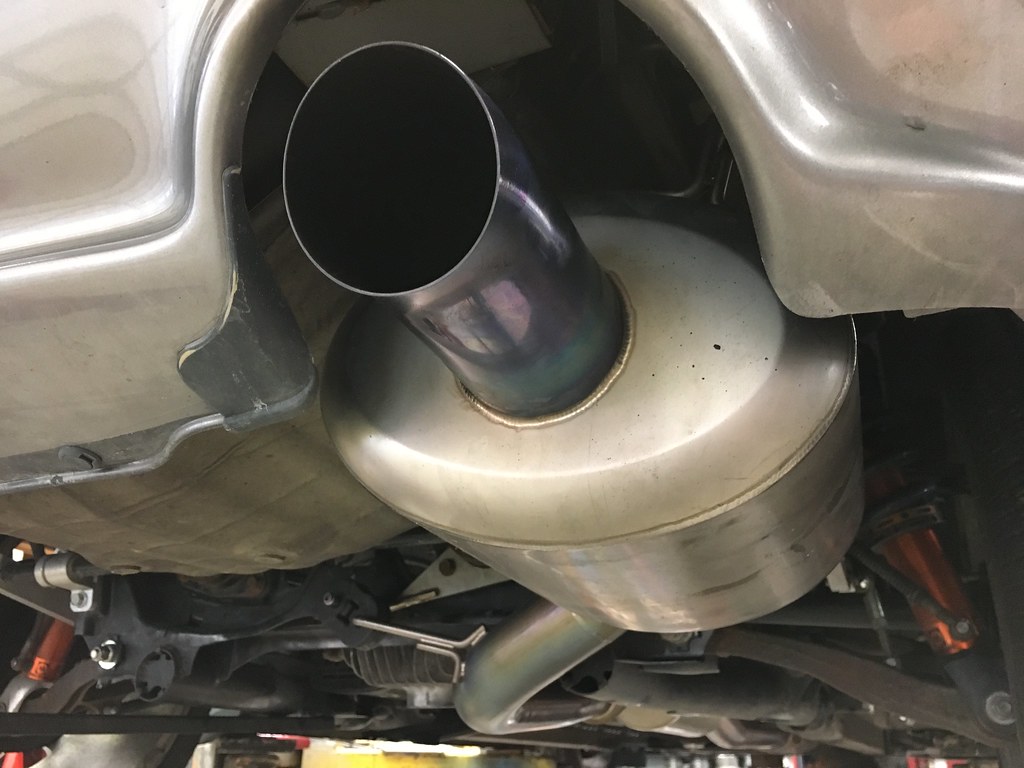
To get back to being street legal, Lupa's old Berk 67mm high flow cat and Mugen Titanium Sports Exhaust was installed. You can clearly see the theme here that I'm consolidating all the Mugen goodies into Bumblestook. I think the Mugen exhaust is the best street exhaust made for the car. It looks and sounds great. Under normal driving conditions it's not loud at all with just a slight rumble but when you get it on, it screams.

Mugen titanium sports exhaust installed - 1/30/2018
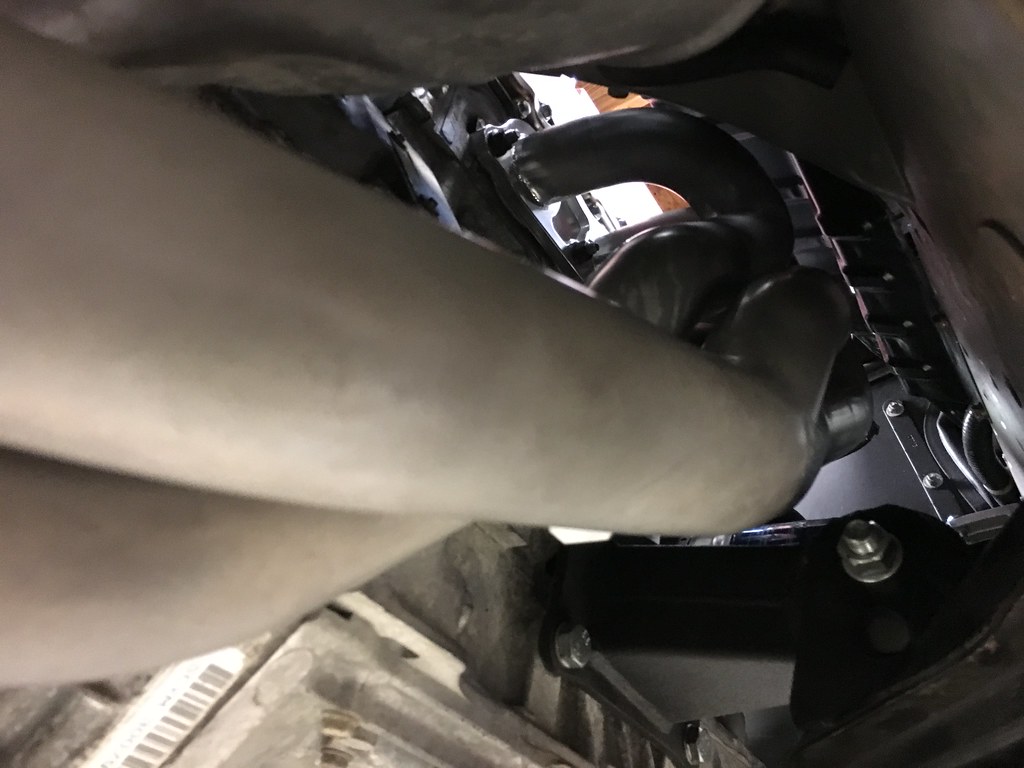
Berk HF Cat installed - 1/30/2018
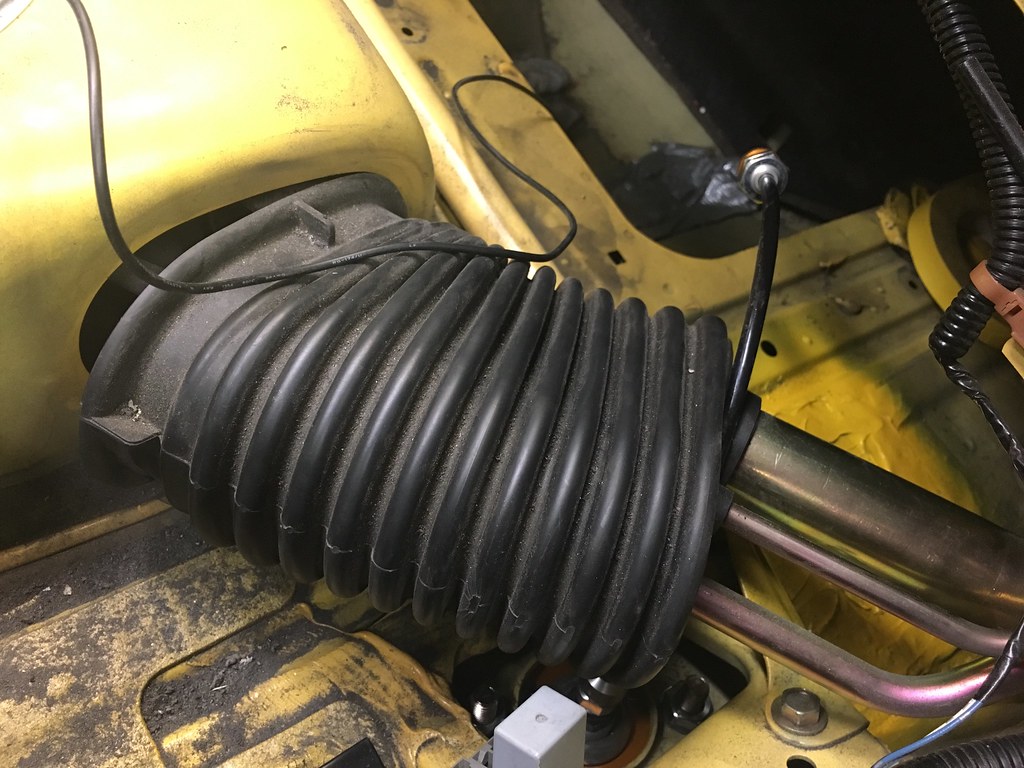
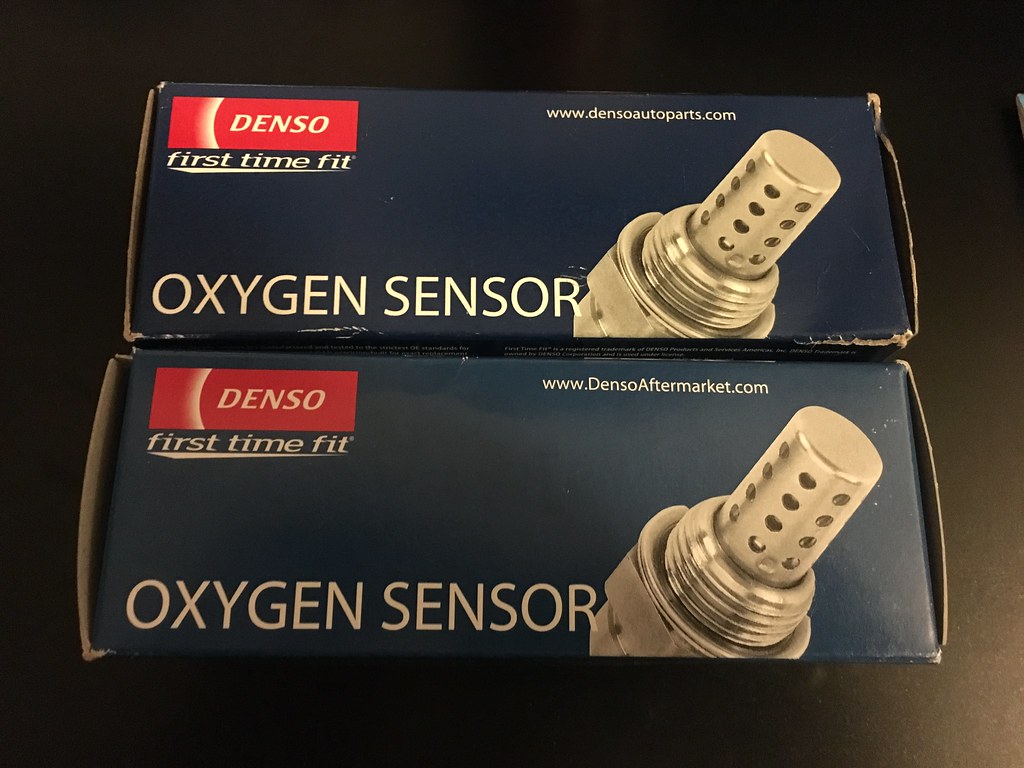
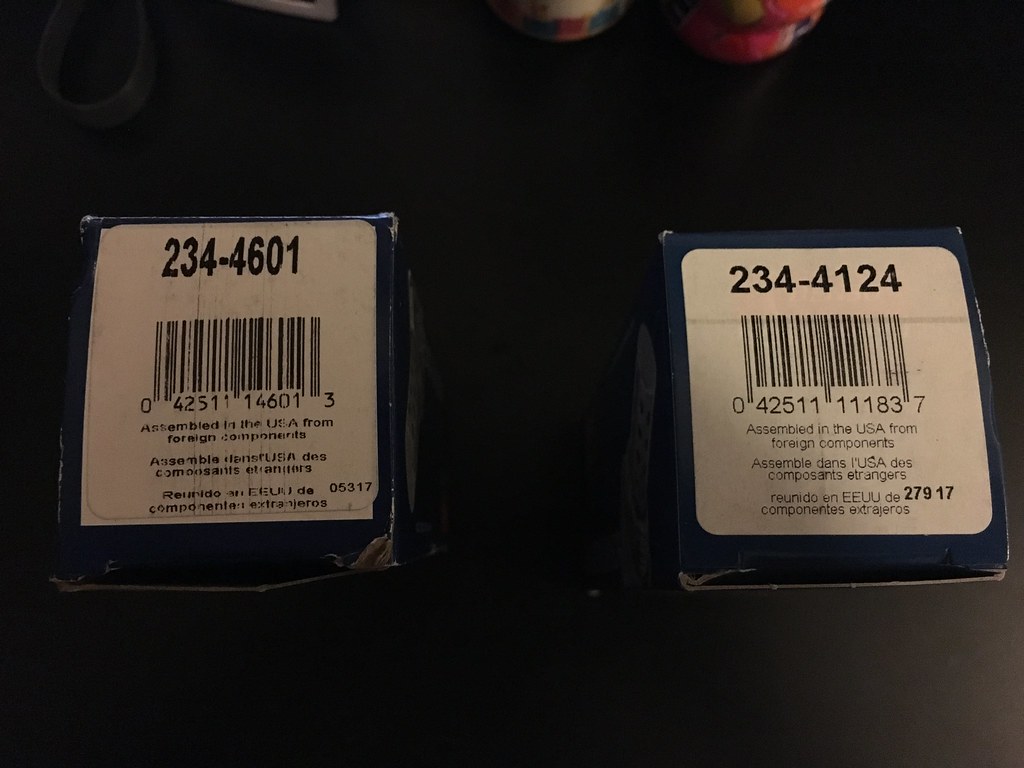
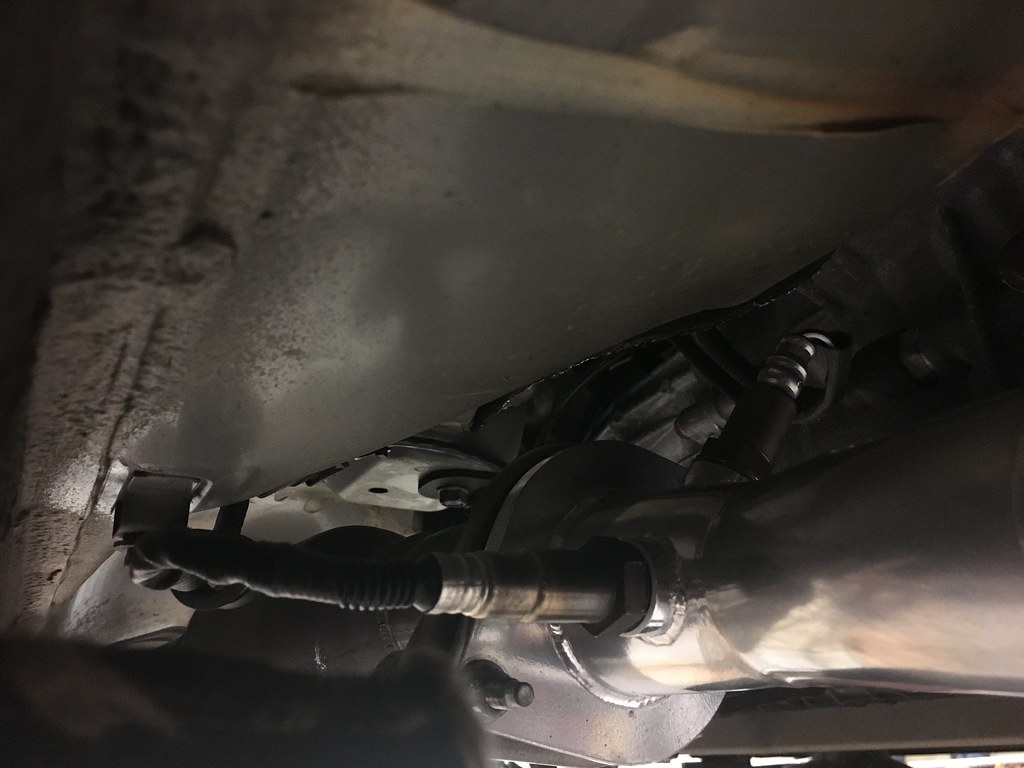
Since Bumblestook no longer had stock primary and secondary O2 sensors (the Haltech was running from a wideband on the header only), I got some new O2 Denso sensors rather than OEM ones. Denso manufactures the sensors for Honda anyway and it didn't make much sense to spend four times more on OEM when people have been running the Denso equivalent just fine. For reference the part numbers for 2000-2005 S2000s are:

Primary O2 Sensor: Denso 234-4124
Secondary O2 Sensor: Denso 234-4601

New primary and secondary O2 sensors 
New Primary O2 and wideband O2 on Toda Header
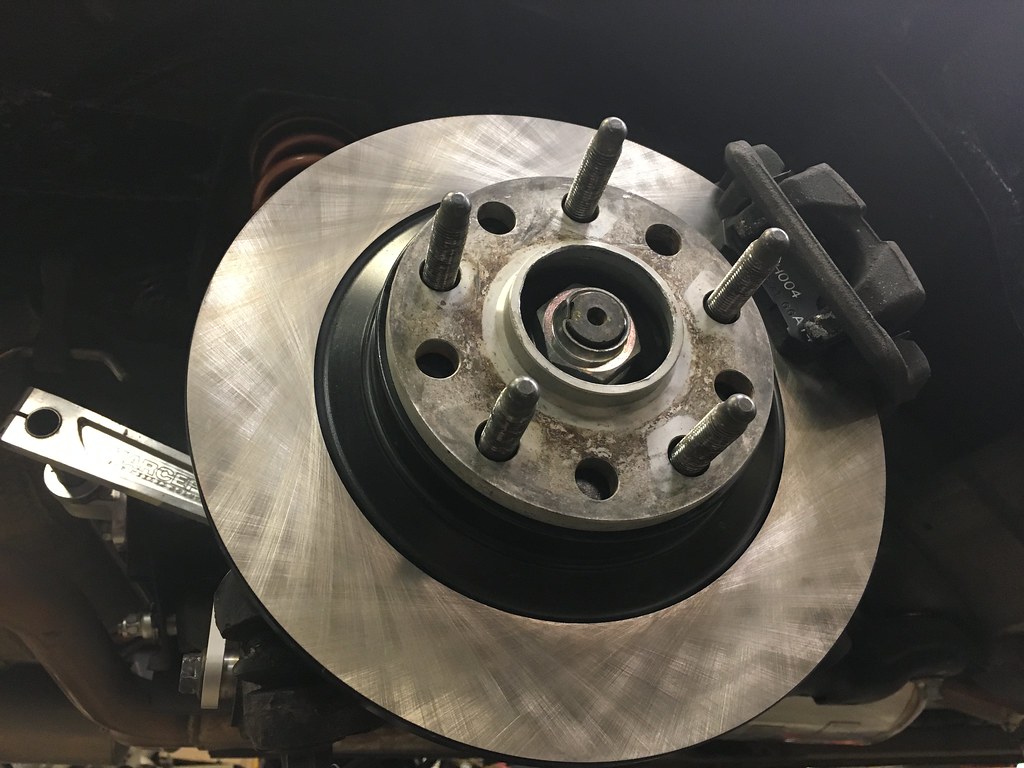
I decided that for her normal use we'd go back to stock brakes so while SJF waited to bring over the front brake ducts, new rear rotors and OEM pads were installed.

New rear rotors and OEM pads - 1/31/2018
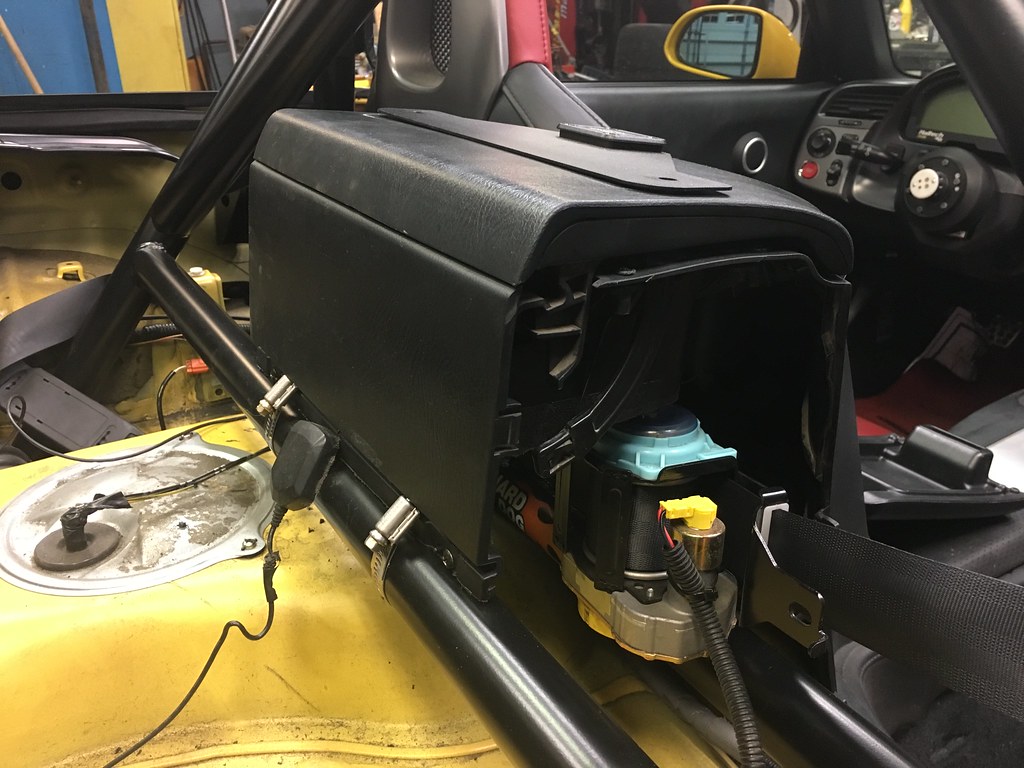
Finally, SJF did a really sweet job of hacking up the spare glovebox I got to reduce the gutted look of the interior. It covers up the replacement bulk heads and OEM seatbelt reels while still preserving the use of the main glove box and the smaller part of the secret compartment. It also means the 12V outlet and trunk release are in their stock locations. Coincidentally, reinstalling the glove box means I'm also able to reinstall the Modifry camera mount. The sides are open for now but we're thinking about using a sheet of painted lexan to tidy that up a bit more.

Re-installed modified glove box - 1/30/2018
There a lot more work left before she'll be where I want her to be. On projects like this things tend to evolve a little as you work on the car and additional things to fix or improve upon while the car is under the knife but so far the vision is starting to become a reality.

Sunday, January 28, 2018

Safety First

Progress continues on the Bumblestook GT build. This weekend we took off all the rear interior to put in the harddog double diagonal roll bar. Bumblestook previously had the same rollbar back when she was a track car so all the holes and backing plates were still in there making some of the work a bit easier.
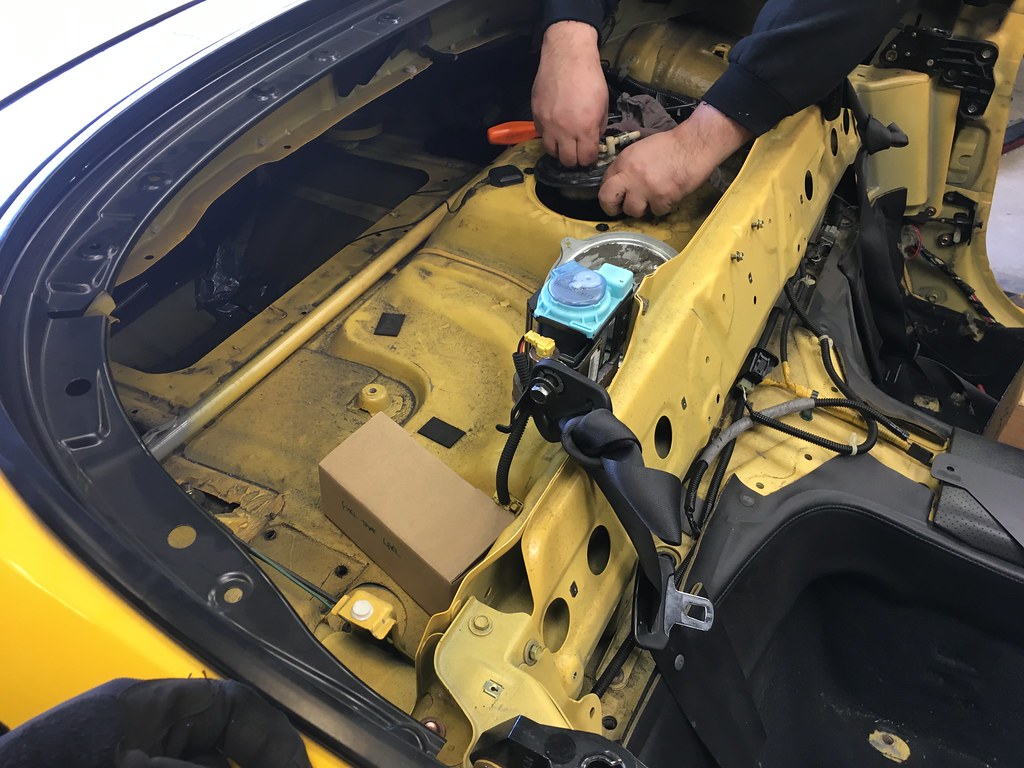
Gutting Rear - 1/27/2018
Ethanol seems to do a number on the stock fuel level sender and the fuel gauge was no longer accurate (never showing full even if you fill up the car) so I got a new sender. This is an easy job with the interior out of the way since the fuel tank is directly accessible.
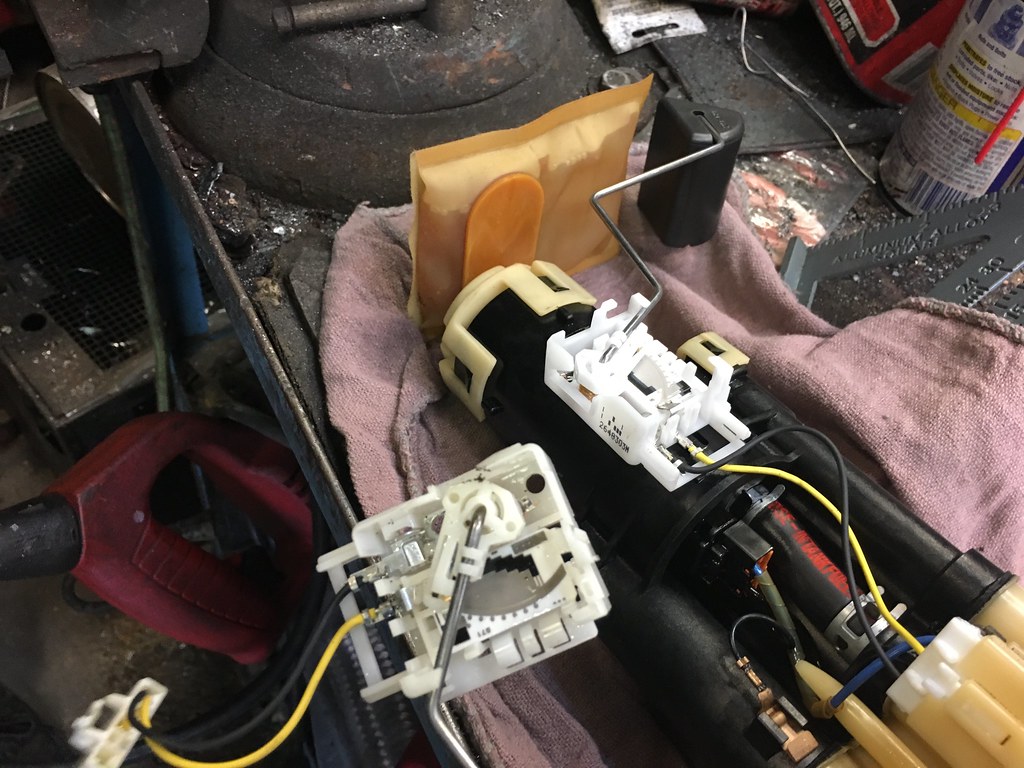
New fuel level sender installed - 1/27/2018
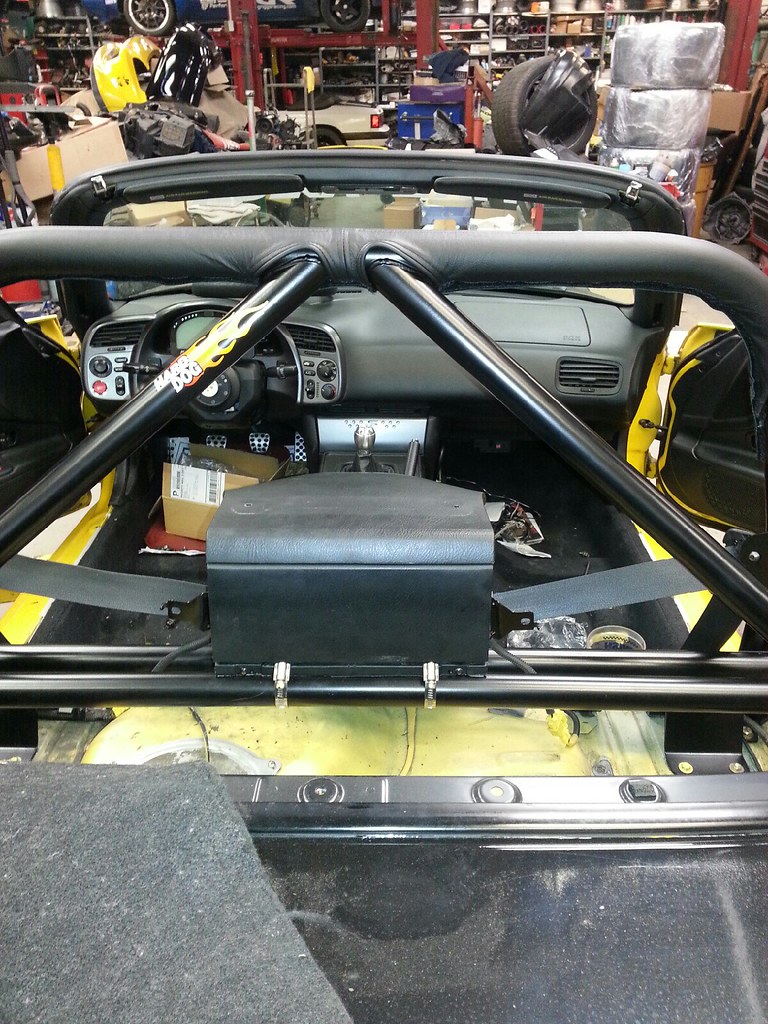
Unlike her previous track focused setup, even though the rollbar is now in, we're not leaving the rear gutted. The CR Tonneau cover is going back on but trimmed to clear the bar. The glove box is also getting trimmed to go back in but only to hide the OEM seat belt spools and keep the trunk release and 12V outlet in their stock locations.
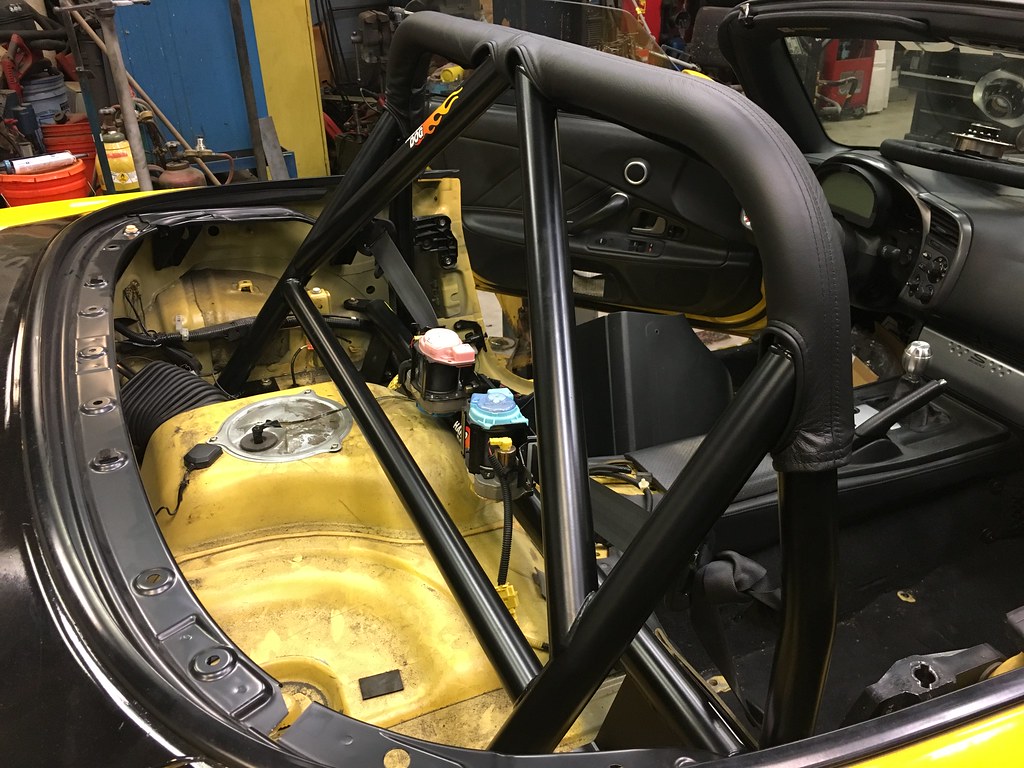
Rollbar and replacement bulkhead installed - 1/28/2018
CR Tonneau cover temporarily off - 1/28/2018
About 6 years ago I cut holes in the trunk to put the external canisters for the Moton shocks in the trunk (at the time Moton doubles that are now on Lupa). This is probably one of the main things I regret having done to the car and with the Motons uninstalled it was time to permanently seal this. SJF cleaned and then welded the hole shut and put seam sealant and a nice layer of undercoating. There's no way water is going to penetrate this and introduce rust in the body.
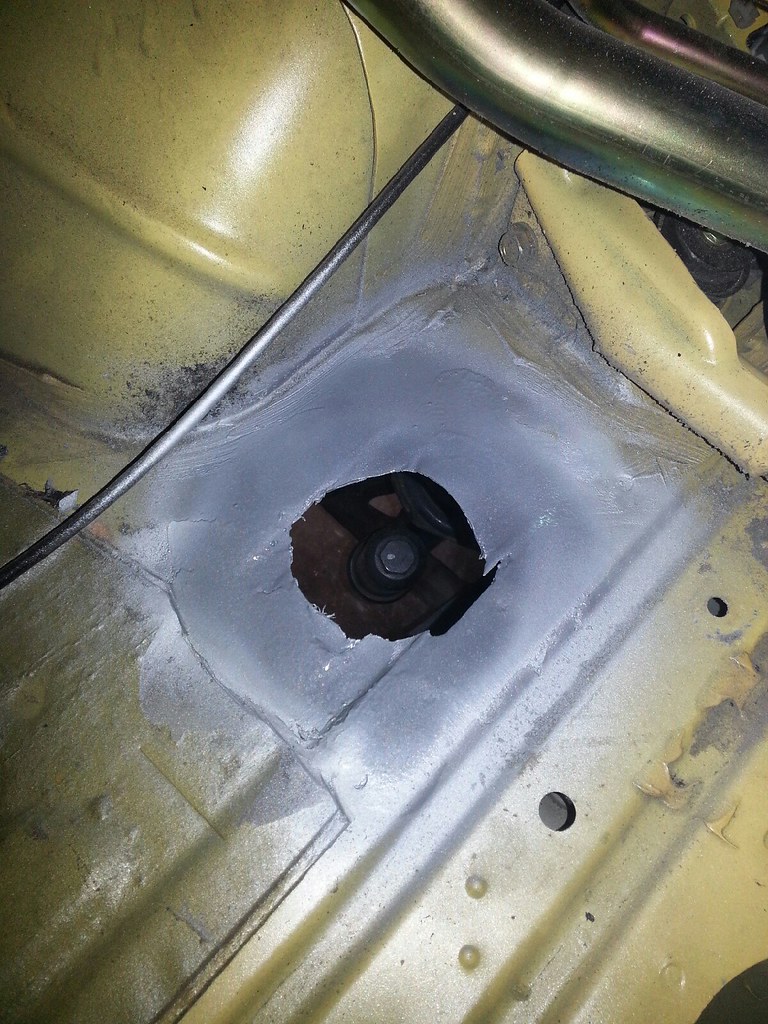
Holes cleaned up and prepped for welding - 1/23/2018
Holes welded shut, seam sealed and undercoated - 1/25/2018
While all this was happening, I enlisted Jenna, Steve's daughter, into this project to take all the decals off the car. I mean, who wouldn't want to spend a few hours using a heat gun to pull off every single decal from the car. It's so much fun!
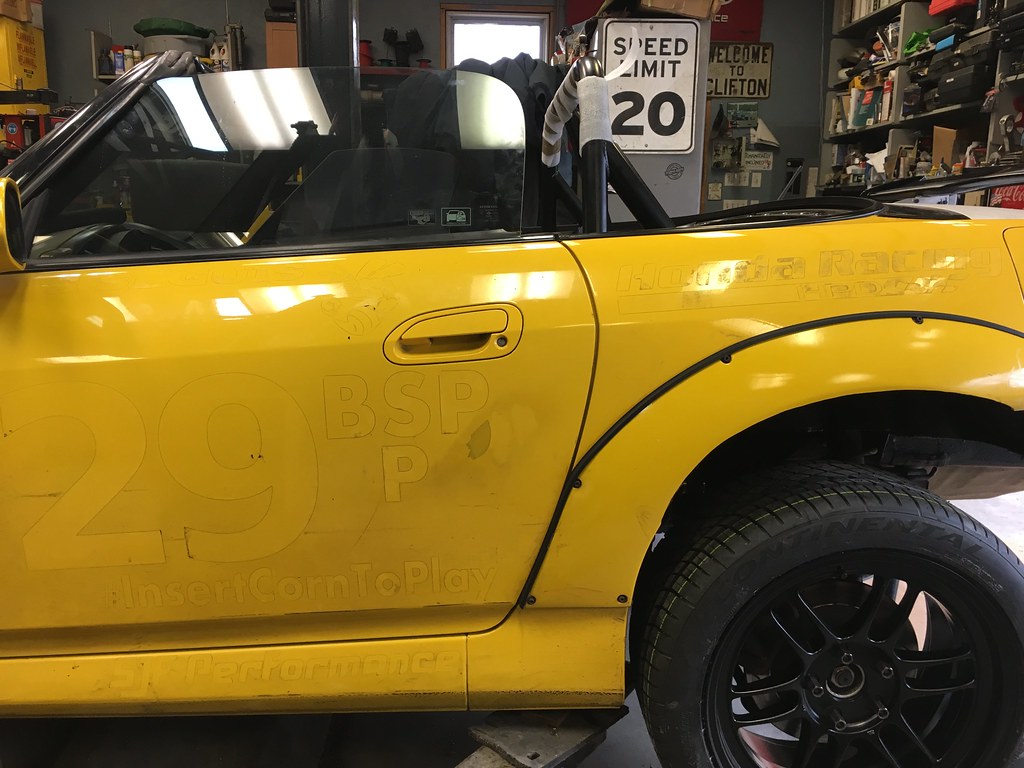
Decals off for the first time in many years - 1/28/2018
With all the control arms now fitted with spherical bearings, one other issue I wanted to address was the subframe movement that we would always observe during alignments. To take care of this, Spoon Sports rigid collars and new subframe bolts were installed on both front and rear subframes. This should tighten things up and prevent any shifting from occurring.

Spoon Sports Rigid Subframe Collars

Spoon Sports Rigid Subframe Collars

Last week, I picked up a used trunk and test mounted the Mugen SS wing. The car is looking a bit clown-like with all these different colored panels but it's a necessary evil. She'll look good again after her new paint job.
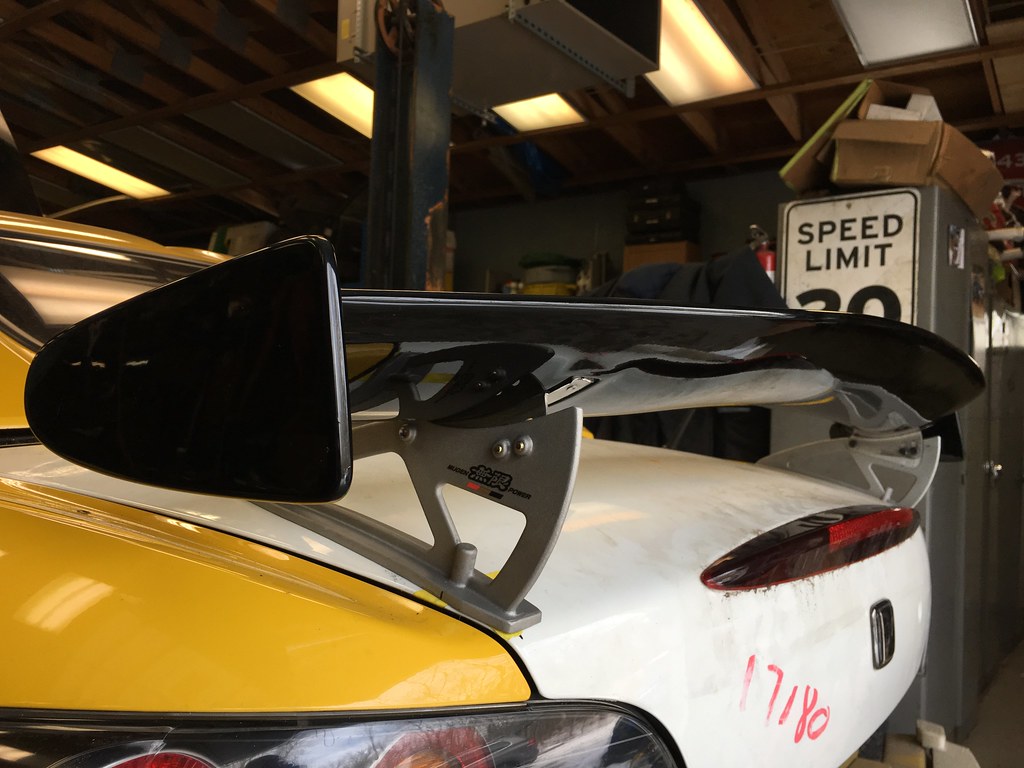
Mugen SS wing mounted 1/20/2018
In preparation for the brake installation, I had to replace the 17x9 +63 949 Racing 6ULR wheels she was rolling on with a staggered set of Enkei RPF1s. The 17x8 +45 wheels are needed up front to clear the Spoon calipers but I left 17x9 +45 in the rear which are more optimal for the 255/40/17 square setup. This is obviously just my "winter" wheel/tire setup. The Volk CE28SLs now have Lupa's old Bridgestone RE71Rs mounted but they aren't going on until the Spring.
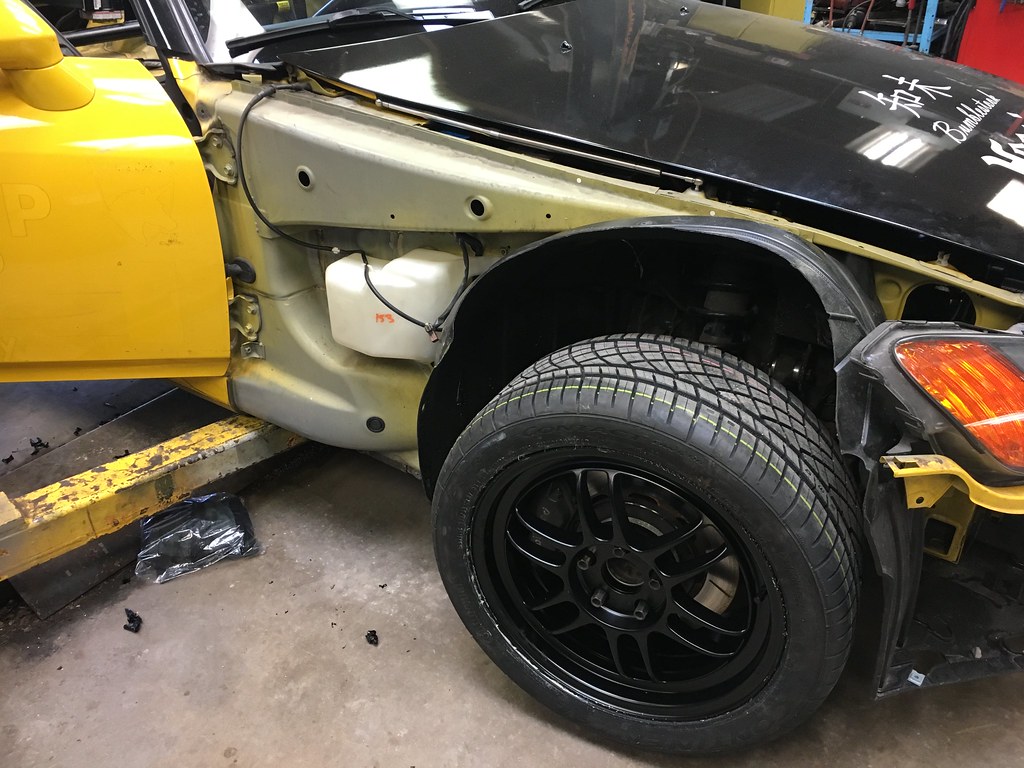
17x8 and 17x9 +45 Enkei RPF1s with
255/40/17 Conti DWS all around - 1/28/2018
255/40/17 Bridgestone RE-71R mounted on 17x9.5 Volk CE28SL 
The major hold up right now is the fuel system. New fuel lines should be arriving soon and I'm still missing A/C compressor mounts and some other parts for the A/C system but I expect to sort that out shortly. In the meantime SJF is going to put on the FPSport spec Ohlins DFVs I picked up from Sakebomb Garage and replace the brakes with all new stuff. There's still a lot to do but I'm starting to see the light at the end of the tunnel.
Friday, January 19, 2018

Stripping Down and Control Arms

Some progress has been made since last week. First thing was to remove body panels that are either being replaced or in the way starting off with the front and rear bumper covers as well as the fenders.

Getting Undressed - SJF Performance - 1/15/2018
The Moton triples were removed since they are getting sold and while I'm waiting for her new suspension setup to arrive, the stock ones were put back on so that she can move under her own power if needed. It'll be sad to see the Motons go as they were such an integral part of the Bumblestook performance package but they're going to another racer so I'm happy they're at least going to be used for what they were built for.

Bye Moton Triples - SJF Performance - 1/15/2018

SJF also installed Bumblestook's original control arms now fully replaced with spherical bushings from Ballade Sports. The roll center adjuster plate for the Hardrace offset camber joint can now be put back in so good geometry can be maintained once she gets lowered again.

Control Arms and RCA back in - SJF Performance - 1/15/2018
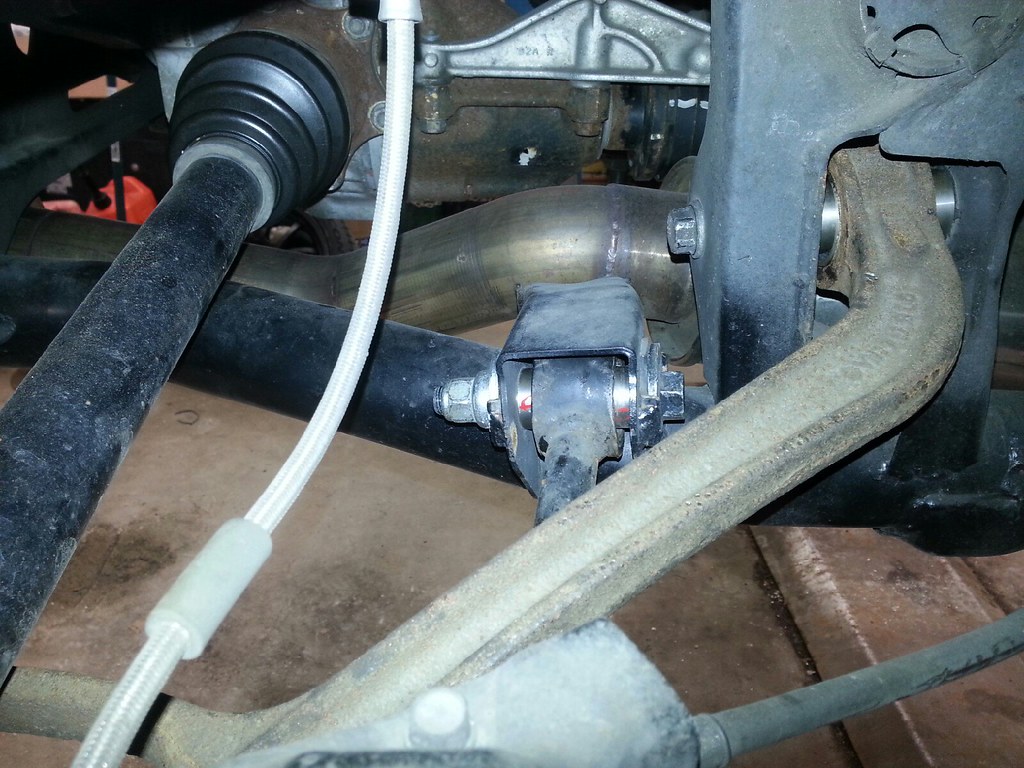
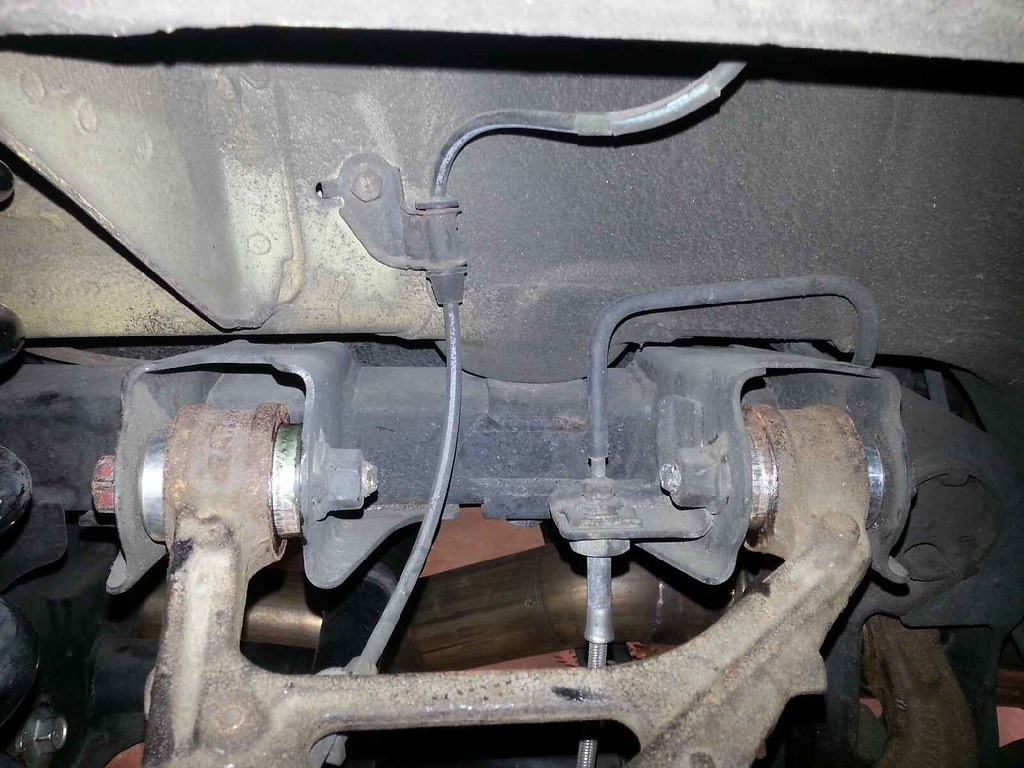
Toe Link with Sphericals - SJF Performance - 1/19/2018
Rear Control Arms - SJF Performance - 1/19/2018
More parts are streaming in as we identify parts that we'll need or I come up with new hair brained ideas but I still need to pick up the trunk and rear bumper that I located. At least the weather is cooperating so I expect more progress will be made this weekend. In the meantime, "Project Simplify" is continuing as planned. Lupa has moved to her new location in a 2-car garage anxiously waiting for Bumblestook to join her.

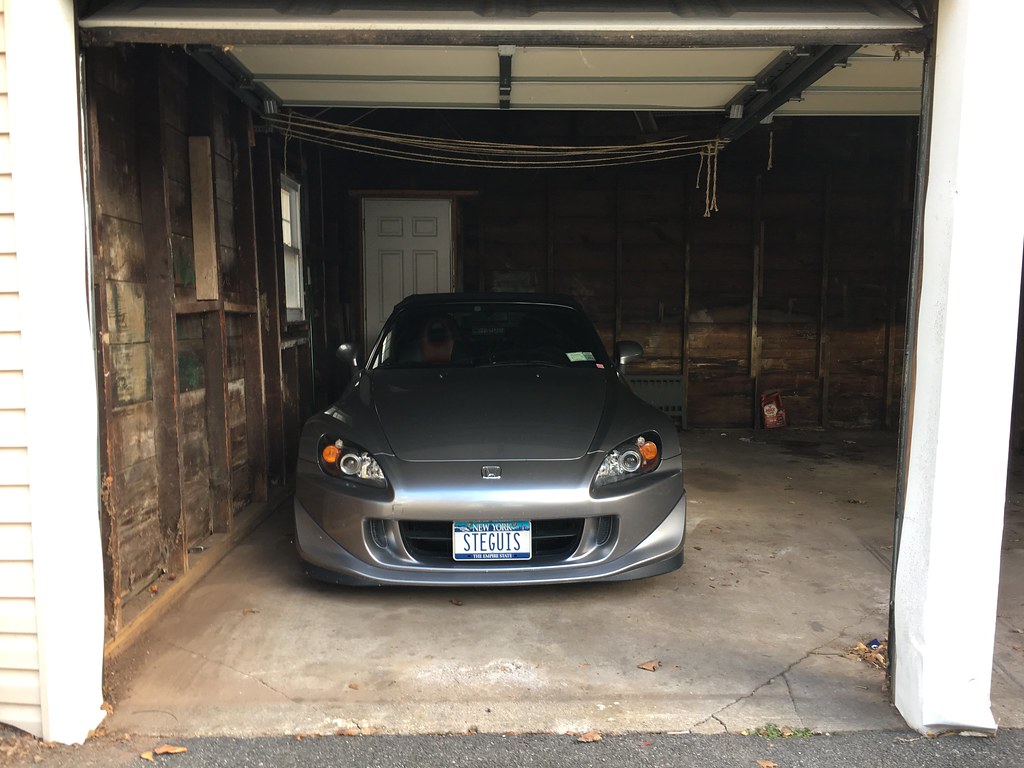
Lupa waiting for Bumblestook 

Saturday, January 13, 2018

One S2000 To Do It All

It's been almost 6 weeks since I announced the retirement of Bumblestook from nationally competitive autocross but I was pretty vague with the details on what she'd end up being other than making it clear she wasn't going to go back to stock or be sold. Now that I've finished the build sheet and the parts have mostly all arrived, I can share a bit more about what our plans are.

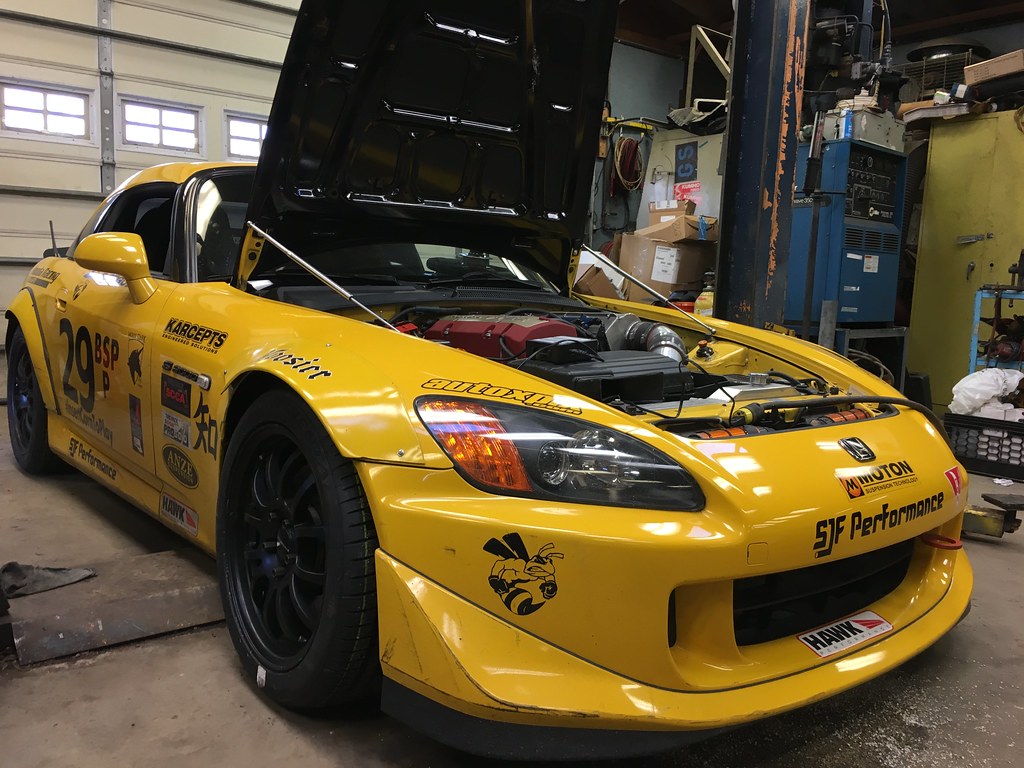
Final showing in BSP trim - SJF Performance - 1/13/2018
Going back to almost 8 years of ownership I tried to recall all the things we've done together that truly brought a smile to my face. Things that I've enjoyed besides improving as a driver include doing fun builds, going on S2000 cruises, driving through twisty mountain roads, track days and autocross. In her various incarnations over the past years she's been excellent at each and every one of these things but not all at the same time. This new build will try to capture all that, in part inspired by Jack Olsen's "One Car To Do It All", as one S2000 to do it all. Sure there might be some "bling" parts but everything will be done for a specific purpose even though I may opt for something that isn't the most cost effective route.

Bumblestook's retaining her full drive train but will have to lose her ITBs in order to meet NYS emissions inspections; going back to a stock intake manifold, stock injectors and throttle body. She'll be taking on the 67mm Berk high flow cat and Mugen Titanium sports exhaust from Lupa and mated with the Toda header that's already on. Air conditioning is getting reinstalled for comfort. To help with her own cooling during track days, a 19-row Setrab oil cooler with Mocal sandwhich plate with 200F thermostat and Nylon braided lines is getting added.

Her AP2 front and CR lip are staying but instead of the makeshift wide front fenders, she's getting Downforce DF-R 30mm FRP wider fenders to give her a wide stance without spoiling the beautiful OEM lines and new ASM rear overfenders are going on that won't be chopped up. The rear spoiler is coming off in favor of a Mugen SS rear wing. A stock AP2 rear bumper is replacing the single sided AP1 rear bumper. A Harddog double diagonal rollbar with replacement bulkhead is getting re-installed along with 6-point harnesses so she can be safely taken to the track and the CR tonneau cover is getting trimmed to fit and she's getting fully resprayed Rio Yellow Pearl (AP2 Yellow) with a few black pieces here and there to retain her black and yellow theme.

For suspension, the Moton triples are coming off not because I don't like them but because they belong in a car that's actively competing not really in a multi-purpose vehicle. Instead, she's getting a nice set of FPSport Package Ohlins DFVs from Sakebomb Garage with 13kg front and 11kg rear Swift springs as well as billet aluminum lower mounting forks and remote adjusters. The Karcepts sway bars are staying on and she's getting her original 30k miles controls arms re-installed but all with a fresh set of Ballade Sports spherical bushings. Spoon Sports rigid collars are being added to all the subframe bolts to eliminate shifting.

Steve pressing in new bushings - 1/12/2018

Bumblestook's original control arms with spherical bushings
SJF Performance - 1/13/2018
For brakes we're going back to OEM sized rotors and pads because in my experience they've always been more than sufficient but with a slight twist in that I'll be using Spoon Sports Monoblock 4-pot calipers up front which are made by OEM manufacturer Nisin. I'll admit this isn't purely a performance upgrade but for OEM quality calipers that also offer a nice visual enhancement, why not? My previously installed brake ducts are also being reinstalled. Wheels will be Pressed Graphite Volk CE28SL 17x9.5 +46 wrapped in 255/40/17 Bridgestone RE-71Rs (for now).

That's the general direction we're heading. There's a lot of little things here and there that I've left off but I'm really looking forward to this build and be able to enjoy her more on the street, on twisty mountain roads, at the track and maybe even a showing at your local autocross every now and then.

Monday, December 4, 2017

New Chapter - Project GT

From bone stock AP1 to SCCA National Championship winning BSP car...that has been the story of Bumblestook to date since the day I got her almost seven and half years ago. It's been an incredible adventure. In between, she was built to compete in STR, rebuilt and reimaged as a track car where we enjoyed many track days screaming at 9000+ rpm back when she still had an F20C under the hood. She then underwent no fewer than three revisions of BSP builds in the past 4 years pursuing the goal of taking the top spot in BSP. So what's next? Where do we go from here? Do we continue to pour tons of time and money and go wild in Super Street Mod? What's left?

Starting Project GT - 12-5-2017
Well one thing's for sure, she's not getting sold. I've decided to retire her from nationally competitive autocross but her story is not done. The reason is simple. While it's been an incredible learning opportunity the past few years pursuing a dream and she's a dream to drive every second she's on course, it requires an immense amount of work to maintain a top tier nationally competitive Street Prepared car. Triple that effort when you live in NYC and can't just walk out into your garage to work on her or go to events. I've lost track of the number of times I've day dreamed while towing her to events about how nice it would be to be able to just back her off the trailer and drive around and enjoy her more than just a few times a year.

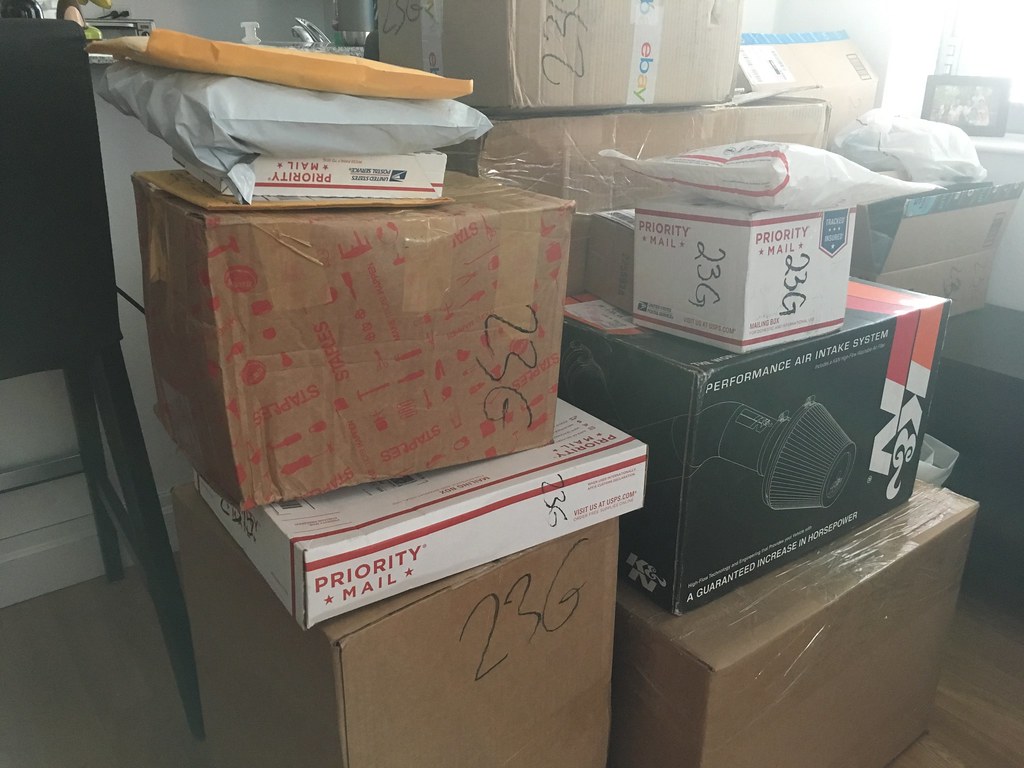
Parts starting to flood in - 12-5-2017
That day dreaming stops now. I've got a really fun build sheet and without class restrictions, I can finally do whatever I want. I won't divulge the details just yet but I'm calling this "Project GT" for Gran Tourismo. She's not going back to stock but she is going to be made street legal once again, retaining much of her performance but being softened just enough so I enjoy her more. Finally she's going to get that full respray to bring her back to her full glory. Something a championship winning car deserves. She'll probably still come out once in a while to play at local events and some time in the future we may return to do some track days but she will cease to become a trailer queen and I refuse to just put a cover on and keep her stored away and not driven like S2000s were meant to be driven.

Sunday, November 19, 2017

Replacing the CMC, Adding Power and Dropping Weight

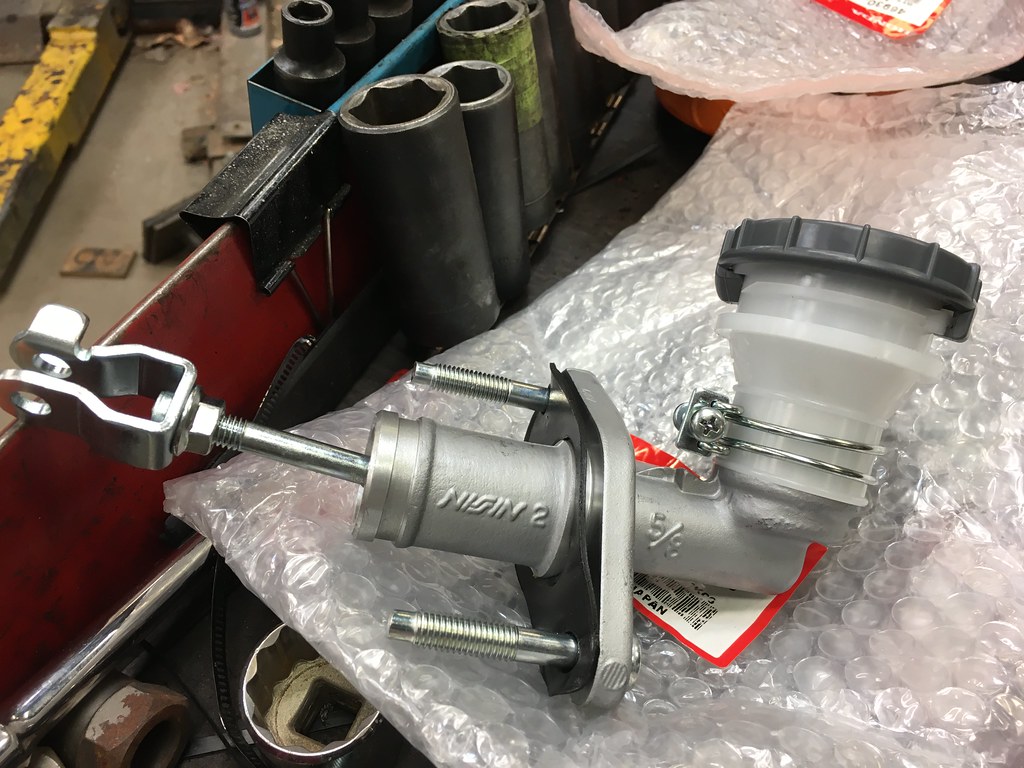
After the last event, I noticed on my way home that the transmission was starting to feel really notchy and then last week while driving Lupa around, I suddenly couldn't disengage the clutch to change gears. I noticed that the clutch fluid reservoir was really low and friends on the faceballs suggested it was likely a leaking clutch master cylinder.

New OEM Clutch Master Cylinder - 11-19-2017
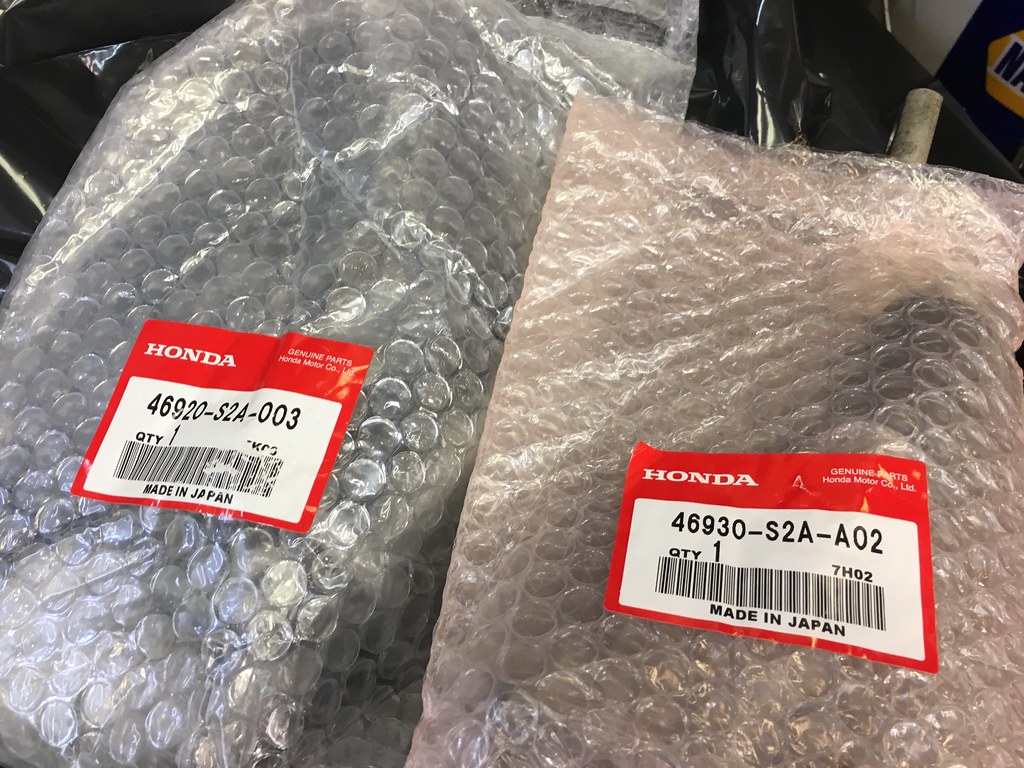
Part numbers for refence - 11-19-2017

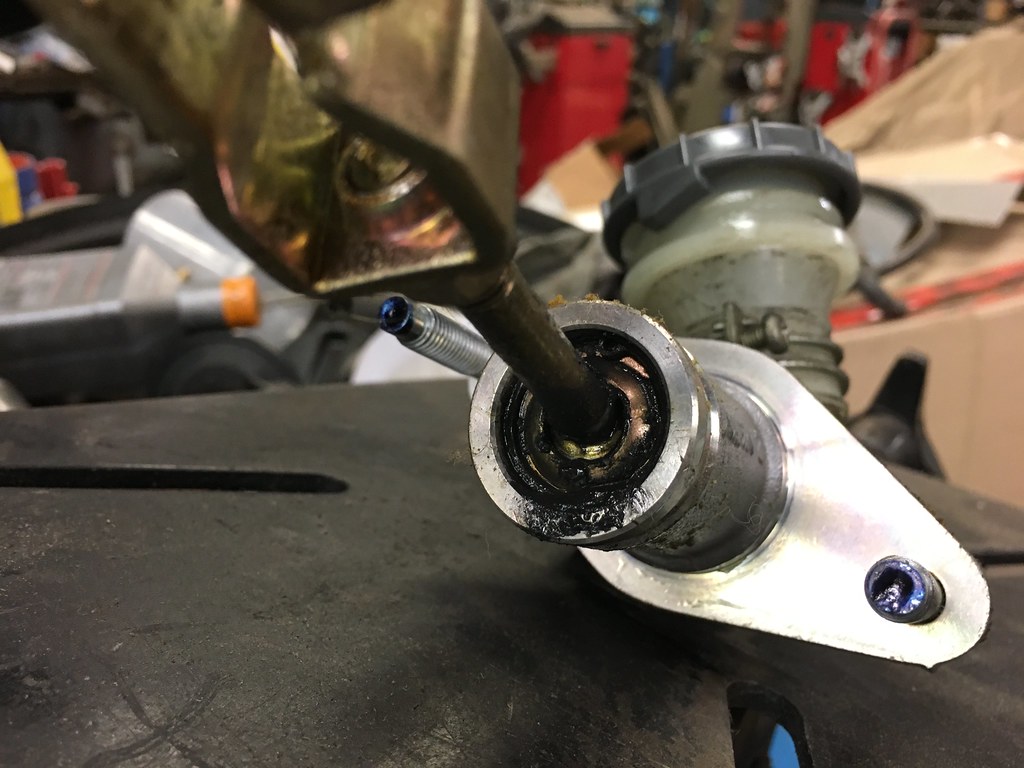
I ordered both a new clutch master and slave cylinder and today I went to SJF Performance to replace them. Removal of the old CMC immediately revealed the leak. Thankfully it was a slow leak and I was able to simply top off the reservoir in order to drive the car to the shop. The new CMC bolted in pretty easily minus the finicky nut that goes in the footwell near the ECU. You could just barely fit a deep socket in there to loosen it up.

Leaking CMC - 11-19-2017
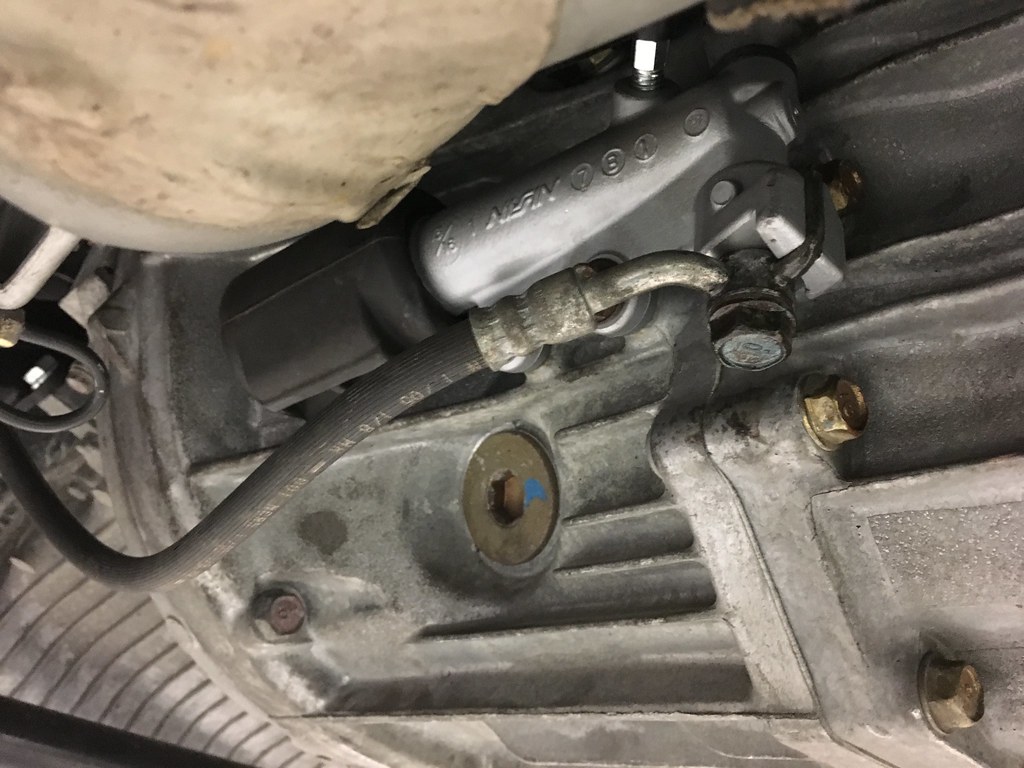
Although there was no leak in the slave cylinder, I opted to replace both as a precaution. With both replaced, there was obviously a ton of air in the system that needed to be bled out. To speed this up, SJF used the cap of my old CMC to fabricate a way to pump in some compressed air to help push the fluid through. It only took a few minutes to fully bleed the system using this method. We also flushed the trans fluid since it's been a while since I last had it done. The clutch is now nice and firm and the shifts are once again buttery smooth as one would expect from an S2000. 

New OEM Clutch Slave Cylinder installed - 11-19-2017
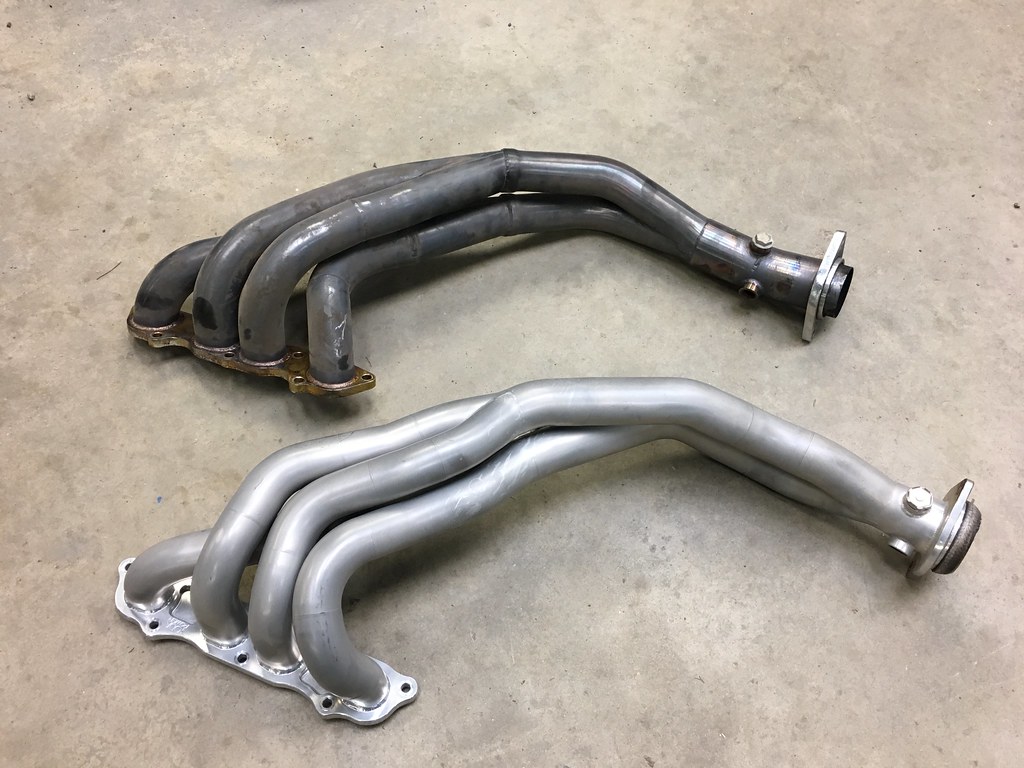
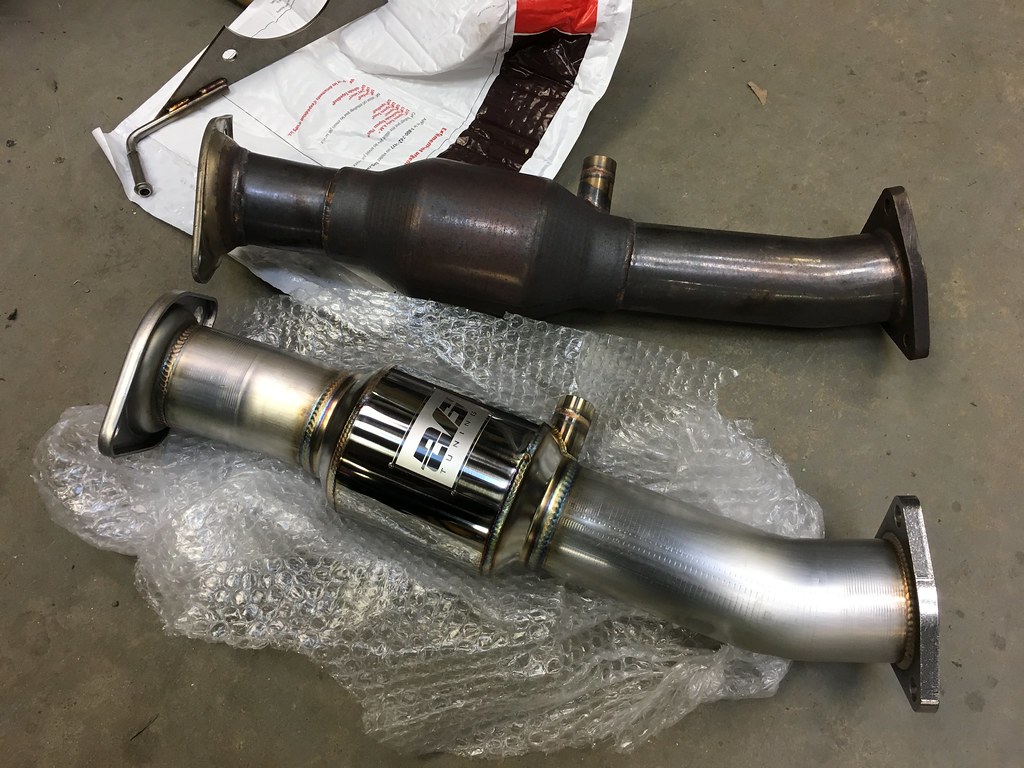
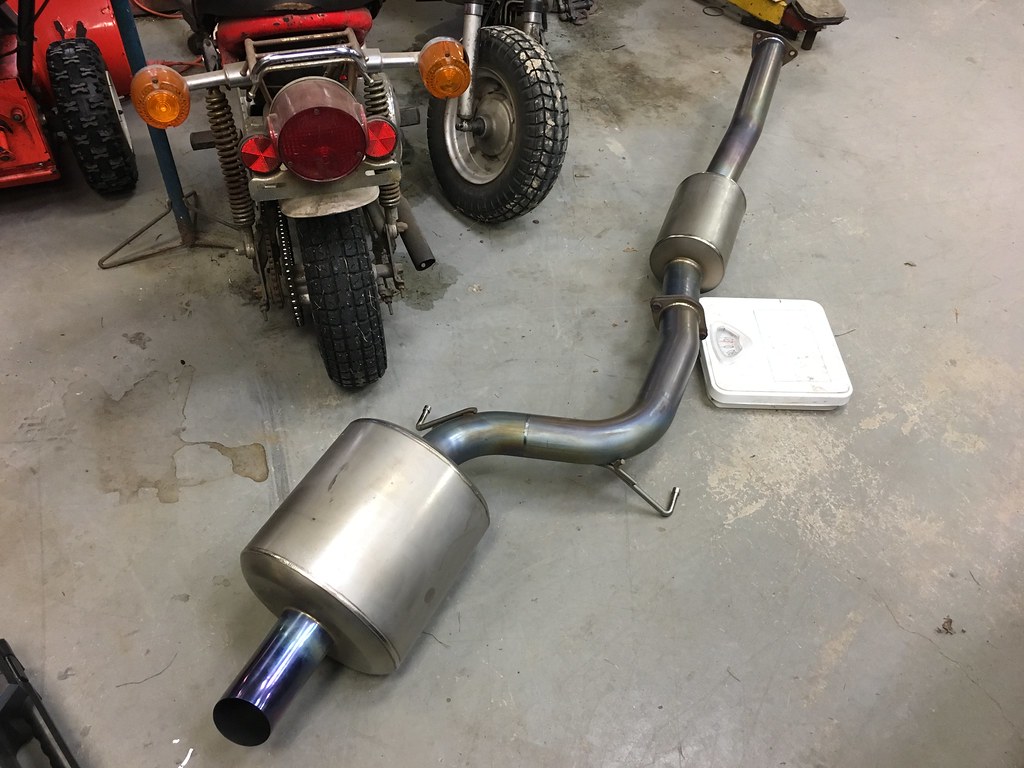
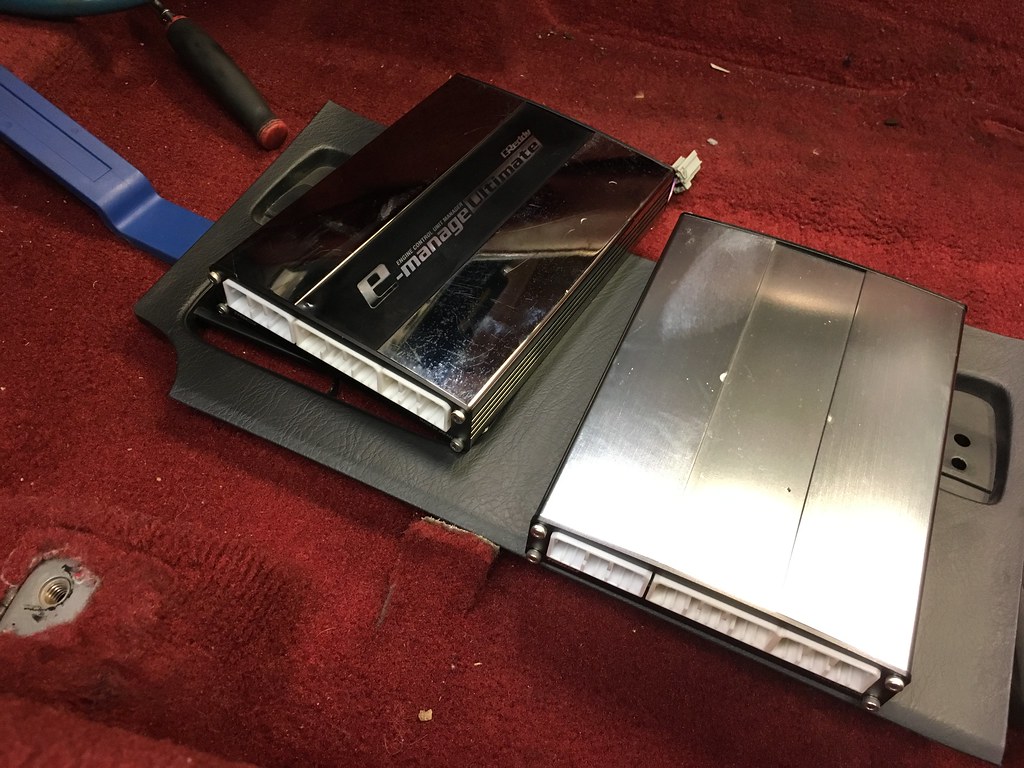
With Rad moving ahead with his part out plan, I decided to fix the one issue that's been nagging me about Lupa since I build her for STR. Having driven both my car and Rad's, his car always had an obvious power advantage. This is mostly due to me having an exhaust setup that's more designed for a sporty feel and sound on the road than straight up maximum race performance. Rad's car had a Toda Torquie-Kun header (the same that I installed in Bumblestook earlier this year) ceramic coated by JetHot mated to a 70mm Berk high flow cat and a 70mm T1R 70R-EM stainless steel exhaust and a dyno tune by Karcepts on his Greddy EManage Ultimate EMU. I jumped on the opportunity and grabbed his Toda Header and his Greddy EMU. However, I instead opted to pick up a new 70mm Evasive Motorsports high flow cat and full titanium 70mm T1R 70R-EM exhaust from Clyde's never-realized STR build. 

Old PLM header top / New (to me) Toda header bottom -  11-19-2017
Berk HFC top / New EVS HFC bottom - 11-19-2017
T1R 70R-EM Titanium - 11-19-2017
This would ensure that the tune on Rad's Greddy EMU would give the same performance from what I felt on his car. The reason for getting the titanium exhaust was simple...weight. The T1R 70EM in Titanium weighs only 14lbs, a 20lb reduction over my 34lb titanium dual tip Mugen exhuast. 

Rad's Greddy EMU with dyno tune (left) /
My old Greddy EMU with Karcepts reflash (right)
The install was of course very straight forward although the Innovative 75A motor mounts on the car blocked the Toda header from just slotting in unlike the old PLM header. SJF had to remove the passenger side mount in order to get it in. After swapping the EMUs and recalibrating the TPS voltages, we were able to fire her up. I took her for a test drive and the low end power is very impressive. It's exactly the missing mid/lower power I felt Lupa was missing all this time and the exhaust sounds pretty good too though quite a bit deeper and louder than my Mugen exhaust.

T1R exhaust installed - 11-19-2017
EVS 70mm HFC installed - 11-19-2017
Toda Torquie-Kun header installed - 11-19-2017
I'm super glad that the clutch and transmission feels great again and the new power mods are going to be a big help next year. The only thing left for next season is switching up the tires to BFG Rival-S 1.5 instead RE-71R. For now she's back to riding on stock wheels with Continental DWS for the winter.

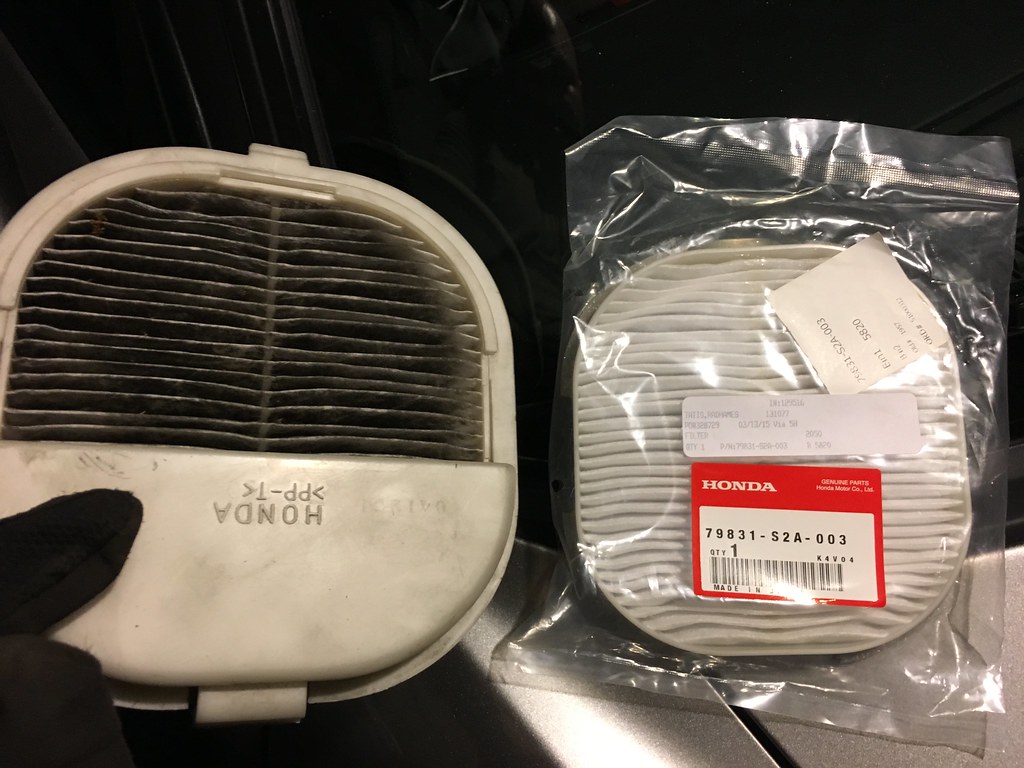
Side note: I also replaced the nasty 2-year old air cabin filter with a new one from Rad's S2000 parts stash.

New air cabin filter - 11-16-2017

Monday, October 30, 2017

NNJR SCCA Season Closer

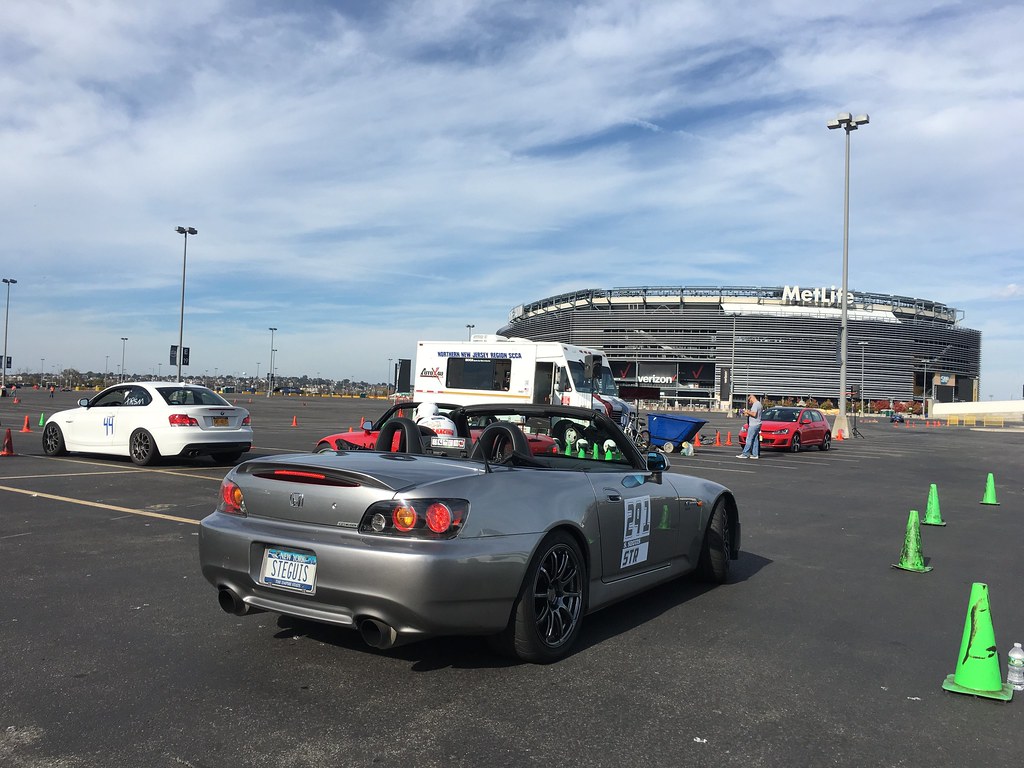
It's been a good season. Despite probably being the season with the least number of events I've attended in 10 years, I had a blast at every event and it's been a successful season overall. It's the end of October and we're still out there in the sun with the top down burning rubber and it's great! Realized last week that Lupa was feeling extra loose because the last event I attended was at Bader field and I had the rear bar cranked up. We put the rear bar back to full soft and ran slightly lower pressures (27f/25r) and it's much easier to get aggressive with the throttle again.

Rad getting ready to run - NNJR SCCA
Meadowlands, NJ - 10/28/2017
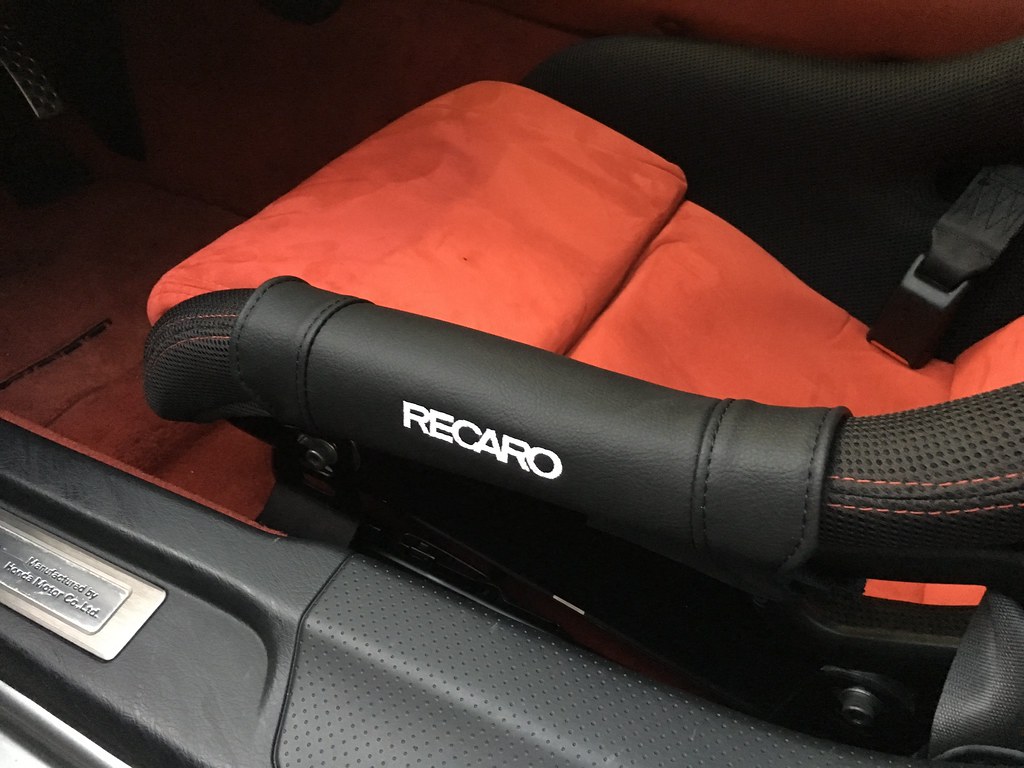
Rad codrove with me again. His car is quickly getting parted out so it probably won't be soon before the car is sold. I did happen to get this sweet seat protector from Rad that he got from Clyde. Not sure if I'm keeping it on but it should protect the seat from wear and tear.

Recaro Seat Protector - 10/26/2017

It was a special finale event today. Basically two events in one. We ran clockwise in the morning and counter clockwise in the afternoon. Fun flowing course and I'm slowly regaining some confidence in the lower grip levels. Looking forward to next season.

Steguis - NNJR SCCA - 10-28-2017

Rad - NNJR SCCA - 10-28-2017