I dropped my car off with Dion at
Drive Auto Works (DAW) in Mountainside, NJ before going away on vacation so they could load the APR Stage 2 high torque tune. The previous owner already did all the Stage 2 pre-requisites with the CTS downpipe and Sachs ZF Performance Clutch kit but decided to keep it Stage 1 low torque for reliability since he drove almost 20,000 miles per year. I do want reliability but I will probably only put on 1/3 of those miles in a year so I wanted to see what the Stage 2 high torque tune would feel like. It's a nice bump in torque over stock and honestly feels amazing. If anything, this is what I feel a hot hatch should have in terms of stock power. The power delivery is smoother and with all that torque down low, you don't need to downshift as much to get into boost. As you can see from the graph though, it does lose breath after 4500 rpms quite noticeably and we'll fix that very shorty with a nice upgrade but for now I'm very happy with this tune.
 |
| Advertised power to the wheel on Stage 2 APR Tune |
Since the car was going to be there for almost a week, I figured I'd have other maintenance items taken care of. A previous inspection by the dealership during my NYS inspection indicated that the thermostat housing/water pump would need replacement in the near future. It wasn't leaking yet but it had started to melt a little (it's mostly plastic) so I was advised to plan for it. Well, I'm not one to wait for failure so I ordered one from
FCP Euro so in the future if I need to replace it again, I can use their lifetime warranty to simply get a new one. I had DAW take care of that as well.
 |
| New OEM water pump/thermostat assembly |
Of course, while they were in there, I thought at 50k miles it'd be a good time to have them clean out the intake valves. The problem with direct injection is carbon buildup on on the intake valves since they don't get washed with fuel like they do with port injection. Over time this results in poor engine performance and we don't like that. They use the walnut blasting method and it's very effective. Unfortunately, they were very busy and didn't have time to take pictures but it looks something like this (although mine weren't quite that bad yet).
 |
| Intake valve cleaning before and after (before not actual) |
Last week when we were aligning the car, we had to jump start it after just leaving the car on but not running for half an hour. Since the battery is over 3 years old now I figured it was time for a change and had them replace it since I was worried it might die during the flashing process and brick the ECU.
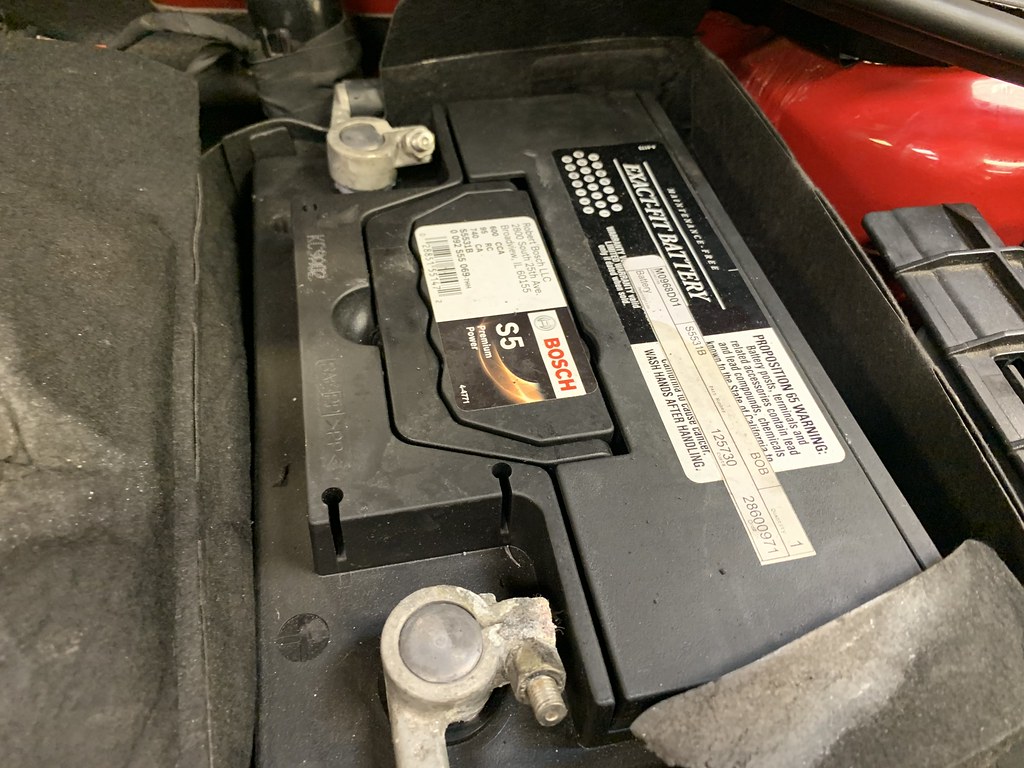 |
| New battery - 11/5/2019 |
One thing I didn't like after we did the lowering springs last week was the length of the stock front sway bar end links. They were a tad too long and causing unnecessary pre-load to the front sway bar so today we put on a fresh set of SuperPro Adjustable end links. The can be shortened to more suit the geometry of the lower suspension setup.
 |
| Superpro Adjustable Endlinks - 11/5/2019 |
Also, with Winter around the corner, I wanted to finally install some protection for the plastic oil pan. VW makes an OEM skid plate for the Golf Alltrack that fits perfectly on the GTi. The front brackets were supposed to be annoying to install but it turns out just removing the 5 bolts on each side holding the lower half of the splash shield was all that was needed to get your hands behind the frame to insert the bolt that secures the brackets.
 |
| Passenger side skid plate bracket installed |
 |
| Driver side skid plate bracket installed |
Once those were in place it's pretty easy to secure the skid plate itself, just 4 bolts up front, 3 bolts in the back and 6 little screws on each side. It's very secure and will do the job of deflecting road debris from damaging the oil plan. It even has a nice opening on the transmission side to help with cooling. Yes, you will need to drop this panel in order to do an oil change but the bolts are easily accessible and maybe add a mere 10 minutes to the process.
 |
Rear part of skid plate lowered to show the protection.
Kevlar lined plastic and padding for the oil pan itself |
 |
| Front view of skid plate |
 |
| Rear view of skid plate |
Finally, to make her fully winter ready, it was time to slap on the OZ Superleggera wheels wrapped in Pirelli Sottozero 3 performance winter tires. So far I'm very happy with how they feel in the dry. Usually when I swap to winter tires everything feels sloppy but no, these feel great even in the dry. I'll give a verdict for how they feel in the snow once that time comes but so far I'm quite impressed especially since I was, um, "testing", the new power unleashed via the tune.
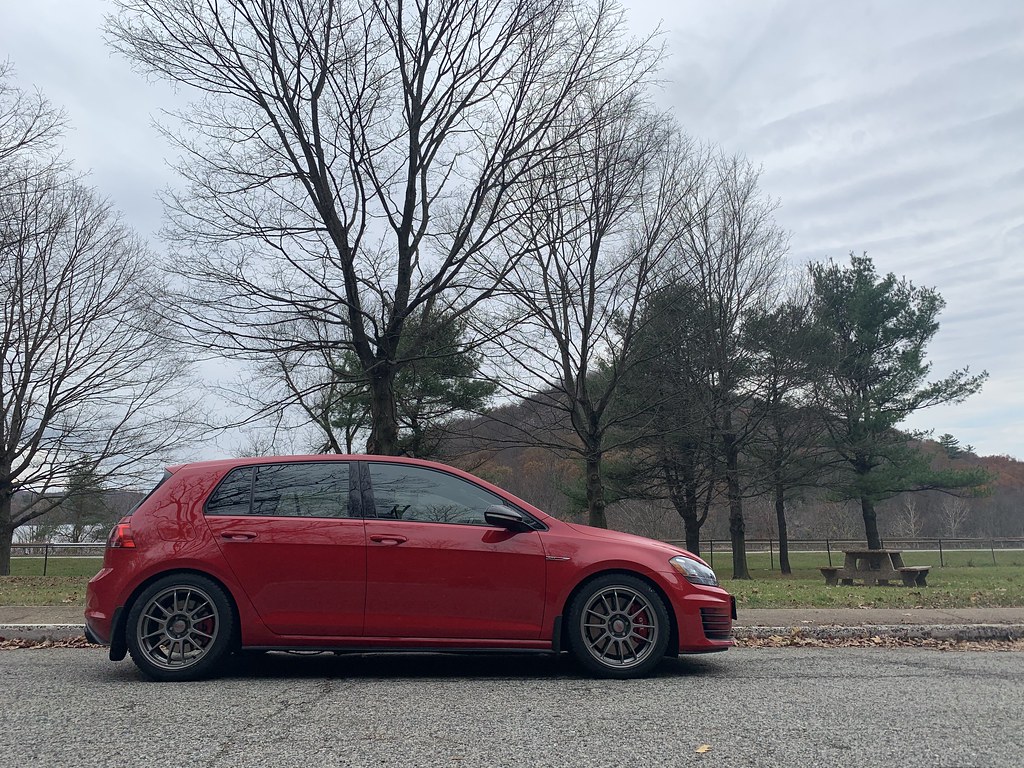 |
| OZ Superleggera + Pirelli Sottozero 3 - Winter Setup - 11/5/2019 |
She's coming along quite nicely. We have a few nice upgrades left before I call her "done for now" but that'll be for a future post. For now, Chili is starting to feel like a proper Steguis-spec car and it's really living up to my expectations for how a hot hatch ownership experience should feel like.
Maintenance Updates:
Mileage: 51,288
- New water pump/thermostat
- New battery (Bosch)
- Intake valves cleaned


