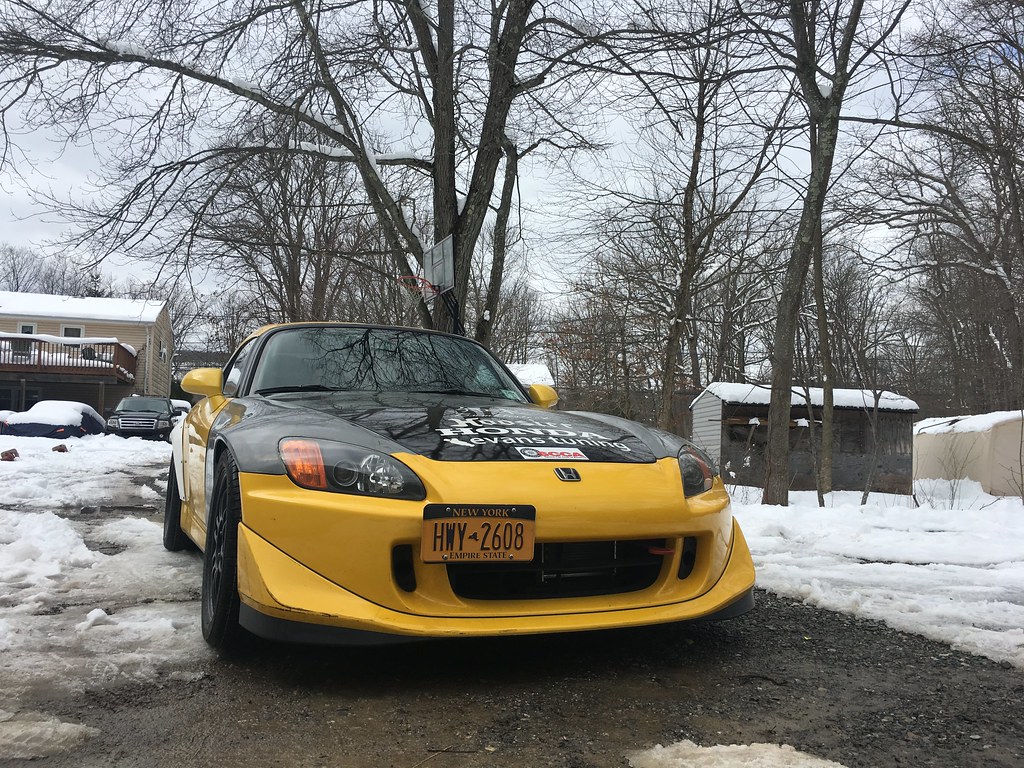
Just a few days shy of 2 months since the day I dropped her off at SJF Performance, Bumblestook is finally back on the road in fully street legal trim to finish off the next phase of her build. Everything felt tight and smooth and I was even able to drive her enough to set ODB2 readiness so I can get her back to NY for her NYS inspection anytime. That was probably the biggest sigh of relief as the entire build would've been meaningless if we couldn't get her through emissions.
Back from her first drive - 3/10/2018
Bumblestook's first street drive in 5 years - 3/10/2018
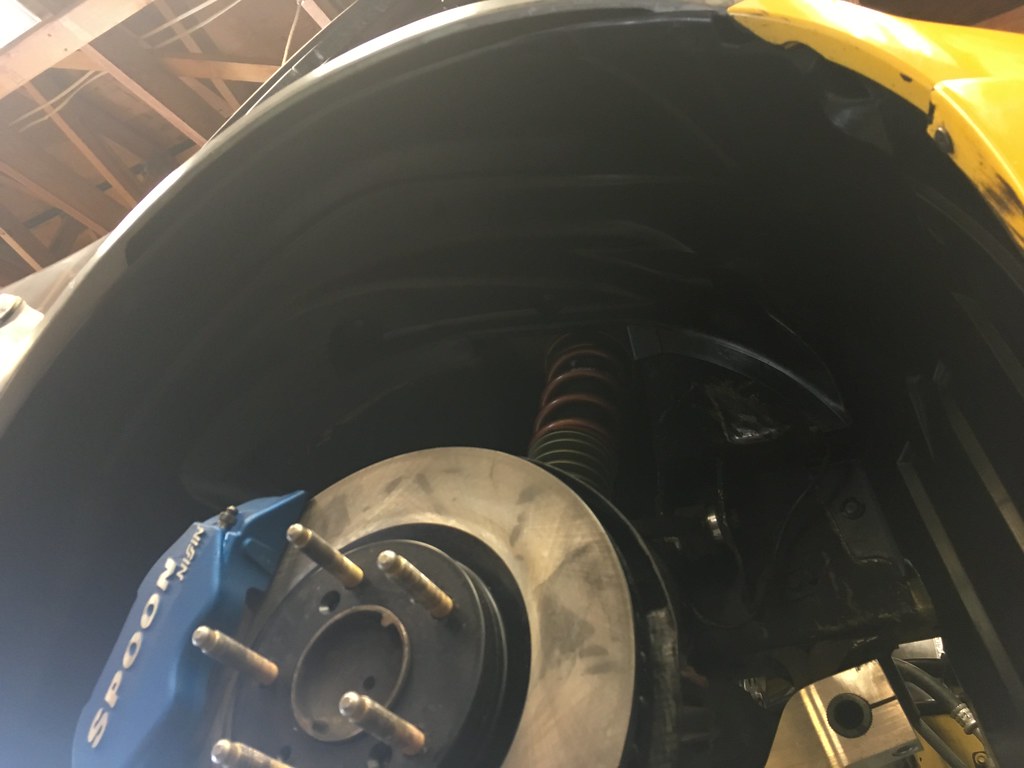
What I identified as weird noises from the rear in the video on big bumps was just the rear tire rubbing against the rear bumper tab. It needs to be trimmed for clearance but I'm going to have the body shop worry about that since the rear bumper needs to be pulled out to line up with the overfenders anyway. The suspension felt super tight and responsive. The combination of spherical bearings, Spoon subframe collars and Ohlin DFVs proved to be perfectly streetable while providing all the responsiveness I wanted. You can definitely feel the road but even driving over small potholes and uneven surfaces, it isn't jarring despite what you might see in the video. I think the GoPro is also picking up noise of stuff inside the glovebox since the car itself wasn't that loud. I forgot to hook up my proper external mic to get better audio.
AP2 output flange on AP1 trans - 3/8/2018
This past week SJF finished up the remaining mechanical items on the car starting off with one thing that's been bugging me since installing the AP1 transmission to get better gearing for BSP. Due to class restrictions, we had to run the AP1 flange and AP1 bolts which are a few mm smaller than the mating holes on the AP2 propshaft. With enough loctite and torque on the bolt, the flange never moved but the right way is to change the output flange to an AP2 flange and use the correct sized bolts so I got a new one with new bolts and now I can run the more optimal configuration.
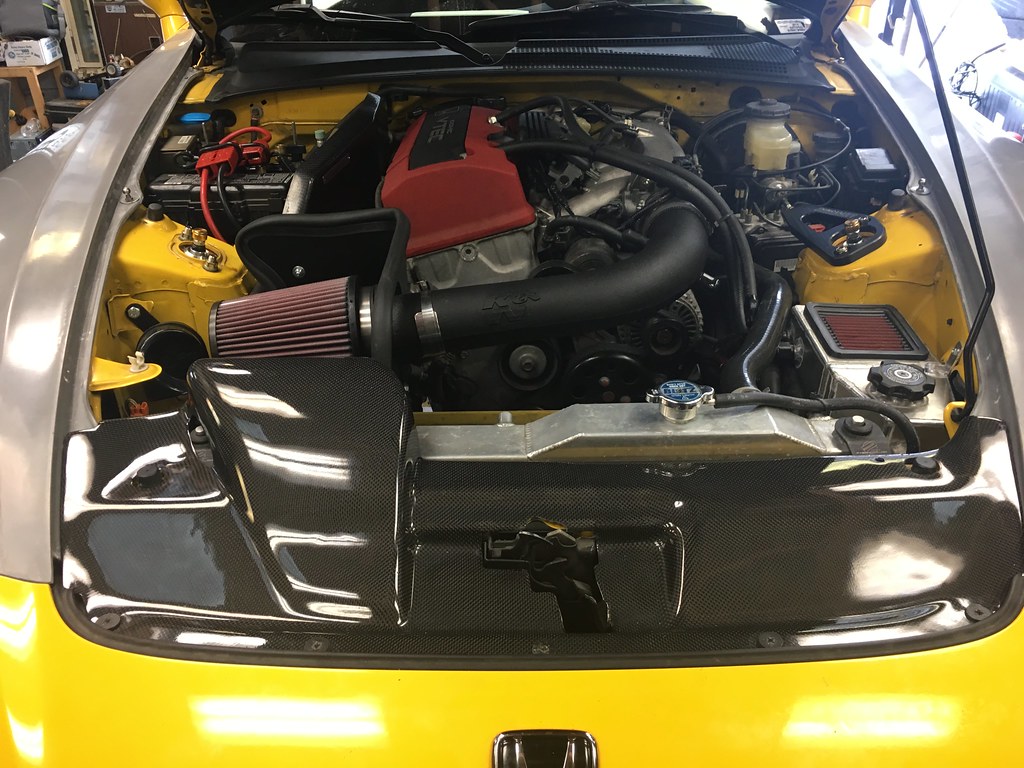
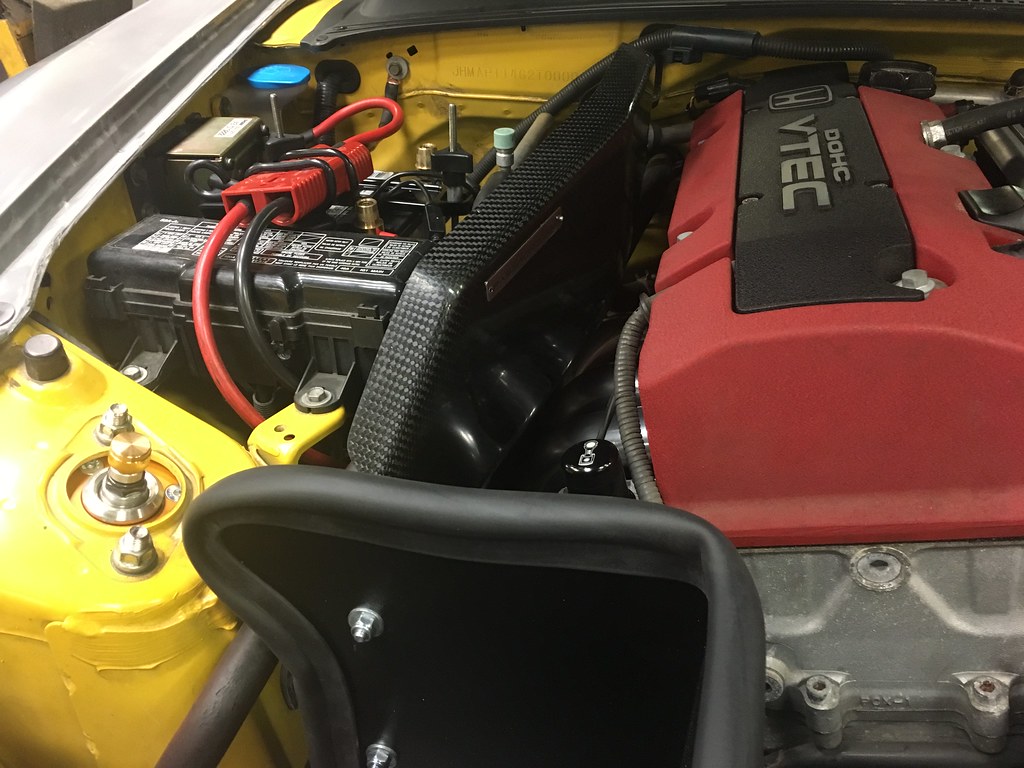
AUT cooling plate - 3/10/2018
To get more air to the air filter, we installed the AUT cooling plate. I'm not particularly happy with the fitment on this one as the holes didn't line up properly. I think I might get something different but for now it'll have to do. We re-installed a heatshield between the header and the battery since the car will be running for longer periods and I'd rather not prematurely kill the battery with heat even though the header is already heat coated.
CF Heat Shield - 3/9/2018
Both fender liners were replaced with new ones. We have cutouts for where the brake duct hose will go but we opted to leave the hoses out until after the body shop is done.
New fender liners - 3/9/2018
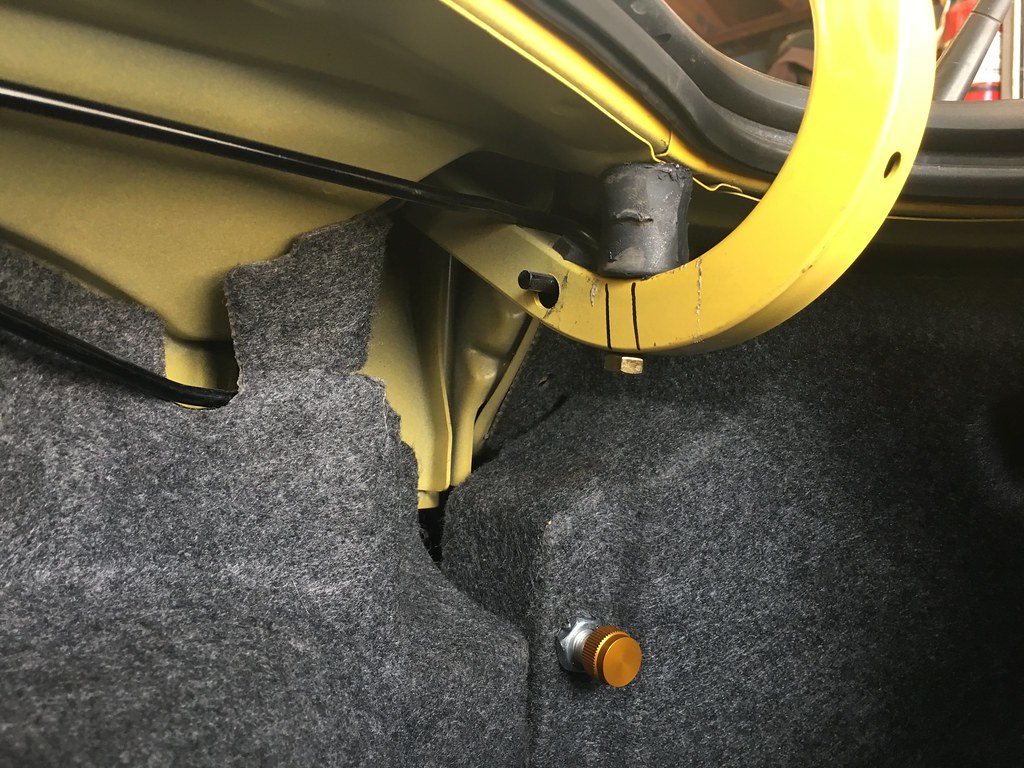
In the trunk, all the interior is back in and the remote adjusters for the rear shocks were mounted to the interior panels. The trunk also tends to hit the bottom of the Mugen hardtop because it extends farther out than stock so SJF fabbed a simple trunk stopper out of an old exhaust hanger which turned out to be quite effective.
Trunk stopper and passenger side rear shock adjuster - 3/10/2018
Trunk stopper and driver side rear shock adjuster - 3/10/2018
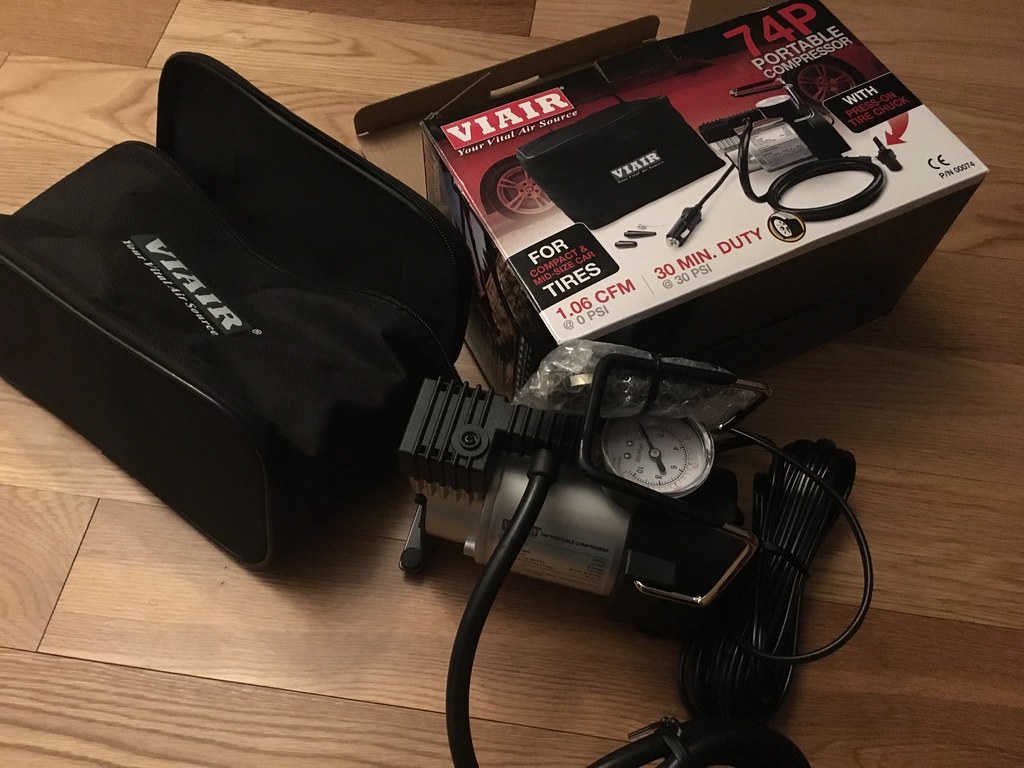
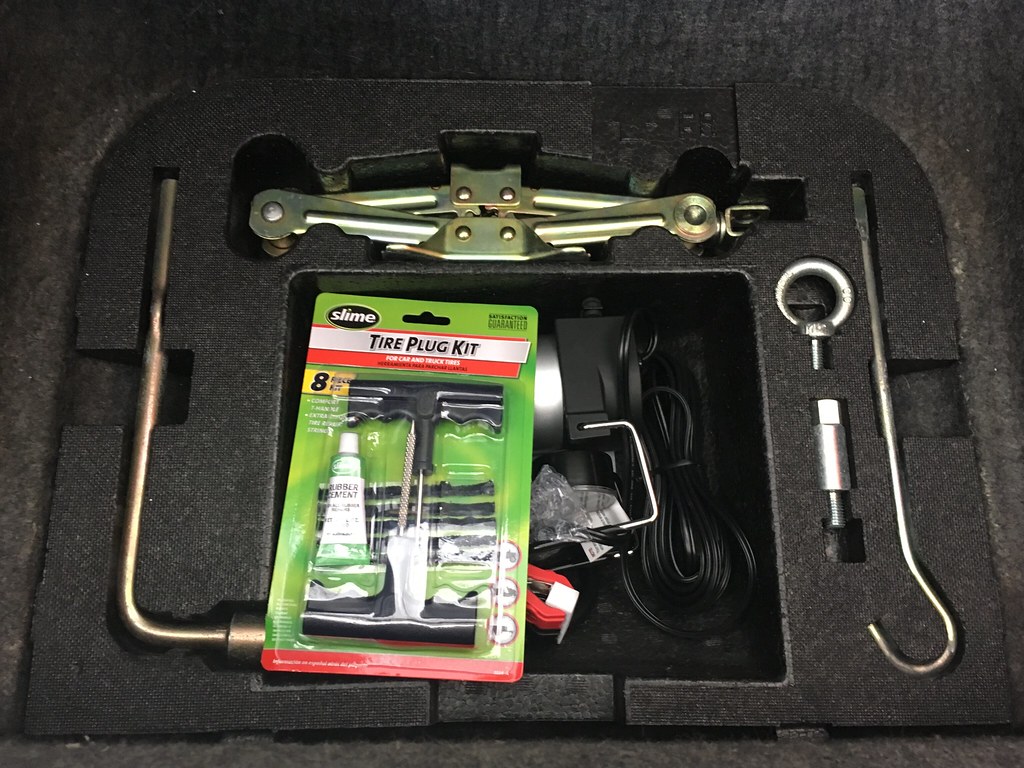
Since the OEM spare tire is useless with the Spoon calipers. the toolkit now has my own DIY "I don't have a spare tire" emergency kit that includes a tire plug kit and it turns out the Viair 74P portable compressor (the smaller version of the ones I typically carry in my cars) perfectly fits in the center space of the toolbox tray.
Perfectly sized air pump for S2000 - 3/10/2018
"I don't have a spare tire" emergency kit
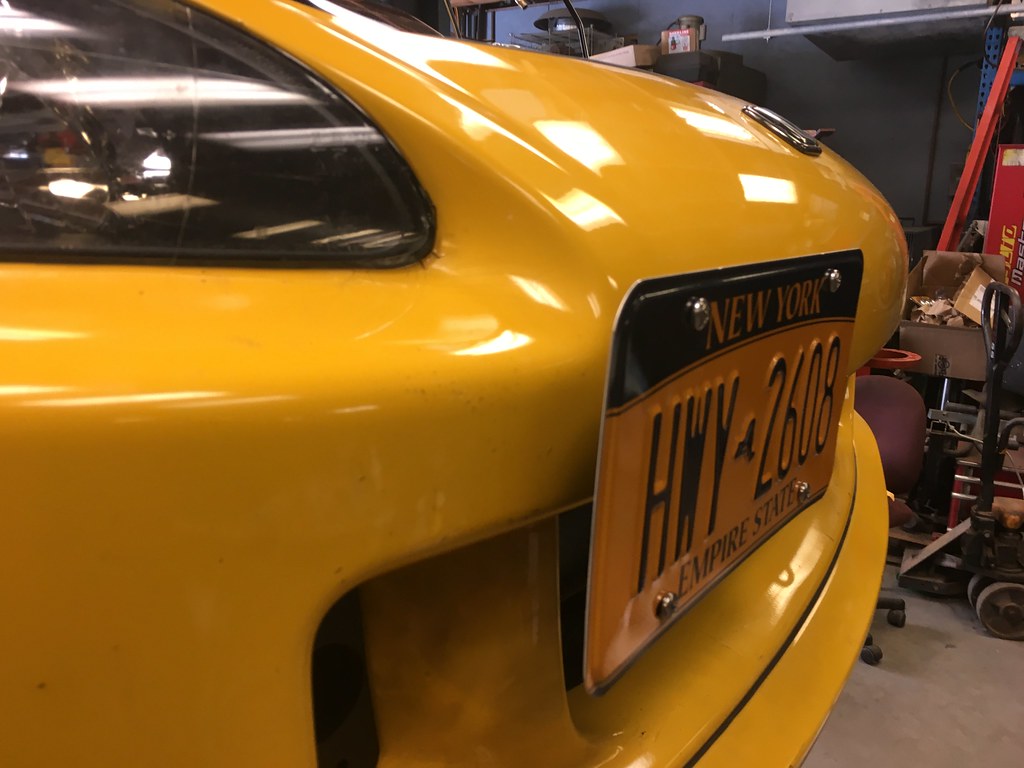
To mount the front plate I'm using the Rho-Plate V2 so that it mounts to the OEM front tow hook hole so I can easily remove the plate for a clean look in situations where I don't want the front plate around.
Front plate mounted to Rho-Plate V2 - 3/10/2018
Finally, as one should always do on a hardtop equipped S2000, apply a good mount of Shin-Etsu grease around all the seals to ensure a smooth squeak free seal.
Re-applying Shin-Etsu grease - 3/10/2018
So what's next? She needs to get her NYS inspection sticker and then we're off to Evans Tuning to get dyno tuned. While the car runs just fine with the AP2 motor and AP1 ECU, this is suboptimal and potential unsafe. The AP1 revs to 9000rpms but the F22C should really only be revved to 8400-8600 (even that's pushing it if you want the engine to last). My purpose for getting a tune is to get a safer rev limit, maximize the power of the car and improve fuel efficiency and also to reconnect my Racepak dash and get all the sensors working so I can know exactly what's going on under the hood. I'm still waiting on the Mugen dry carbon hood from King Motorsports. The hood is currently on a ship from Japan and once that arrives we'll finally be able to take her to the body shop to finish off the build. The really hard part is done. Hopefully we're smooth sailing from here.