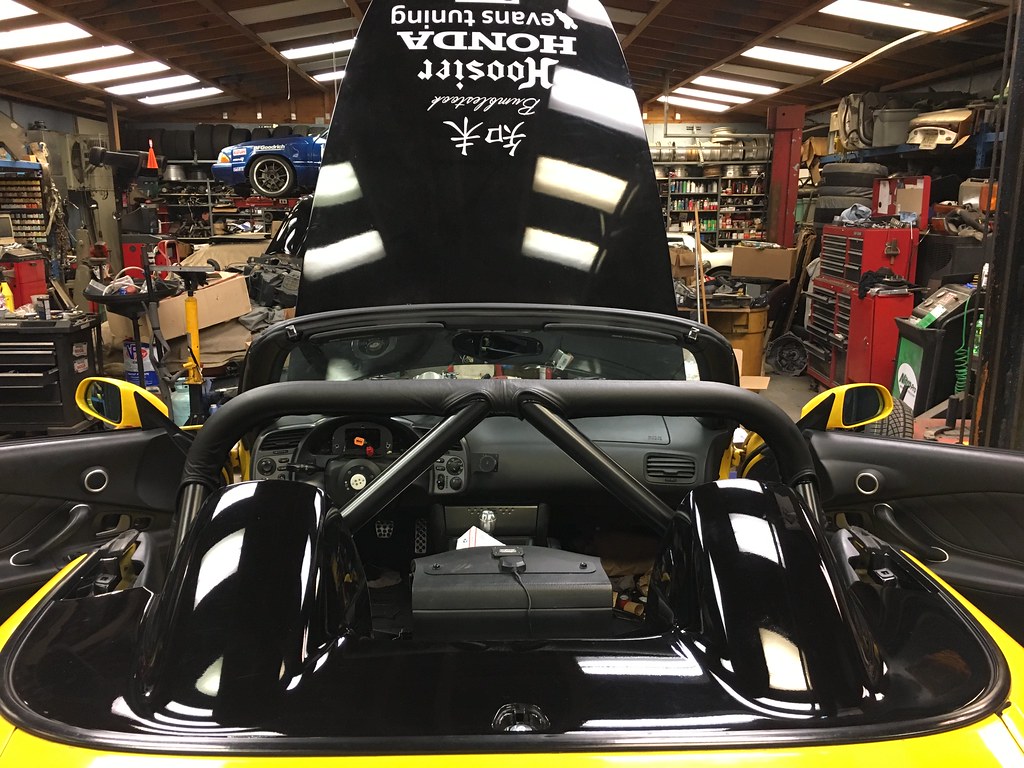
It's been an incredibly productive weekend and significant progress has been made since the last installment but let's start off with this picture because Bumblestook is starting to look like a complete car again.
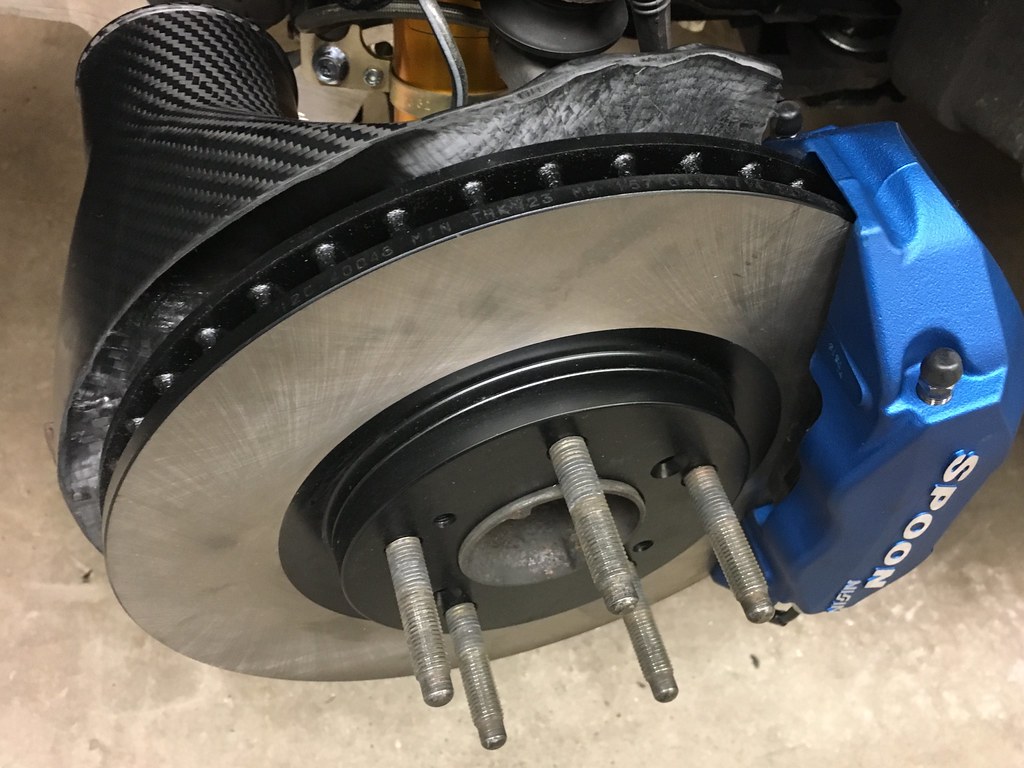
But let's rewind a bit to where we left off last time. The brakes are now finally done. The rear brakes were done in the last post but the fronts are now done too. The Spoon Sports monoblock calipers are in along with the APR Performance carbon fiber brake rotor ducts, new OEM rotors and pads.
 |
| Spoon Calipers, APR Performance CF brake rotor ducts - 2/1/2018 |
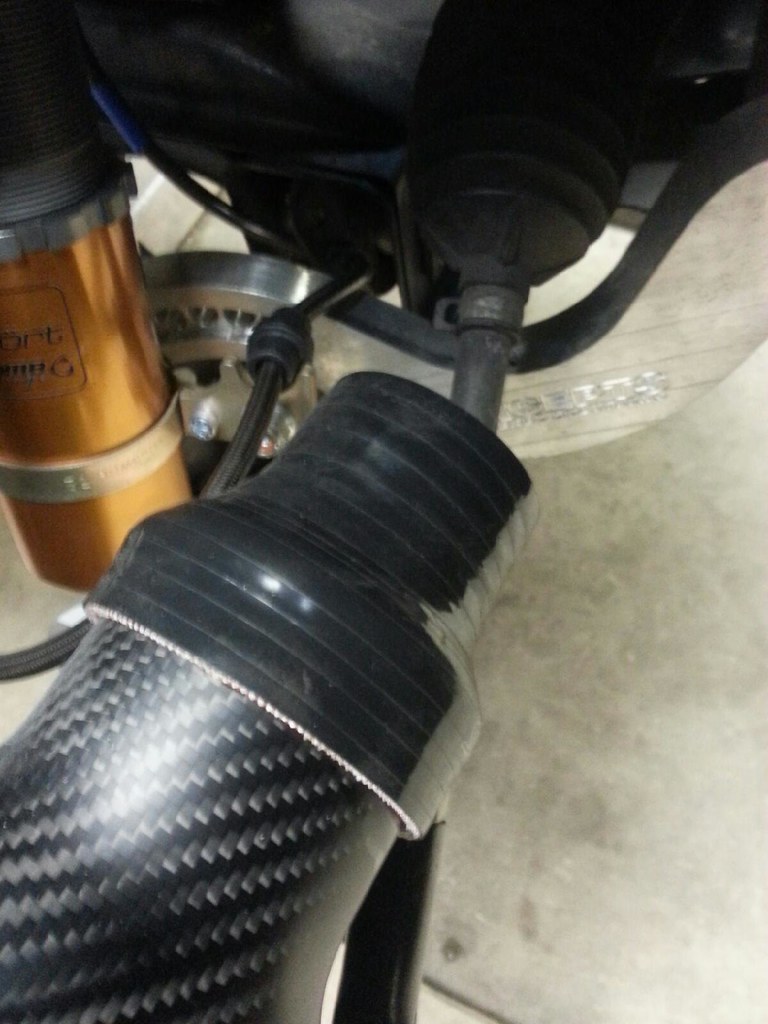
The brake ducts are very nice but did require a fair amount of trimming to clear the Spoon calipers. The hole for the rotor duct is 2.75" but the brake ducts I have on my bumper are only 2" as are my brake duct hoses so I got these silicone high temp reinforced reducer couple hoses to try and match them up. Not sure yet how these will eventually work out since there are some clearance issues but we'll worry about that later.
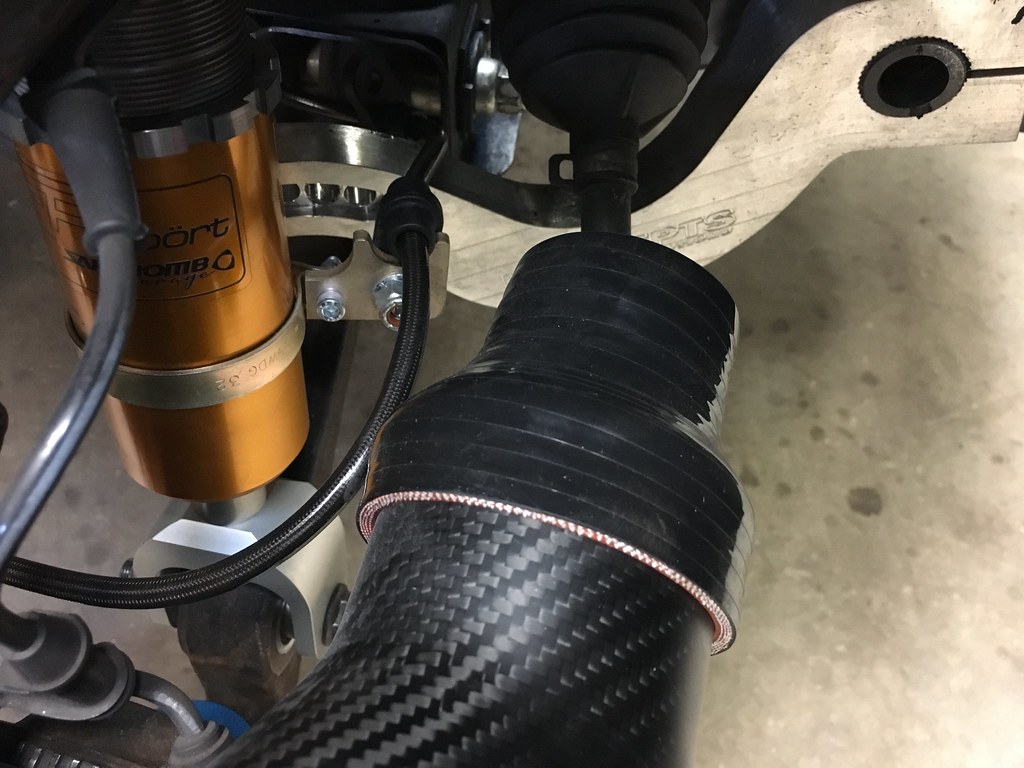 |
| HPS HTSR-200-275-BLK reducer coupler - 2/10/2018 |
And of course because these came up for sale on the S2000 boards and I figured might as well install new lines, a set of Spoon Sports front and rear stainless braided lines got installed too and the entire system was flushed with fresh ATE fluid.
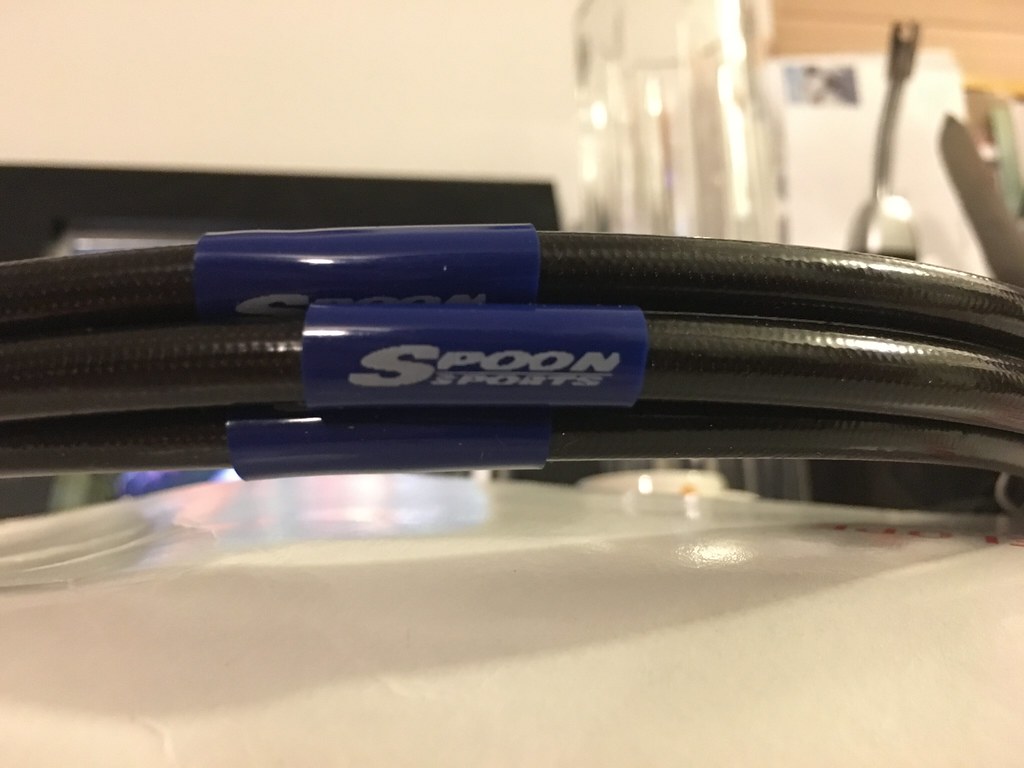 |
| Spoon Sports brake lines |
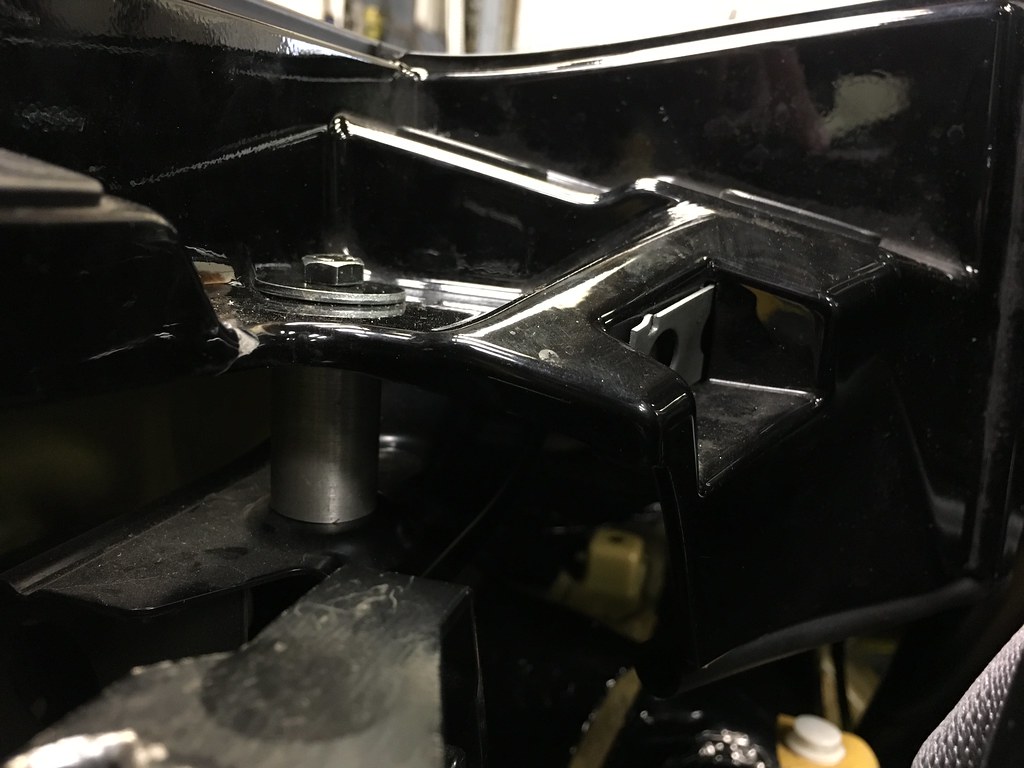
The oil cooler kit from Sakebomb Garage was also installed. This is a Setrab 19 row cooler, Mocal sandwich plate with 200F thermostat and upgraded Nylon braded lines. It's definitely a nice kit but we're going to add some line separators to tidy things up some more. We also got rid of the "Extreme Race" Hasport 105A motor mounts in favor of the less aggressive Innovative 75A motor mounts which are perfect for track use while still being ok for the street.
 |
| Setrab 19 row oil cooler - 2/10/2018 |
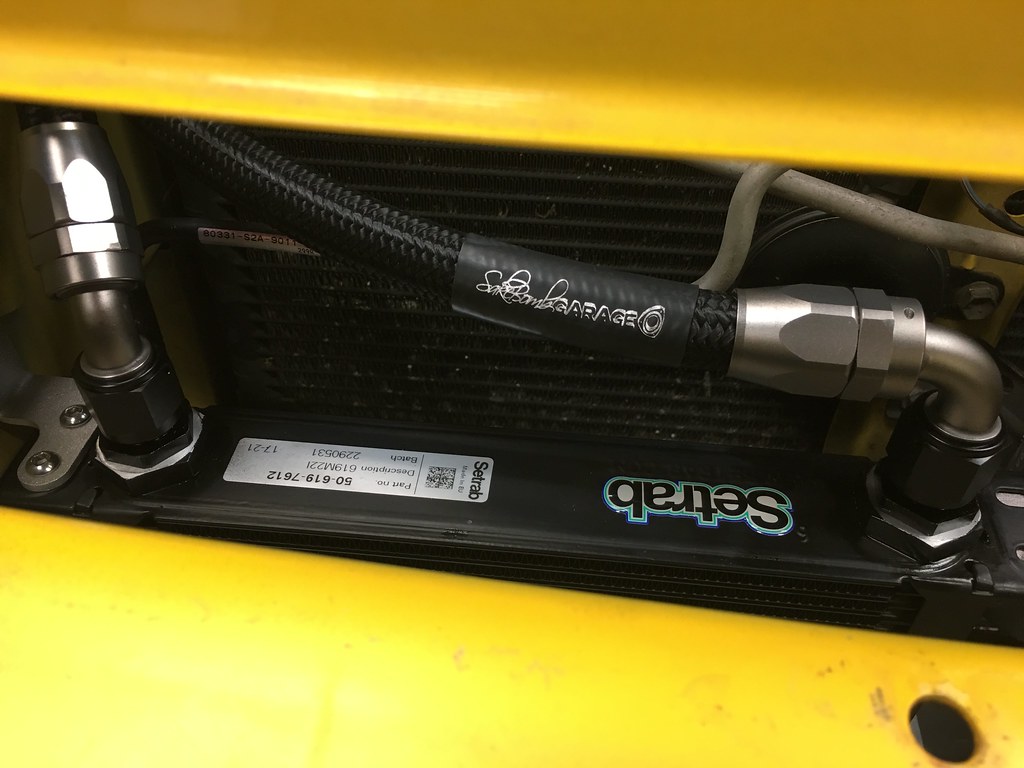 |
| Setrab oil cooler with Nylon braided lines - 2/10/2018 |
 |
Mocal sandwich plate and
Billet Innovative 75A motor mounts - 2/10/2018 |
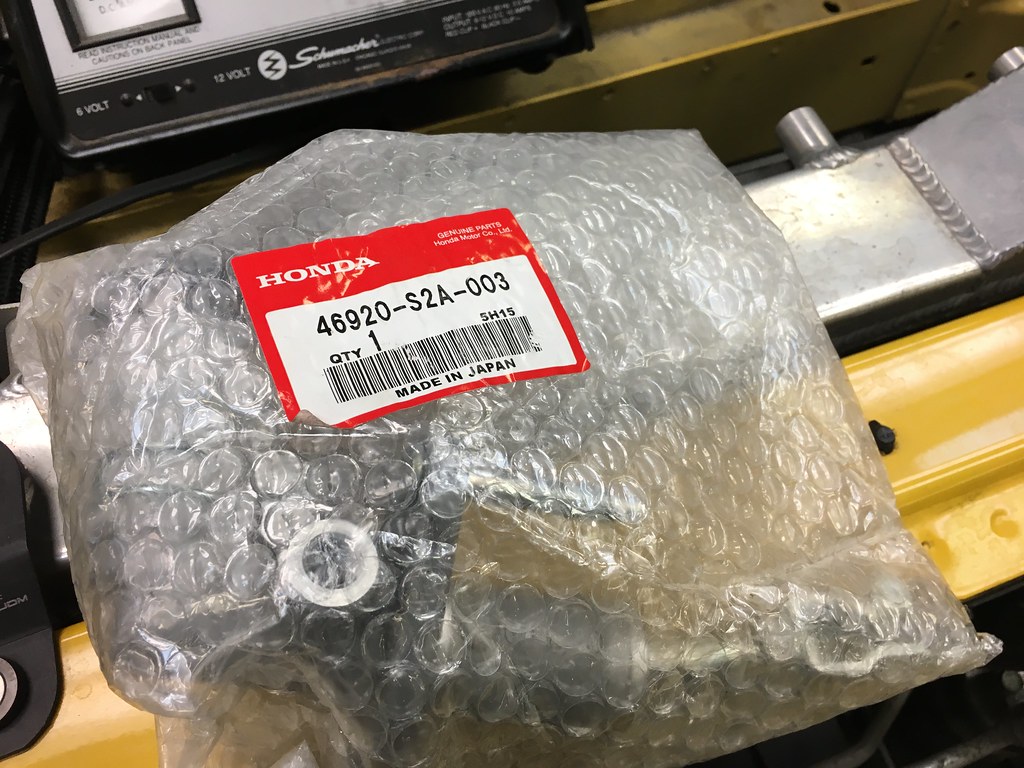
Next we got rid of the nasty old clutch master cyliner. It wasn't leaking like the one on
Lupa but given that it had seen better days and the car is now going to be 16 years old, I figured why not replace it with a fresh one.
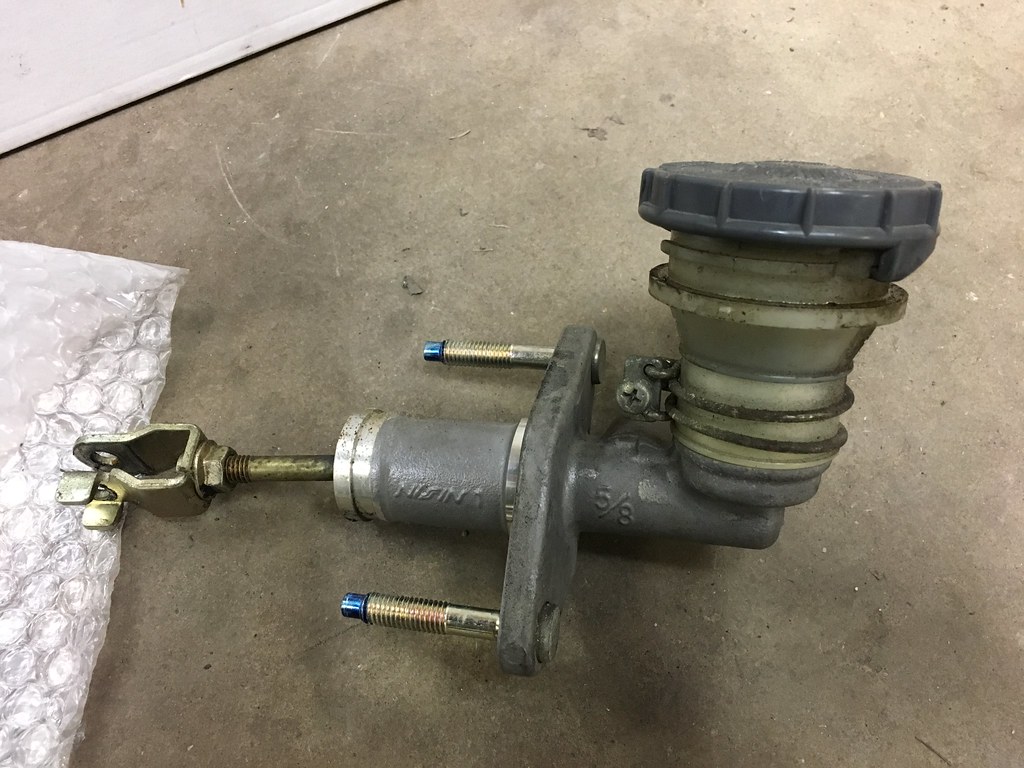 |
| Old CMC - 2/11/2018 |
 |
| Brand new CMC - 2/11/2018 |
Now onto the interior. To bring the "GT" to an otherwise track prepped car, I wanted most of the interior back and to quiet down some of the cabin noises. First step was to trim the CR Tonneau cover to fit the Harddog Double Diagonal rollbar. Suprisingly we didn't have to trim much but cutting up an otherwise hard to find discontinued piece is sure to raise a few eyebrows for S2000 purists.
 |
| Marking up the CR Tonneau cover for cutting - 2/10/2018 |
Once we had made sure the cover cleared the bar, SJF had to fabricate some aluminum spacers since part of the stock roll hoops the cover would normally rest on is no longer there.
 |
| CR Tonneau cover bolted down on spacers - 2/10/2018 |
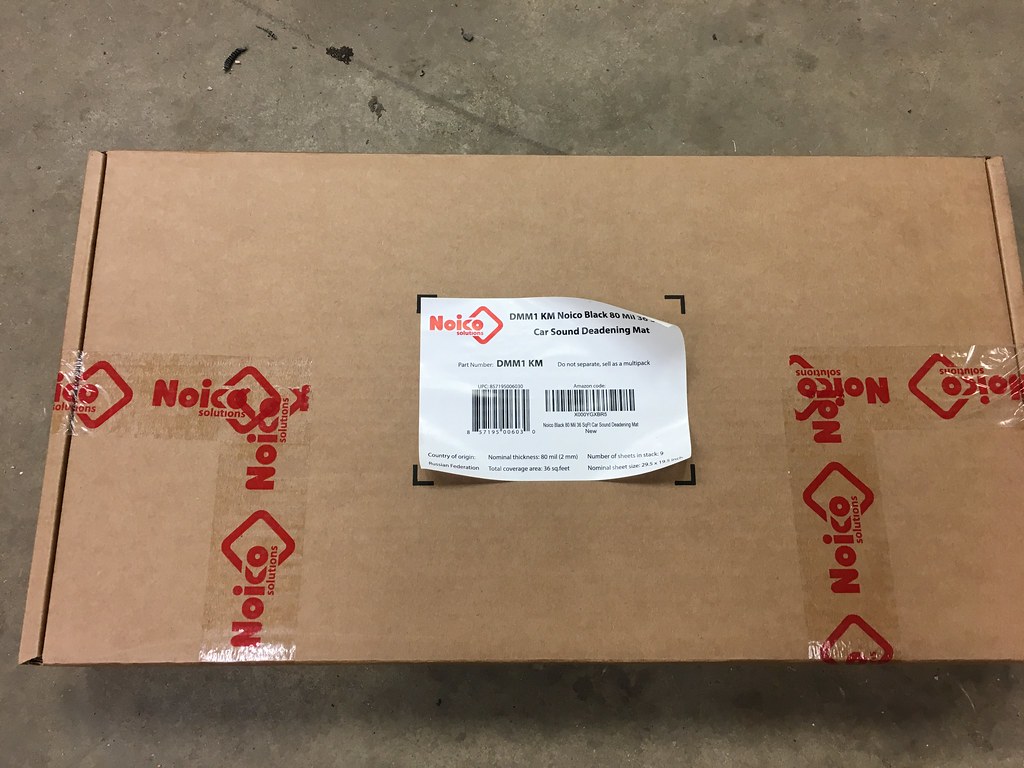
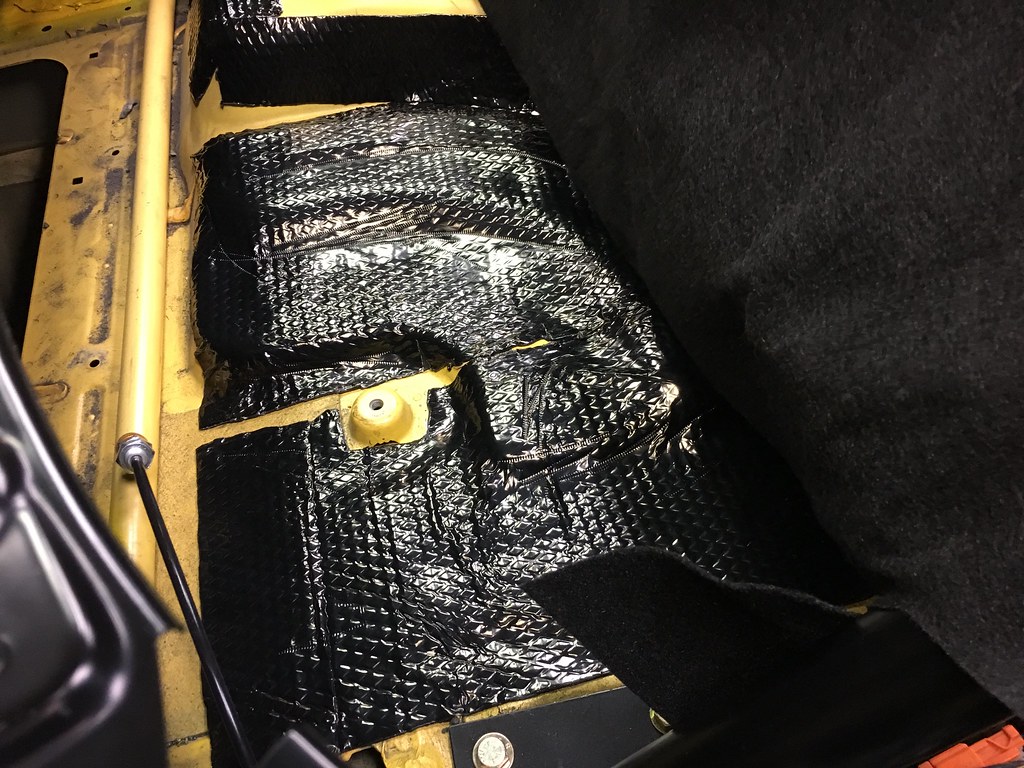
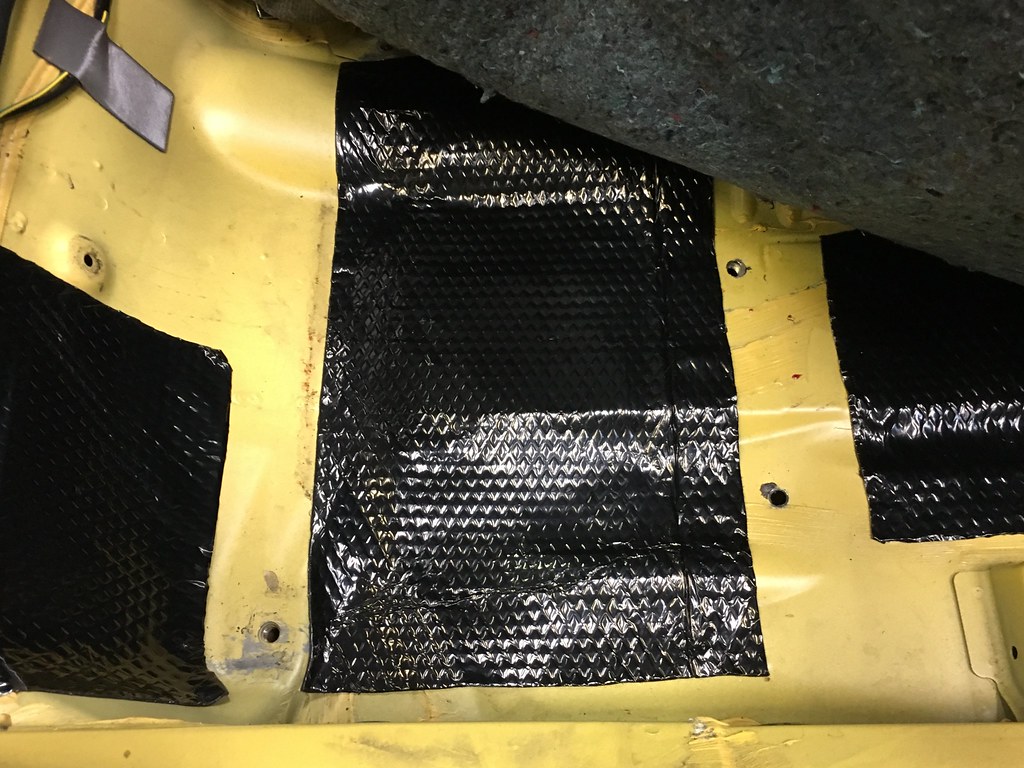
After remembering how generally loud the car gets with a gutted interior, I decided this time around I wanted a more refined sound. I picked up some Noico sound deadening that my friend Kamil had recommended, put some strips in the area under the tonneau cover, under the seats and by the transmission tunnel.
 |
| Noico black 80 mil car sound deadening - 2/11/2018 |
 |
| Sound deadning applied to rear - 2/11/2018 |
 |
| Sound deadening applied under carpet of seats - 2/11/2018 |
To further clean up the rear and to make it too obvious that the rear panels are missing, I got some black speaker box carpet and layered that over the sound deadening.
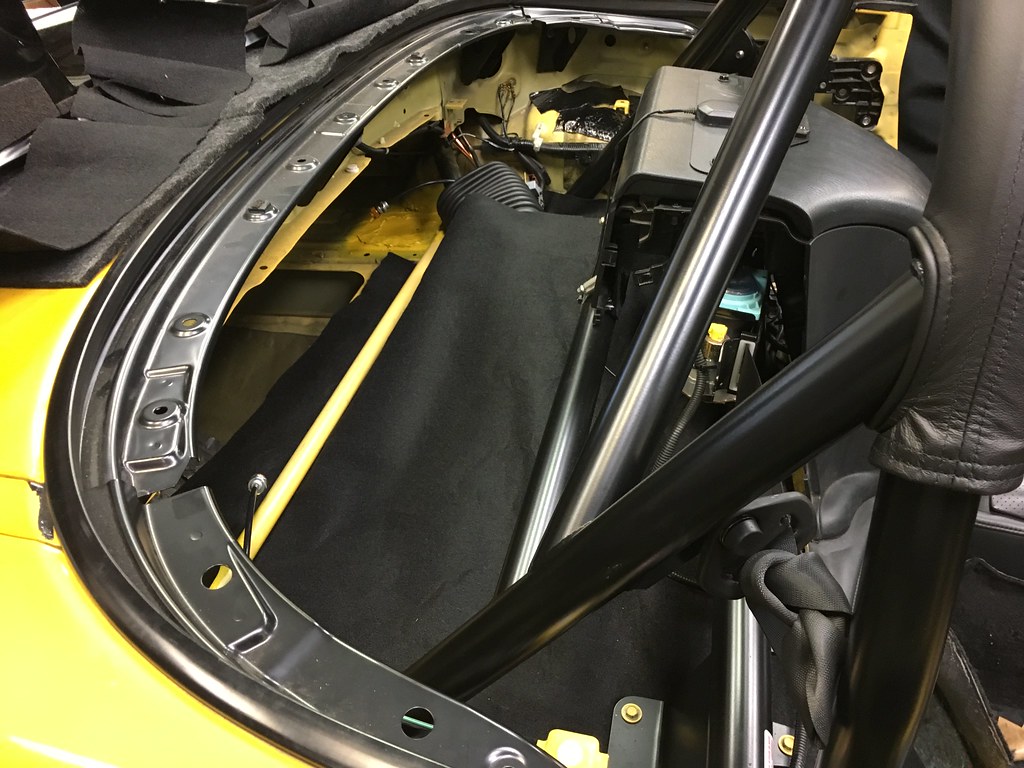 |
| Carpet to hide the sound deadening installed - 2/11/2018 |
The end result is a pretty clean looking interior for "gutted" track ready car.
 |
| Rear interior with panels trimmed and carpet installed - 2/11/2018 |
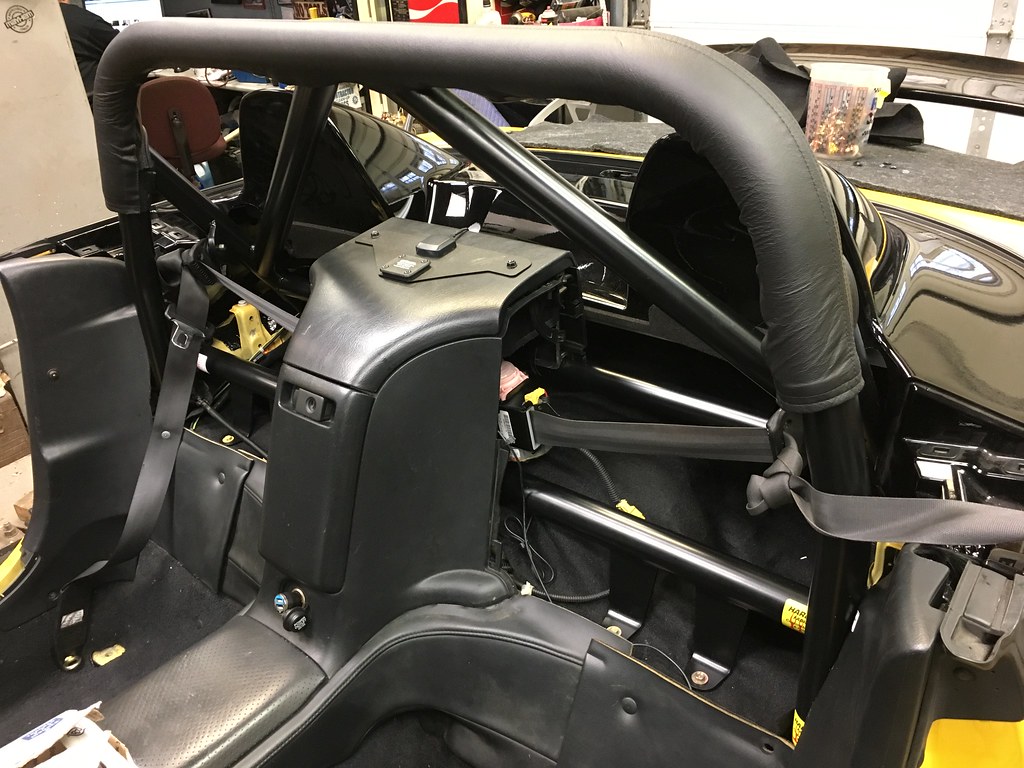
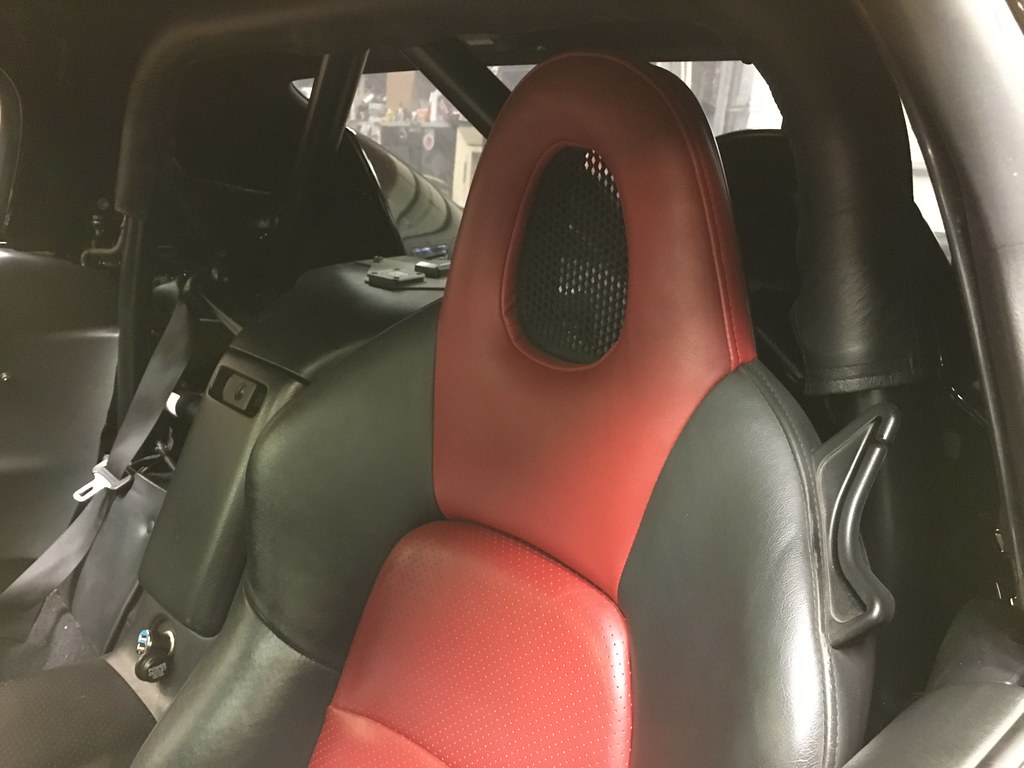 |
With a seat, it almost looks stock-ish - 2/11/2018
*seat borrowed from Lupa |
 |
| CR tonneau cover reinstalled -2/11/2018 |
As much as I love just hearing the sound of the engine when driving, for longer drives it's nice to be able to listen to music or be able to safely make a phone call via bluetooth. To address this, I had to reinstall a stereo in the car. Since I had removed both the radio and the speakers, I decided a good compromise is a nice head unit, an inline amp and some upgraded component speakers. From past experience, I went with an Alpine headunit (UTE-62BT), a simple 4-channel Alpine KTP-445A inline amp and modifry DCI to maintain dash controls. To refresh the look, I also replaced the radio door cover with the black/yellow CR radio door.
 |
| Alpine Head Unit installed - 2/10/2018 |
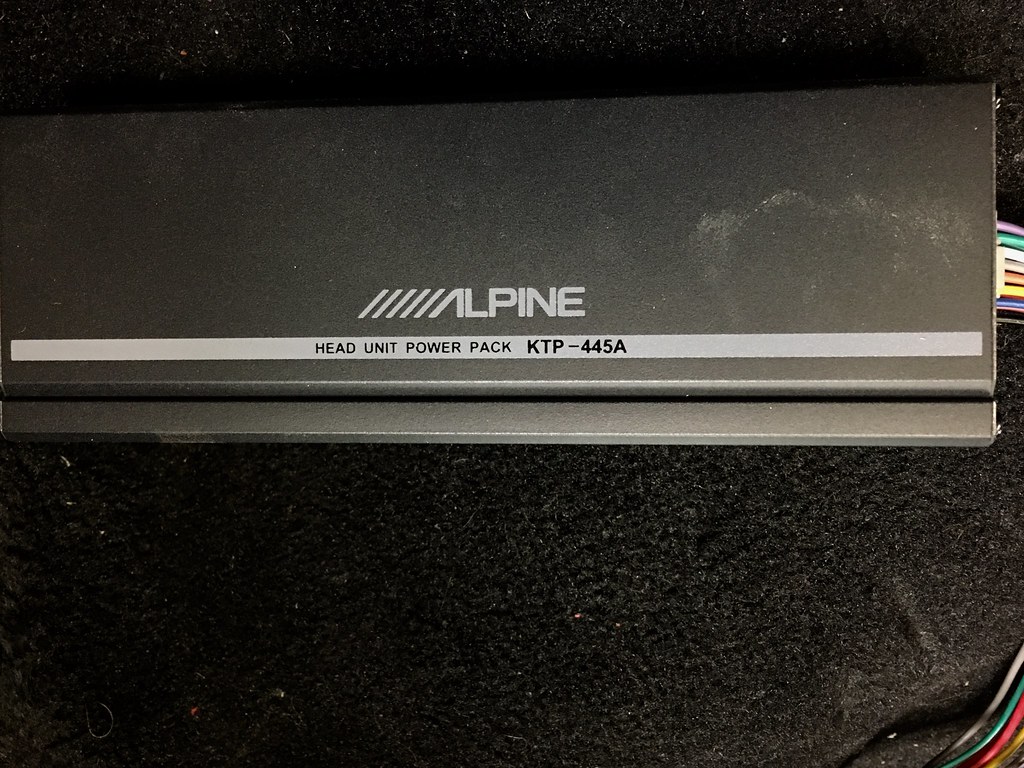 |
| Small Alpine amp - 2/10/2018 |
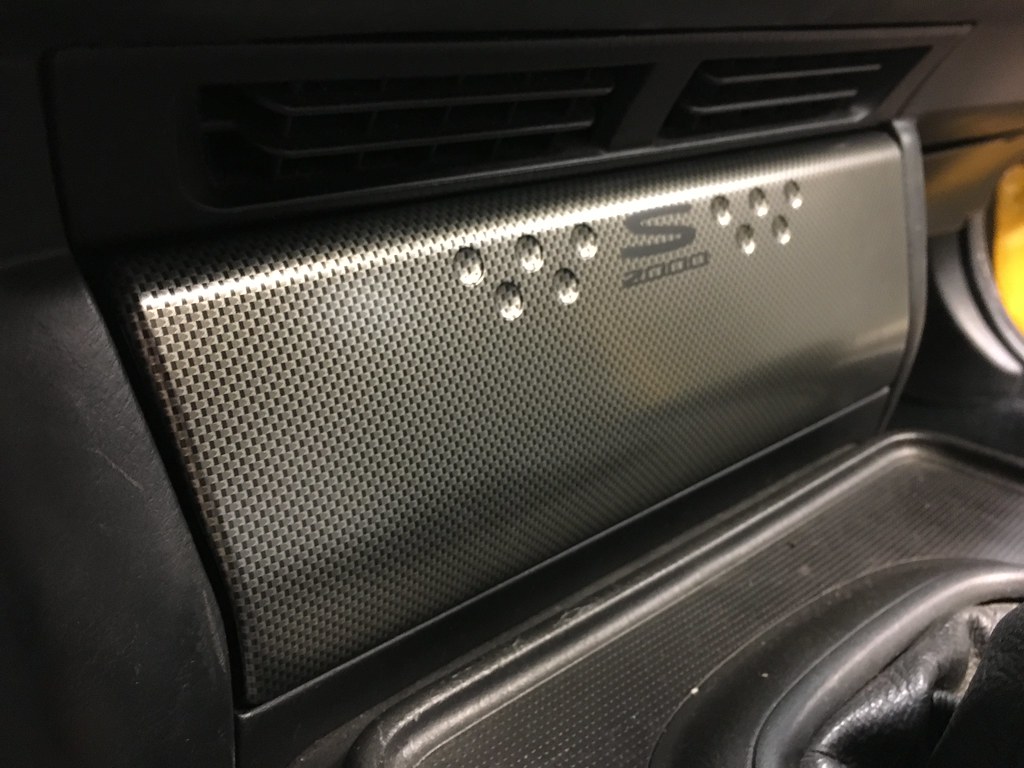 |
| CR Radio Door - 2/10/2018 |
For speakers, I was going to go with the Alpine TypeS unit that I have in Lupa but after some research it seems that the Polk Audio DB6502 speaker setup would be a better fit and give reasonably good sound quality. The speakers fit nicely in the stock speaker location and aren't too deep that they get in the way of the window when you roll them down. I also used and highly recommend the Metra 72-7800 speaker connector harnesses so you can simply plug the speakers into the stock connector without having to cut the stock wiring.
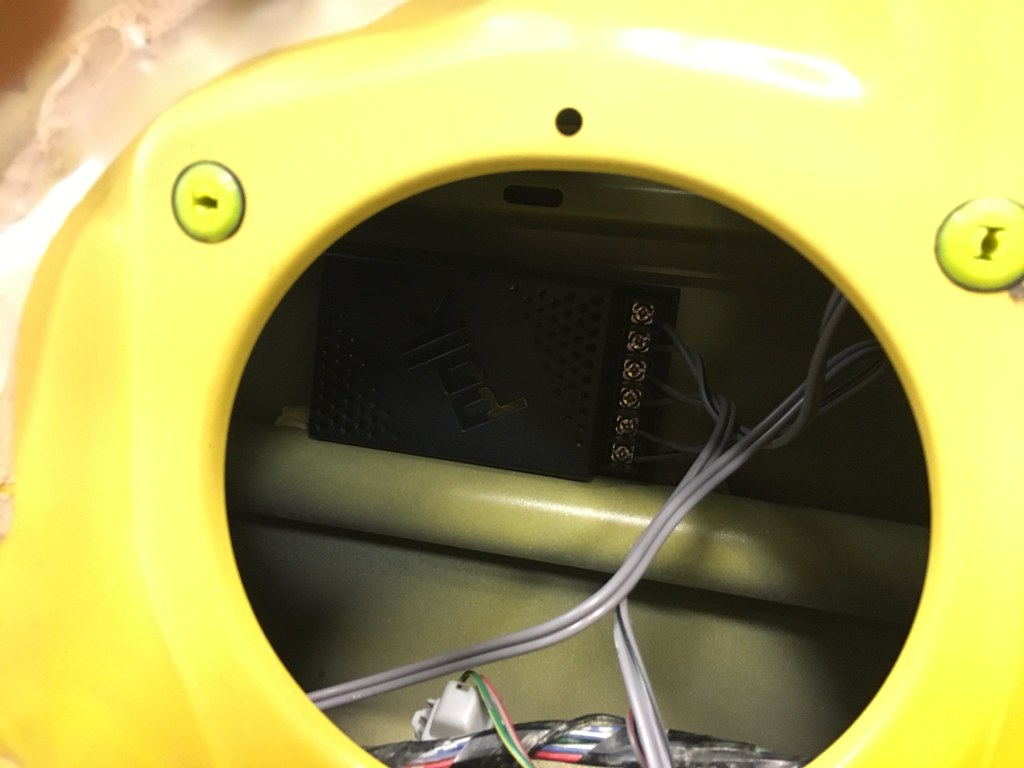 |
| Polk speaker crossover installed inside door - 2/10/2018 |
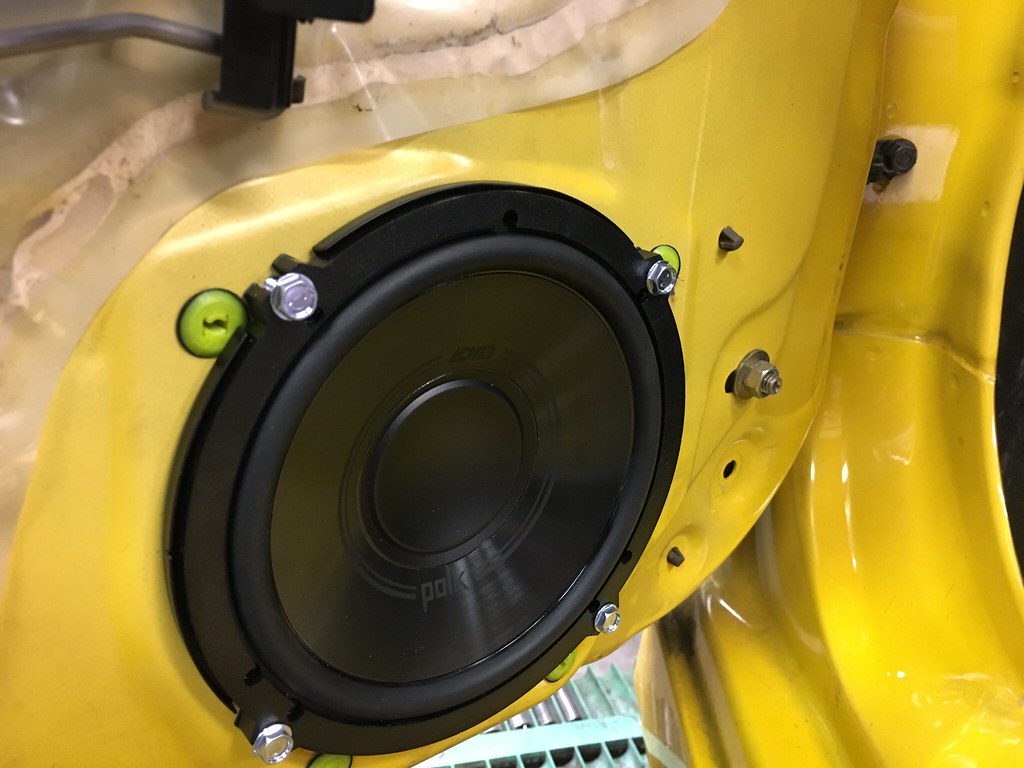 |
| Polk woofer installed in door - 2/10/2018 |
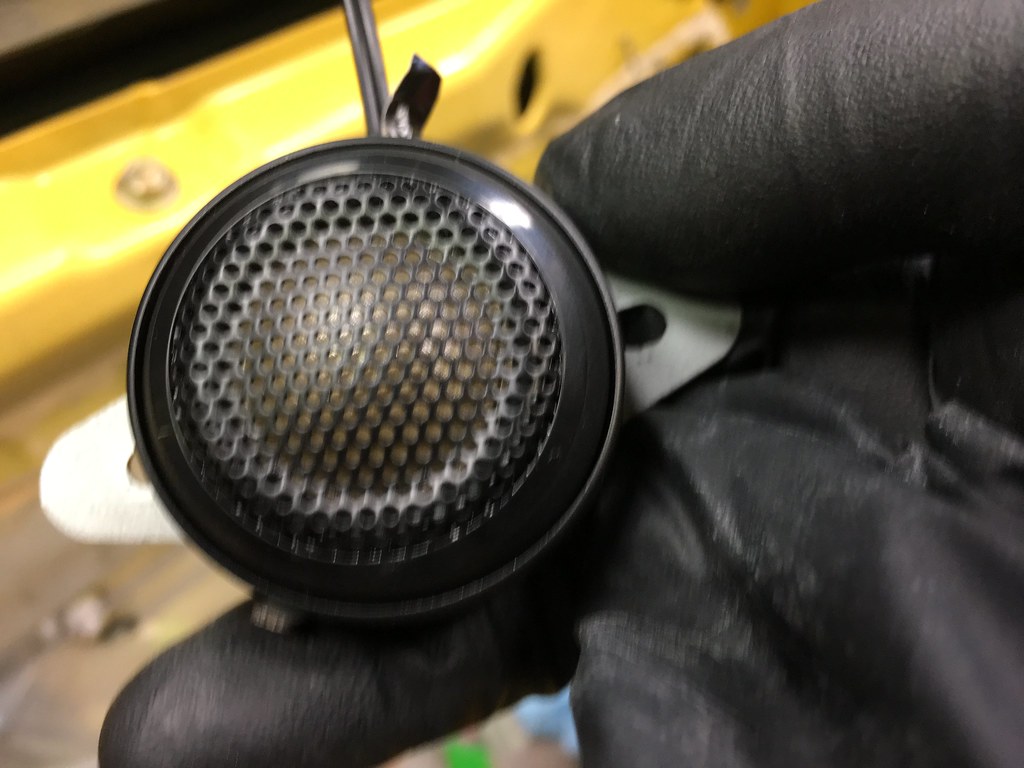 |
| Blurry Polk Tweeter photo - 2/10/2018 |
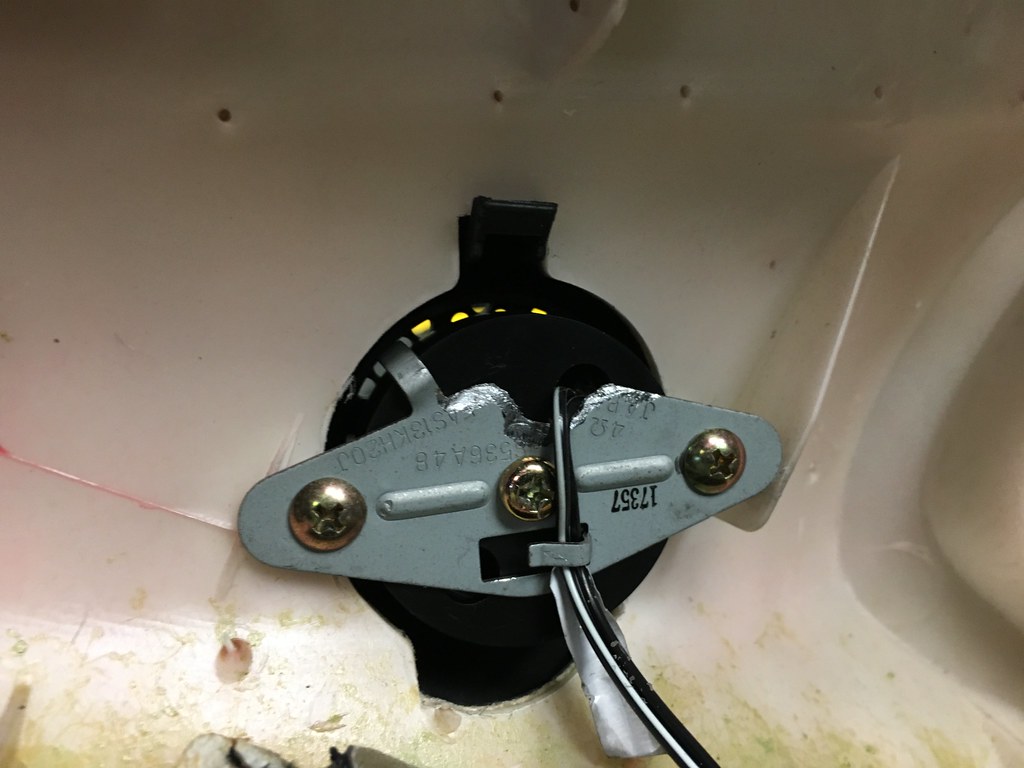 |
| Tweeter reinstalled in door panel with modified bracket - 2/10/2018 |
As far as other interior creature comforts, I installed a Modifry phone mount with Baseus magnetic car mount and Modifry cup holder (if you own an S2000 you know why you want one). I also finally got to put on the ZOOM Engineering Monaco 240 carbon fiber rear view mirror.
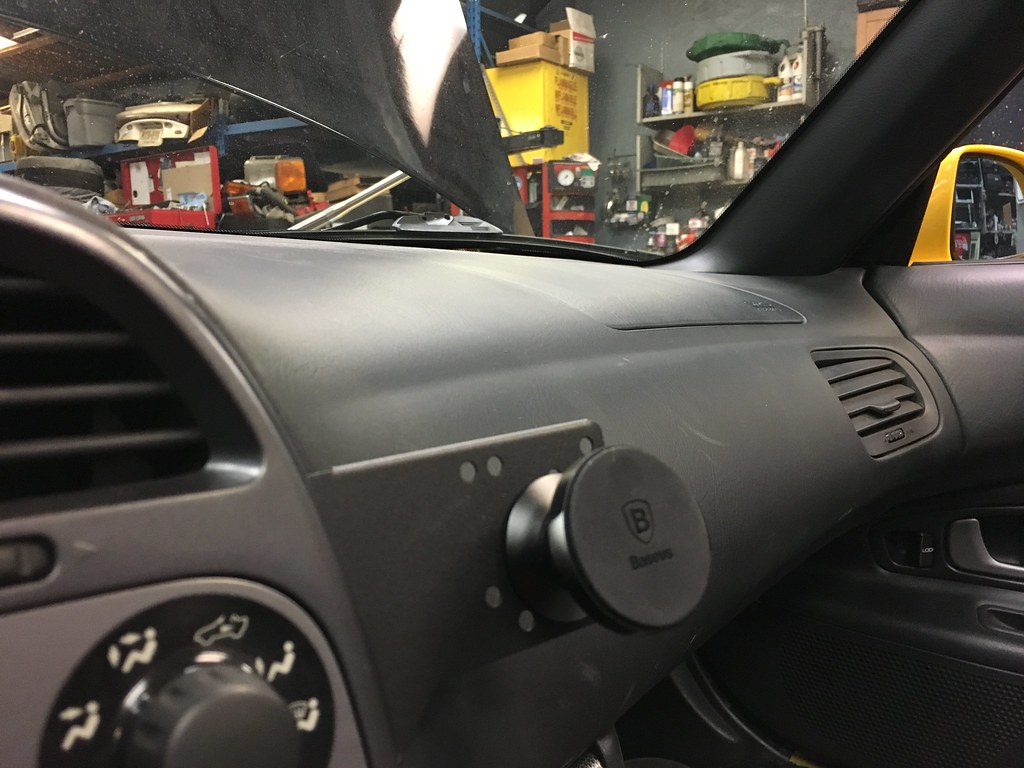 |
| Modifry phone mouth with Baseus magnetic car mount - 2/10/2018 |
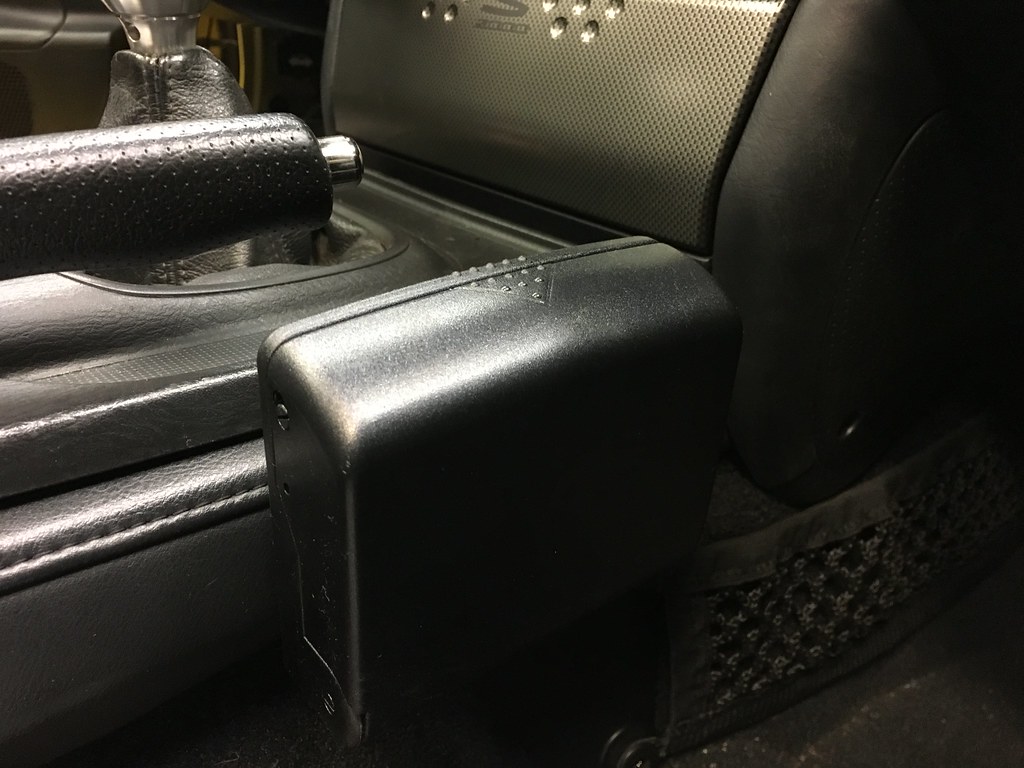 |
| Modifry cup holder LOL - 2/10/2018 |
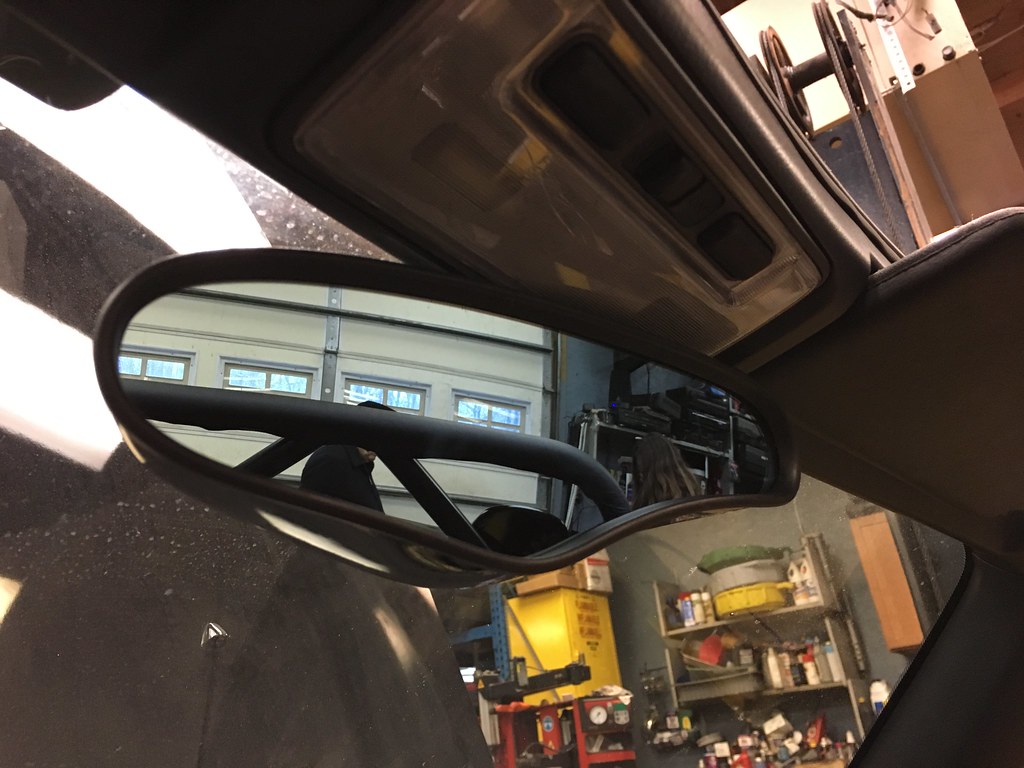 |
| ZOOM Engineering Monaco 240 CF rear view mirror - 2/10/2018 |
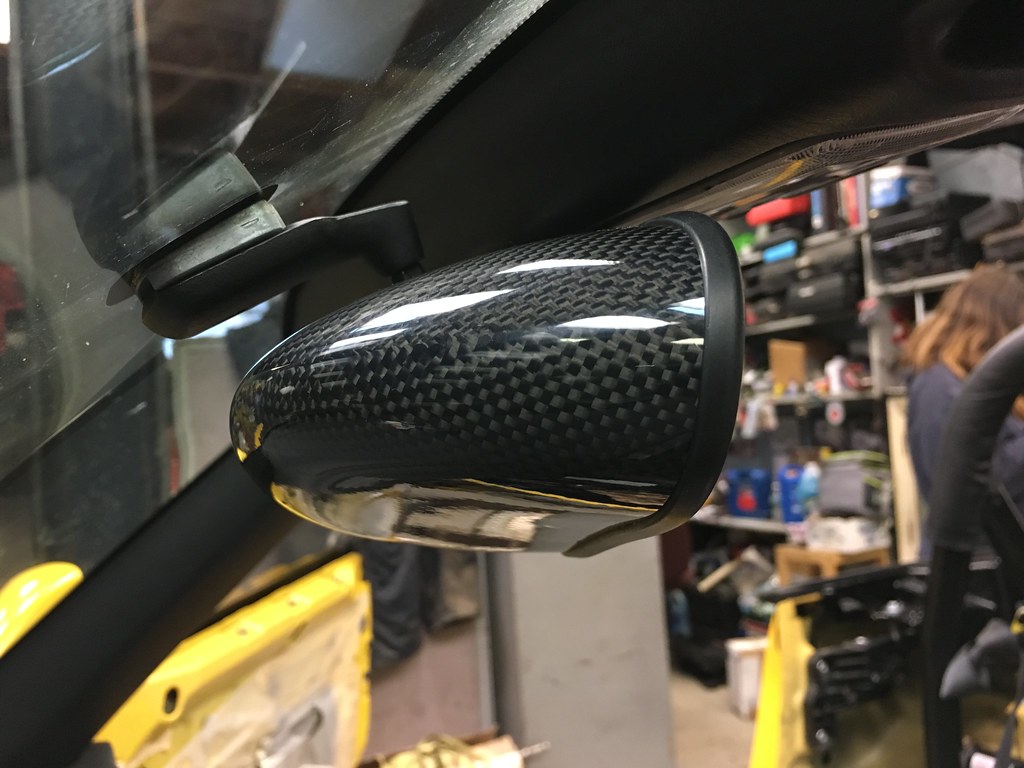 |
| ZOOM Engineering Monaco 240 CF rear view mirror - 2/10/2018 |
Other miscellaneous things we finished was reinstalling all the eyebolts for the 6-pt harnesses, test fitting the Ichiba AC-50620 20mm hubcentric rear wheel spacers and installing an AP2 horn. Note to self, you have to actually bolt the horn in to test it or you won't have ground and it won't make any noise haha.
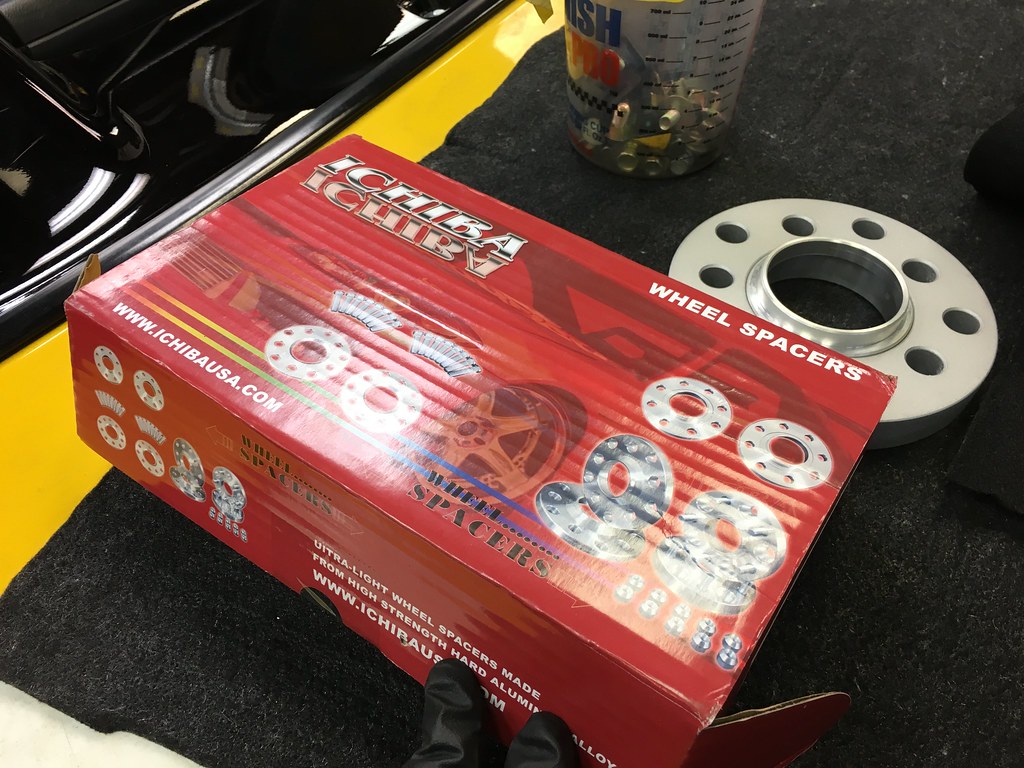 |
| 20mm hub centric rear spacers - 2/11/2018 |
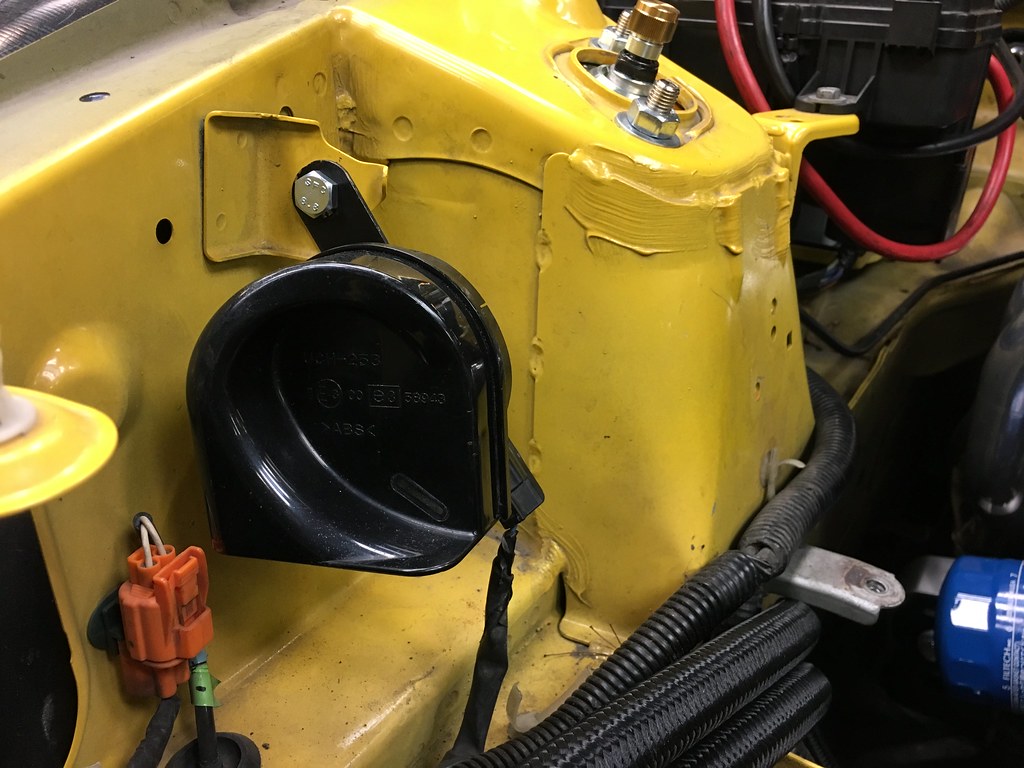 |
| AP2 horn because it's louder - 2/11/2018 |
The AC condenser and compressor are also finally in after the backordered compressor brackets arrived and I finally got my hands on the correct lines needed. The next major step is to remove the ITBs and put back the stock fuel system and OEM ECU and we'll be on the final stretch. It's been a month since the build started and it's been already been quite a journey. We should have Bumblestook street legal and drivable by the end of the month and then it's onto the body shop to make her looking pretty again.